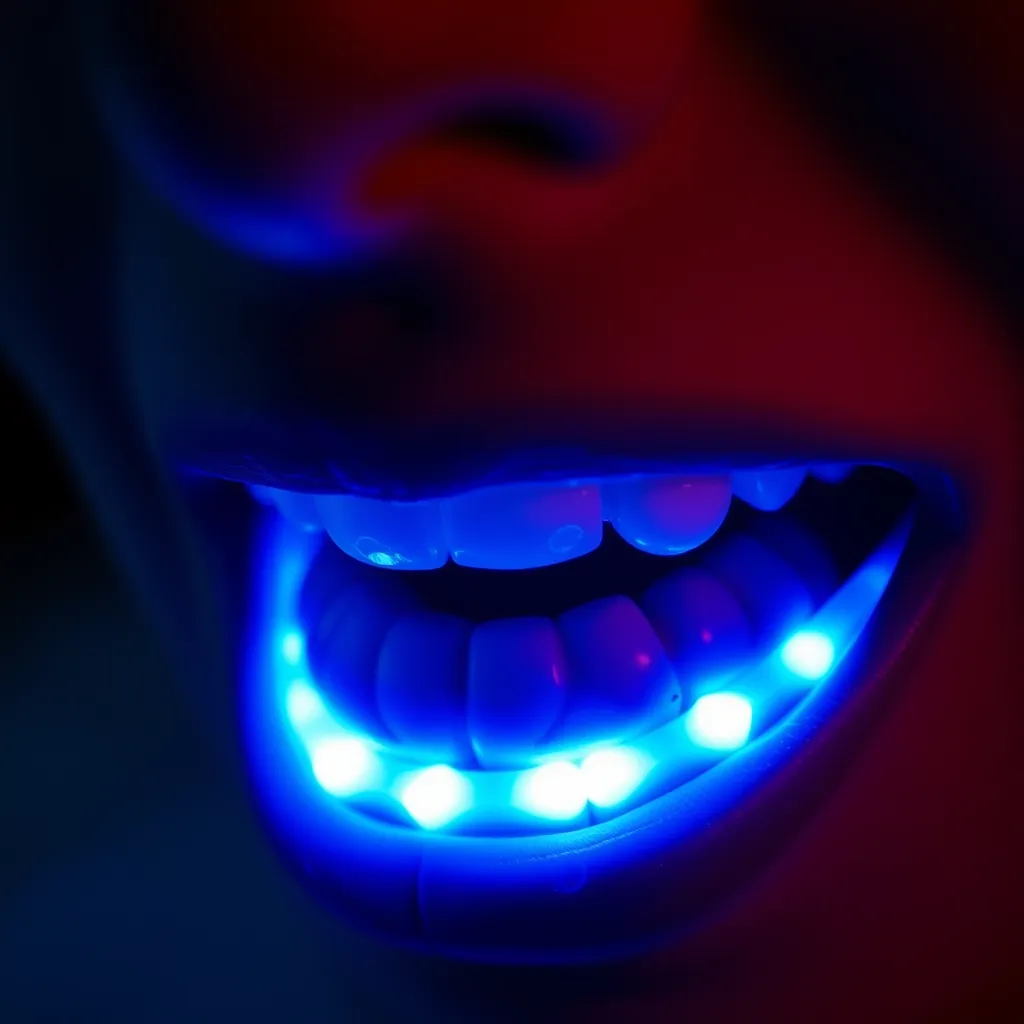
The sight of a glowing blue mouthpiece has become synonymous with modern cosmetic dentistry. While it looks like something out of a science fiction film, the technology behind it is grounded in a specific chemical process called photochemical acceleration. To understand what LED light does in teeth whitening, it is necessary to look past the glow and examine the interaction between light energy and peroxide-based bleaching agents.
Most people assume the light itself is doing the whitening, but that is a common misconception. If you were to shine an LED light on your teeth for an hour without any accompanying gel, the color of your teeth would remain exactly the same. The light serves a singular, specific purpose: it acts as a catalyst. It provides the energy required to speed up the chemical reaction of the whitening gel, allowing for faster results than the gel could achieve on its own.
The Photochemical Reaction: Science Behind the Glow
At the heart of almost every whitening treatment is a bleaching agent, typically hydrogen peroxide or carbamide peroxide. These chemicals are oxidizers. When they come into contact with the organic stains on your teeth, they release volatile oxygen molecules. These molecules penetrate the porous structure of the enamel and dentin to break the chemical bonds of "chromophores"-the compounds responsible for visible discoloration.
When you introduce a specific wavelength of light into this process, you are initiating a photochemical reaction. Modern whitening gels are often formulated with photoinitiators. These are sensitive compounds that absorb light energy and convert it into chemical energy. When the blue light hits these initiators, they trigger the peroxide to decompose much faster than it would at room temperature. This rapid decomposition floods the tooth surface with oxygen free radicals, which seek out and dismantle stain molecules at an accelerated pace.
The Role of Chromophores
Chromophores are the parts of a molecule that give it color. In the context of dental hygiene, these are usually derived from tannins in coffee, polyphenols in red wine, or various compounds in tobacco. These molecules have long, complex chemical chains that reflect light in a way that appears yellow or brown to the human eye. The oxidation process induced by the peroxide-and accelerated by the LED-breaks these long chains into smaller, colorless fragments. Because these fragments are smaller, they no longer reflect light in the same way, and they are often small enough to be washed away by saliva or rinsing.
Why Blue Light is the Standard
Not all light is created equal in the world of dentistry. You will notice that almost every whitening system uses a specific shade of blue. This isn't just for aesthetics; it is a matter of physics. The most effective wavelength for activating dental photoinitiators typically falls between 400 and 500 nanometers (nm), with 480nm being the "sweet spot."
Blue light at this frequency carries enough energy to excite the electrons in the whitening gel without the dangerous side effects associated with other parts of the spectrum. In the past, dentists used UV (ultraviolet) light or halogen lamps. However, these came with significant drawbacks:
Thermal Stress: Halogen lamps generate significant heat, which can dehydrate the tooth and irritate the pulp (the nerve center of the tooth), leading to intense post-treatment pain.
Tissue Damage: UV light carries a risk of "sunburning" the soft tissues of the mouth, such as the gums and lips, and long-term exposure is a concern for cellular health.
Inconsistency: Older bulbs would dim or shift in frequency over time, leading to unpredictable results.
LEDs (Light Emitting Diodes) solved these problems. They are "cold" light sources, meaning they emit very little infrared radiation (heat). They are also highly directional and can be tuned to emit a very narrow, precise wavelength, ensuring that the energy is focused entirely on activating the gel rather than heating up the patient's mouth.
Comparing Light Sources in Dentistry
To understand why LED has become the dominant technology, it helps to compare it against the alternatives that have been used over the last few decades.
Light Source | Wavelength Range | Heat Emission | Primary Risk |
|---|---|---|---|
UV Light | 100 - 400 nm | Moderate | Soft tissue damage / UV exposure |
Halogen | 400 - 500 nm (filtered) | High | Pulp inflammation (sensitivity) |
Plasma Arc | 400 - 600 nm | High | High cost and thermal risk |
LED | 460 - 490 nm | Very Low | Minor gum irritation from gel |
Does the Light Actually Improve Results?
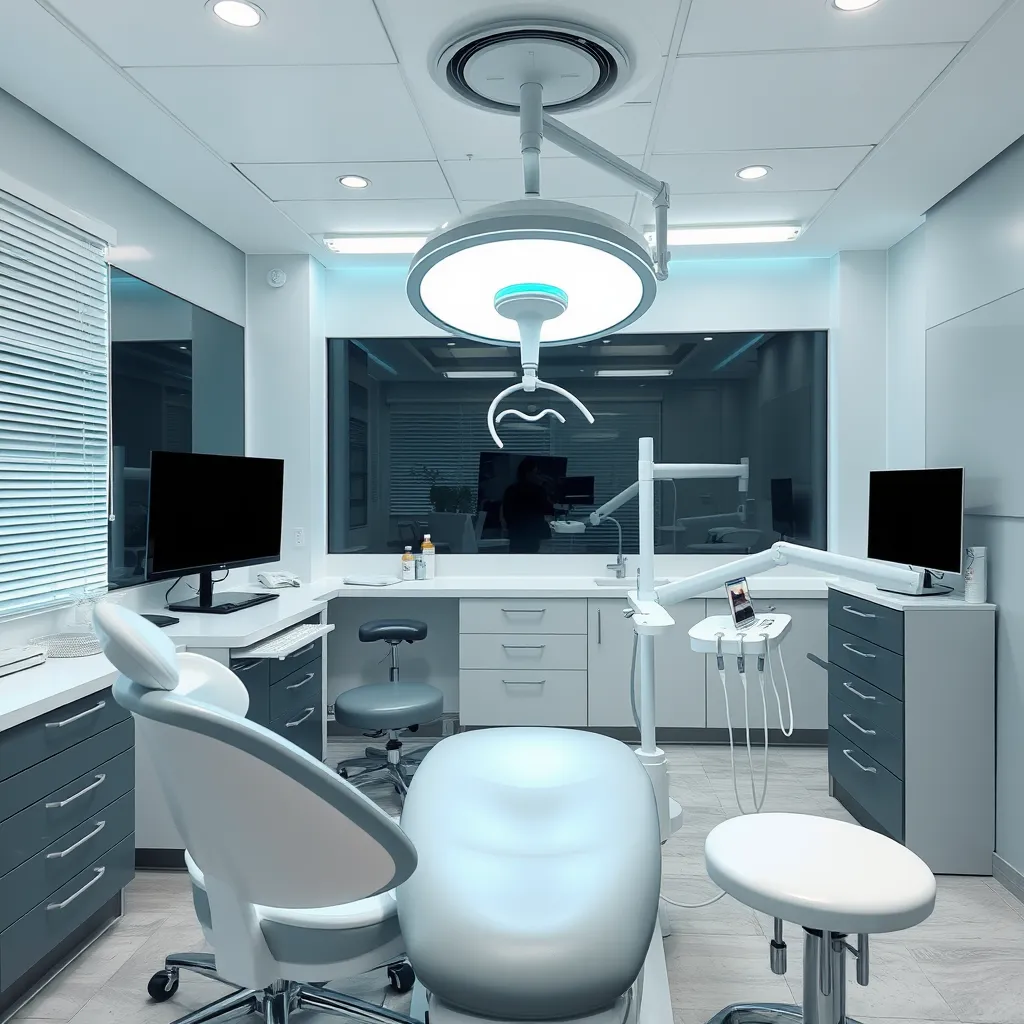
This is the most debated topic in cosmetic dentistry. If you look at the clinical data, the answer is nuanced. Most studies indicate that using an LED light produces a faster whitening effect. In a clinical setting, a dentist can achieve a significant shade change in 45 minutes with a light that might take three separate 60-minute sessions without one.
However, many researchers have found that the "final" result-the shade of white your teeth reach after the full course of treatment is finished-is often the same whether a light was used or not. The light is essentially a time-saver. For a professional in-office treatment where the patient wants to walk out with a brighter smile in one hour, the LED is indispensable. For at-home treatments used over 14 days, the light may be less critical to the final outcome, though it still helps the user achieve those results with shorter daily wear times.
The Dehydration Factor
It is important to note that any light-based treatment can cause temporary tooth dehydration. When teeth lose moisture, they naturally look whiter and more opaque. This is why teeth often look incredibly bright immediately after a session but seem to "fade" slightly 24 hours later as they rehydrate. This is not a failure of the LED technology, but a natural physiological response. True chemical whitening is what remains after the tooth has regained its moisture balance.
The Difference Between Home Kits and Professional Systems
While the basic physics of what LED light does in teeth whitening remains the same, the execution differs wildly between a $50 home kit and a $500 professional treatment. These differences center on two factors: concentration and intensity.
Professional In-Office Systems
In a dental office, the practitioner uses hydrogen peroxide concentrations as high as 25% to 40%. This is a caustic substance that can burn skin and gums instantly. Because the concentration is so high, the LED lamp used is significantly more powerful. These lamps are often stationary units that plug into a wall and use high-output LED arrays. The combination of high-strength gel and high-intensity light creates a massive release of free radicals, allowing for a jump of 5 to 8 shades in a single visit.
At-Home LED Kits
Consumer kits usually use carbamide peroxide (which is a more stable, slower-acting version of hydrogen peroxide) at concentrations between 10% and 22%. The LED lights in these kits are battery-operated and much lower in intensity for safety reasons. You aren't going to get an 8-shade jump in 20 minutes with a handheld device, but by using the light for 15-30 minutes a day over a week, you can achieve professional-level results safely. The light in these kits helps the lower-concentration gel work effectively within a reasonable timeframe.
Step-by-Step: The Ideal Whitening Workflow
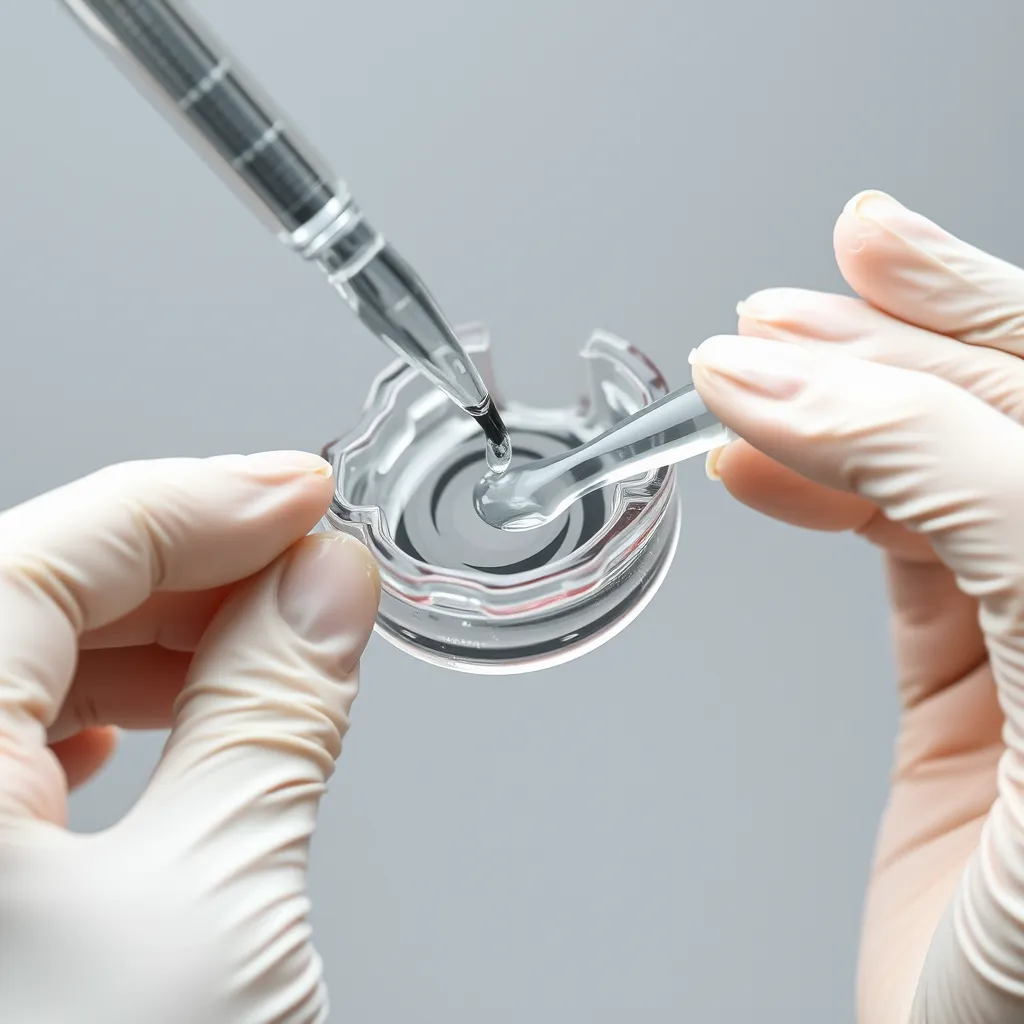
If you are using an LED-based system, following a specific protocol ensures that the light energy actually reaches the photoinitiators in the gel.
Mechanical Cleaning: Brush and floss thoroughly. Any plaque or "biofilm" on the teeth acts as a physical barrier that reflects light and prevents the gel from touching the enamel.
Drying: Use a cloth to dry the front surface of your teeth. Saliva can dilute the gel and create a refractive layer that bounces the LED light away.
Gel Application: Apply a thin, even layer. More gel is not better; a thick layer actually makes it harder for the light to penetrate through to the enamel surface.
Light Positioning: Ensure the LED mouthpiece is as close to the teeth as possible without squishing all the gel out. The intensity of light drops off significantly with distance, so proximity is key.
Post-Treatment Care: Avoid "chromogenic" foods (coffee, berries, soy sauce) for at least 24 to 48 hours. The pores in your enamel remain open for a period after whitening, making them highly susceptible to new stains.
Safety Considerations and Side Effects
The LED component of whitening is remarkably safe, but it is not without potential issues. The primary concern is sensitivity. Because the light accelerates the chemical reaction, it can also accelerate the movement of fluid within the microscopic tubules of your teeth. This fluid movement is what triggers the "zingers" or sharp pains associated with whitening.
To minimize risks:
Check for Existing Damage: Never use a whitening light if you have open cavities or receding gums. The light and gel will penetrate those areas and cause intense pain or even nerve damage.
Protect the Gums: In professional settings, a "liquid dam" is used to shield the gums. At home, ensure you aren't getting gel on your soft tissues. If your gums turn white or feel painful, stop immediately.
Limit Duration: Do not exceed the recommended time. Leaving an LED light on for an hour when the instructions say 20 minutes will not make your teeth five times whiter; it will likely just cause significant inflammation.
Common Myths Debunked
Myth: The light "burns" the stains off.
Reality: There is no burning involved. The process is entirely chemical. The light is just a battery charger for the chemical reaction.
Myth: More lights in the tray mean better whitening.
Reality: It is the intensity and wavelength that matter, not the number of bulbs. A single high-quality LED tuned to 480nm is more effective than twenty cheap bulbs that emit the wrong wavelength.
Myth: LED whitening is permanent.
Reality: No whitening is permanent. Your teeth are porous and will continue to absorb stains from food and drink. However, using a light-accelerated system every few months is an effective way to maintain a bright shade.
Conclusion
LED light in teeth whitening works as a catalyst, not as the whitening agent itself. It activates photoinitiators within peroxide-based gels, triggering a faster release of oxygen free radicals that break down stain-causing chromophores. The blue wavelength around 480nm is ideal because it delivers the right energy without the heat of halogen lamps or the tissue risks of UV light. While the LED speeds up results and shortens treatment time, the final shade depends on the gel's concentration, proper application, and your post-care habits. Used correctly with a matching gel, LED-accelerated whitening offers a safe, efficient path to a brighter smile - but it's the chemistry, not the glow, that does the real work.
Frequently Asked Questions
Q1: Does the color of the LED light matter?
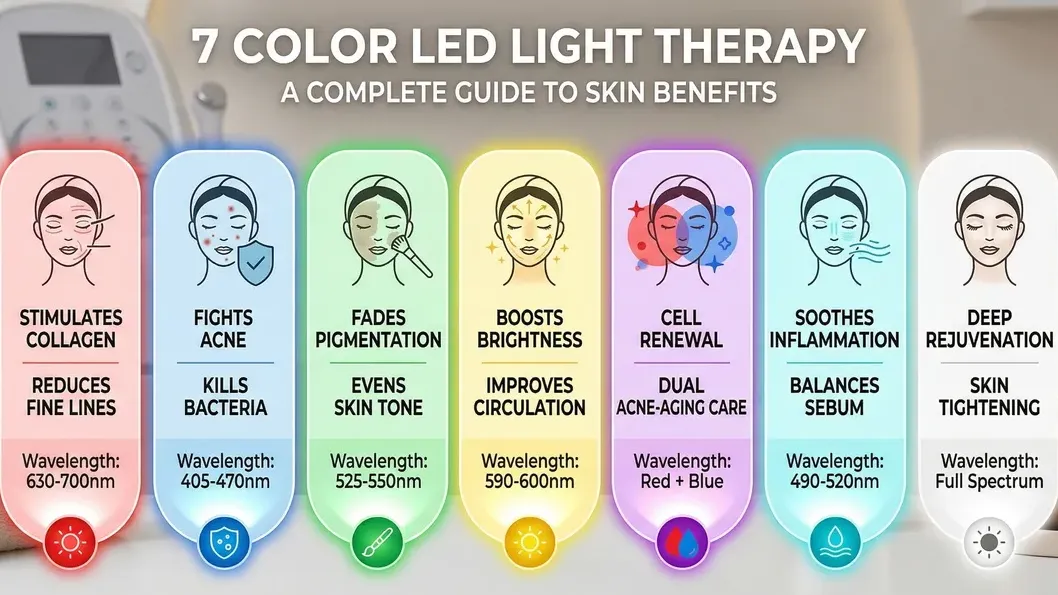
A: Yes. Blue light is the industry standard because its wavelength (approx. 480nm) specifically matches the activation energy of the photoinitiators used in dental gels. Red light is sometimes used to soothe gums, but it does not have the same catalytic effect on the whitening gel as blue light.
Q2: Can I use any LED light with my whitening gel?
A: It is not recommended. Gels are specifically formulated to react to certain wavelengths. A random blue LED might not be at the correct frequency (nanometers) to trigger the photoinitiators in a specific brand's gel. It is always best to use the light and gel that were designed to work together.
Q3: Why do my teeth feel sensitive after using the light?
A: The light speeds up the chemical reaction, which can cause the peroxide to penetrate the tooth more rapidly. This can temporarily irritate the nerves inside the tooth. If you experience sensitivity, try reducing the time you use the light or use a desensitizing toothpaste containing potassium nitrate for a few days before and after treatment.