Upgrading a room's lighting often provides the highest return on investment for any home improvement project. While the prospect of working with electrical wiring can be intimidating, the process is straightforward once you understand the safety protocols and the mechanical assembly of the fixture. Most homeowners can successfully tackle the task of How To Change an LED Ceiling Light in 15 Minutes if they have the correct tools and a clear understanding of the wiring involved.
Modern LED fixtures differ from traditional incandescent ones primarily in their longevity and heat management. While an old-fashioned bulb might last 1,000 hours, an integrated LED fixture is rated for 50,000 hours or more. This means the replacement you install today could realistically remain in place for the next two decades. This guide details the specific steps for replacing standard flush-mount fixtures, recessed "can" lights, and bulb-based units, ensuring a professional and safe installation.
Essential Tools and Safety Equipment
Before beginning, gather the necessary tools. Having everything within reach prevents the need to climb up and down a ladder repeatedly, which is where most DIY accidents occur. You do not need specialized electrical equipment, but a few specific items are non-negotiable for safety and precision.
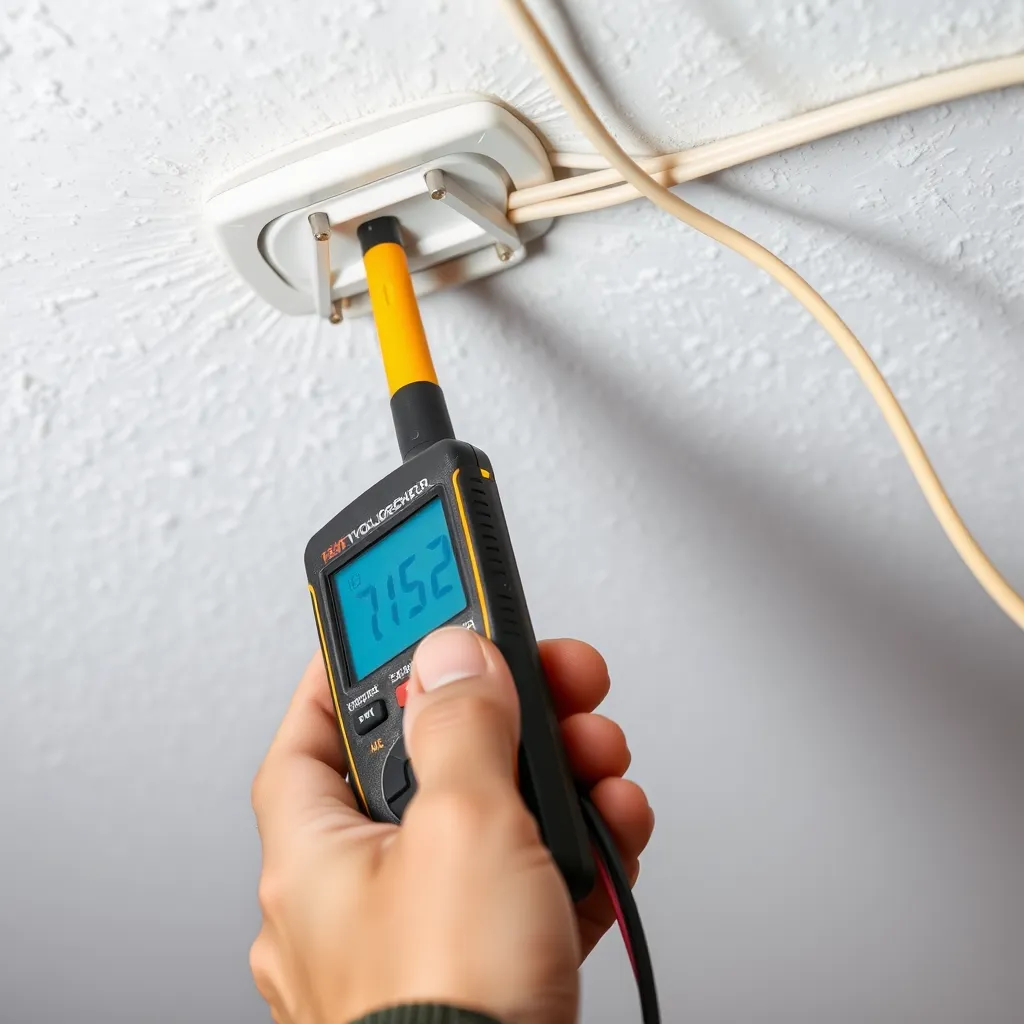
Non-contact voltage tester: This is the most critical tool. It detects electrical fields without touching bare wires, confirming that the circuit is truly dead.
Step ladder: Ensure the ladder is tall enough that you do not need to stand on the top two rungs.
Screwdrivers: You will generally need both a Phillips #2 and a flat-head screwdriver.
Wire strippers: If the wires on your new fixture aren't pre-stripped, you will need these to remove the insulation.
Wire nuts: Most fixtures come with these, but having a variety pack (orange, yellow, and red sizes) is helpful for ensuring a tight fit.
Electrical tape: Used to secure wire nuts and provide an extra layer of insulation.
The Critical Safety Protocol
Never rely solely on the wall switch to cut power. In many older homes, the switch only interrupts the "hot" wire, but the "neutral" or a poorly wired circuit could still carry a current. Go to your home's main electrical panel and flip the breaker to the "Off" position for the specific room where you are working. Once the breaker is off, use your non-contact voltage tester on the wires of the existing fixture before you touch them. If the tester glows red or beeps, the circuit is still live.
Identifying Your Fixture Type
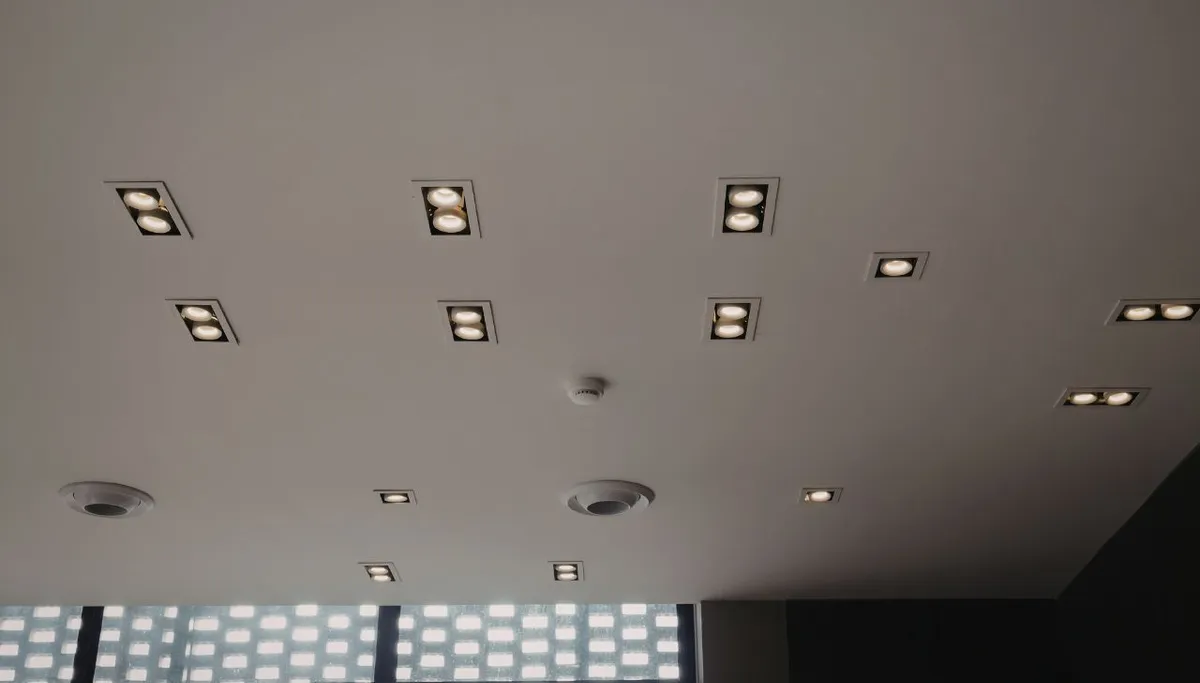
Before purchasing a replacement, you must identify which system your ceiling currently uses. LED technology is implemented in three main ways in residential ceilings, and the installation process varies significantly between them.
Fixture Type | Primary Characteristic | Replacement Method |
|---|---|---|
Socket-Based | Uses standard screw-in bulbs (E26/E27 base). | Simple bulb swap; no wiring needed. |
Integrated LED | The light source is a built-in circuit board. | Requires replacing the entire housing and wiring. |
Recessed Retrofit | Fits inside an existing "can" or housing. | Connects via a socket adapter and spring clips. |
Standard Flush-Mount Fixture Replacement
A flush-mount fixture sits directly against the ceiling. These are common in hallways, bedrooms, and kitchens. Replacing these involves accessing the junction box-the plastic or metal box recessed in your ceiling that houses the main electrical connections.
Step 1: Removing the Old Unit
Remove the decorative globe or diffuser cover. This is usually held in place by three thumb screws or a center finial (a decorative nut at the bottom). Once the cover is off, unscrew the mounting screws holding the fixture base to the junction box. Support the fixture with one hand as you do this. Once loose, let it hang slightly to expose the wires. Use your voltage tester one last time on the exposed wire nuts to confirm the power is off.
Step 2: Disconnecting the Wiring
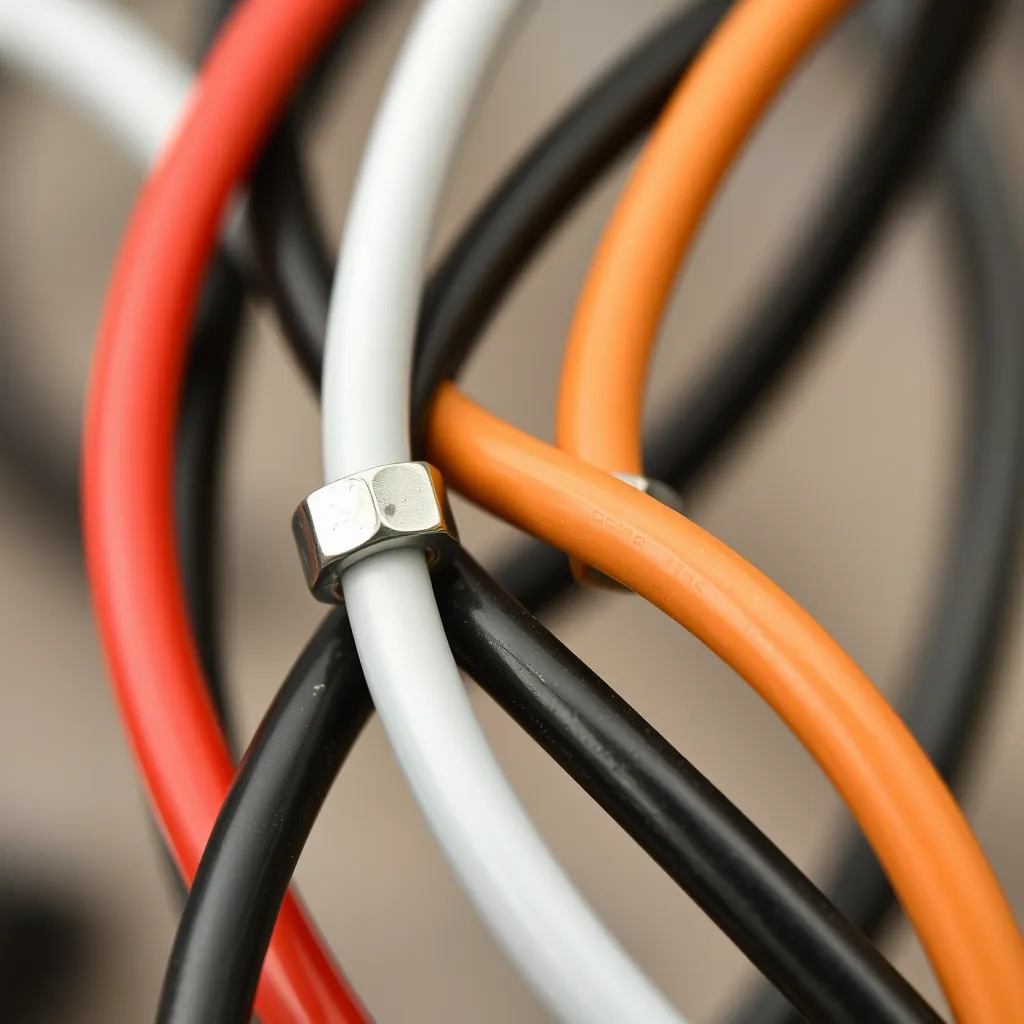
Unscrew the wire nuts by turning them counter-clockwise. You will typically find three wires:
Black (or Red): The "Hot" wire that carries the current to the light.
White: The "Neutral" wire that completes the circuit.
Green or Bare Copper: The "Ground" wire that safely diverts electricity in case of a fault.
If your house was built before the 1960s, the wires might be the same color. In this case, label them with tape as you disconnect them so you know which is which.
Step 3: Preparing the New Mounting Bracket
Most new LED fixtures include a universal mounting bracket (a metal bar or circle). Screw this bracket into the existing holes in the junction box. Ensure it is level and tight. If the new fixture is significantly heavier than the old one, verify that the junction box is securely fastened to a ceiling joist.
Step 4: Wiring the New LED Fixture
Lift the new fixture toward the ceiling. Many modern kits include a small hook or cable to hang the fixture from the bracket while you wire it. Connect the wires using the "like-to-like" rule:
Connect the Ground wire from the fixture to the ground wire in the box (or to the green screw on the bracket).
Connect the White (neutral) wires together.
Connect the Black (hot) wires together.
Twist the bare ends of the wires together clockwise, then screw the wire nut on until it is tight. Give each wire a gentle tug to ensure it doesn't slip out. Wrap a small piece of electrical tape around the base of the wire nut and the wires for added security.
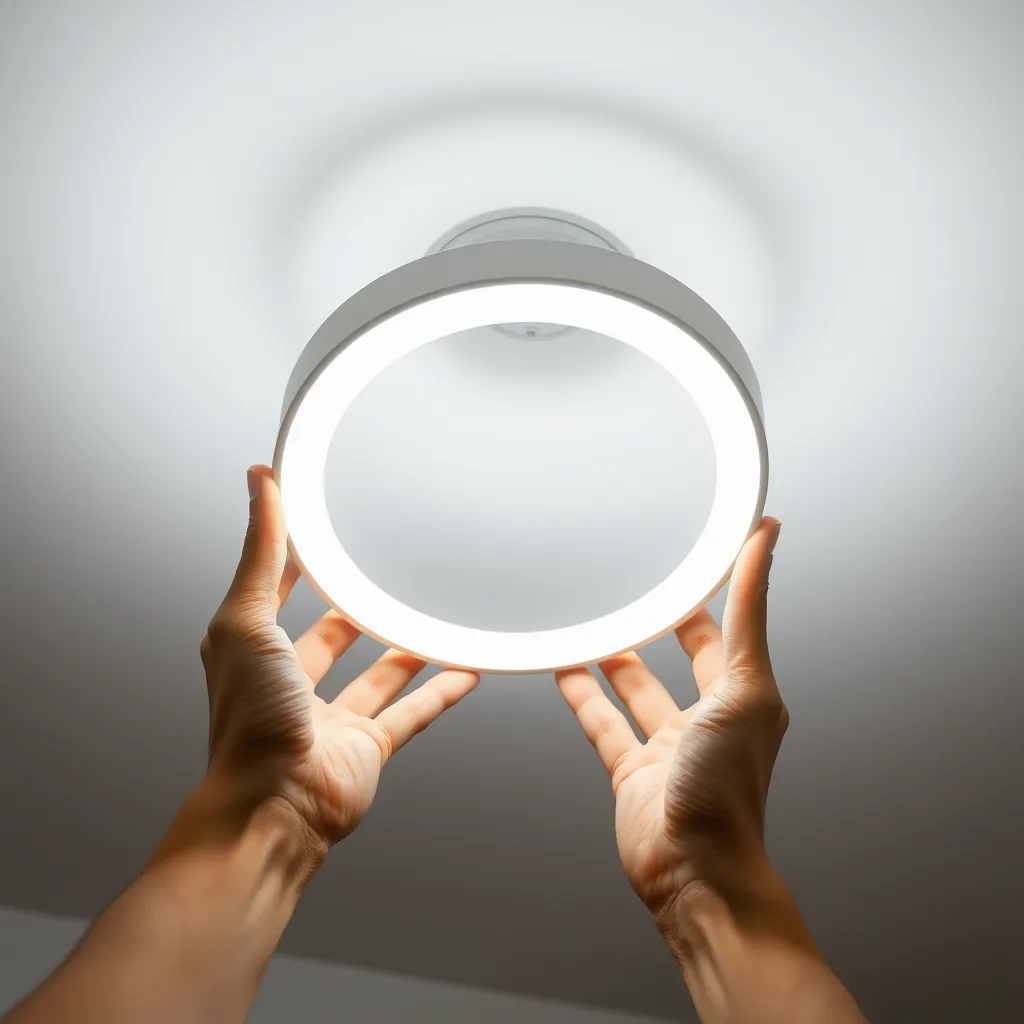
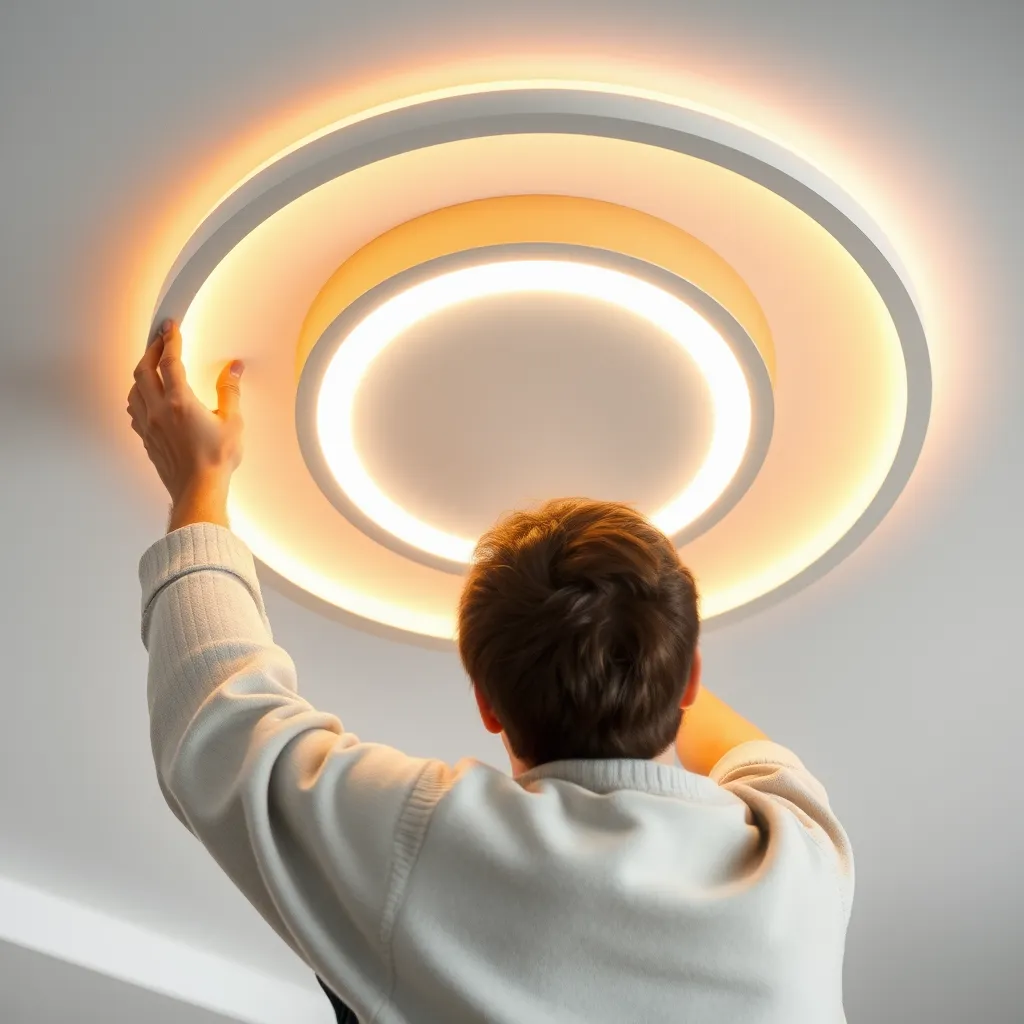
Step 5: Final Mounting
Tuck the wires neatly into the junction box. Push the fixture base up against the bracket and secure it with the provided screws or decorative nuts. Attach the lens or diffuser. Restore power at the breaker and test the switch.
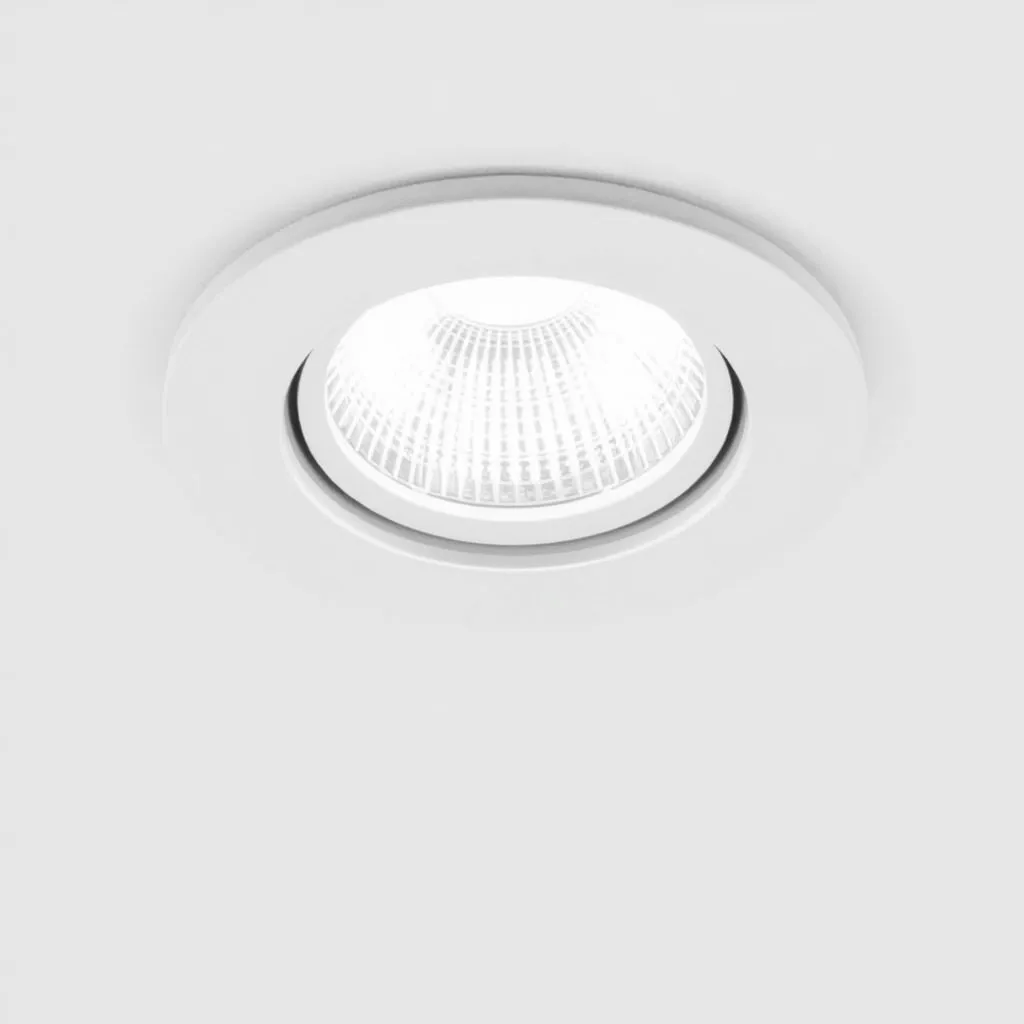
Converting Recessed Cans to LED Retrofits
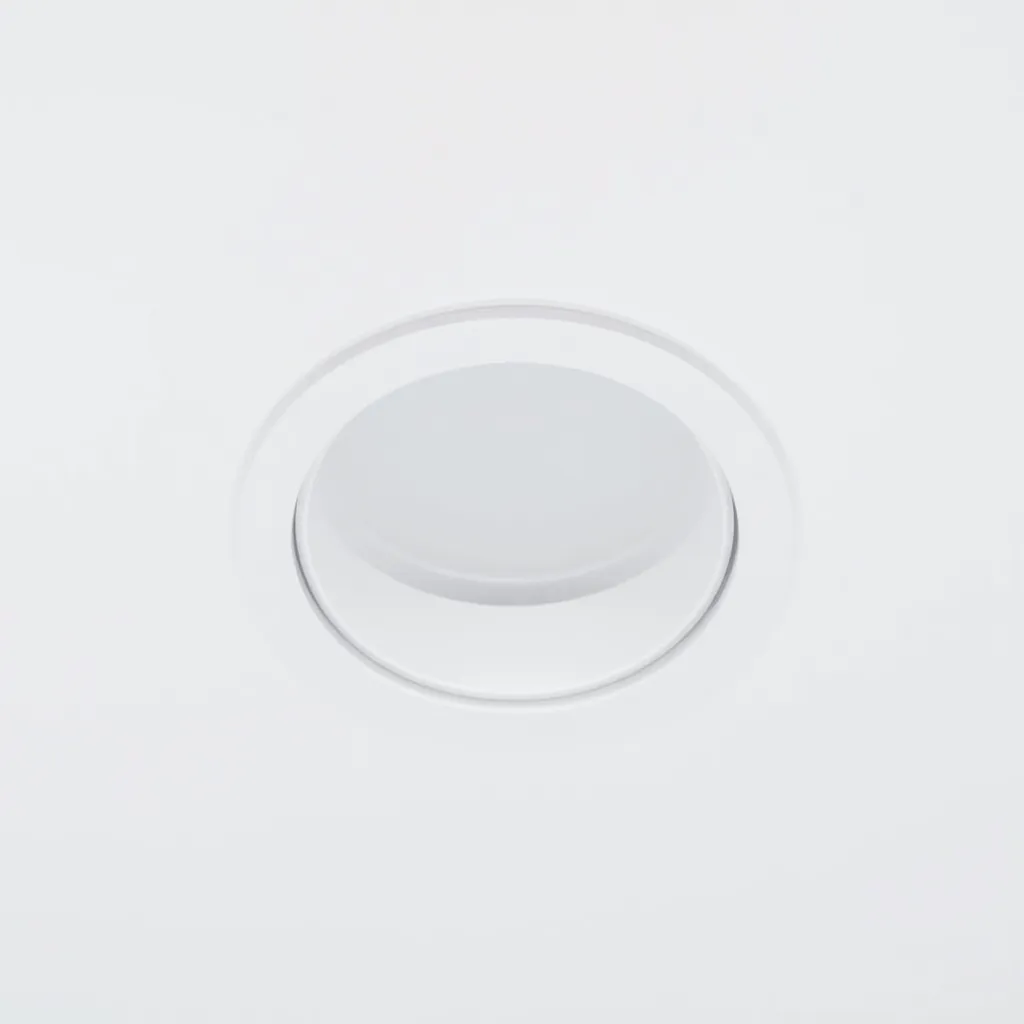
If you have older "pot lights" or recessed cans, you don't need to replace the entire housing to get the benefits of LED. Retrofit kits are designed to slide into the existing metal can, providing a clean, modern look with an integrated trim ring.
The Retrofit Process
First, remove the old incandescent or halogen bulb. Then, pull down the existing trim ring. These are usually held in by metal springs or "V-springs." Once the trim is removed, you'll see the empty metal cylinder of the can.
The LED retrofit kit will have a wire ending in an E26 screw-base adapter. Screw this adapter directly into the light socket inside the can, just like you would a bulb. Connect the other end of the adapter to the LED disk using the quick-connect plug. Finally, squeeze the spring clips on the side of the LED disk and slide it up into the can. The springs will pull the fixture tight against the ceiling, creating a seamless seal.
Choosing the Right LED Specifications
When you are learning How To Change an LED Ceiling Light in 15 Minutes, the physical installation is only half the battle. Choosing a fixture with the wrong technical specs can result in a room that feels like a hospital or a dim cavern. Pay attention to three specific metrics on the packaging.
Color Temperature (CCT)
Measured in Kelvin (K), this determines the "warmth" or "coolness" of the light.
Kelvin Rating | Light Appearance | Best Use Case |
|---|---|---|
2700K - 3000K | Warm White | Bedrooms and living rooms; cozy, traditional feel. |
3500K - 4000K | Neutral/Cool White | Kitchens, bathrooms, and offices; clean, energizing light. |
5000K+ | Daylight | Garages or workshops; high visibility priority. |
Many modern fixtures now include a "CCT Switch" on the back, allowing you to toggle between these settings before you install the unit.
Brightness (Lumens)
Ignore wattage when looking for brightness. Wattage measures power consumption, not light output. Instead, look for Lumens. For a standard 12' x 12' bedroom, you generally want a fixture providing 1,500 to 2,000 lumens.
Color Rendering Index (CRI)
CRI measures how accurately the light reveals the true colors of objects. A CRI of 80 is standard, but for kitchens or areas with art, look for CRI 90+. This prevents colors from looking "muddy" or grey under the LED light.
Common Troubleshooting Issues
Even a perfect installation can occasionally result in performance issues. Most of these are related to the house's existing infrastructure rather than the fixture itself.
Flickering or Strobing
If your new LED flickers, it is almost certainly due to an incompatible dimmer switch. Older dimmers were designed for high-wattage incandescent loads. LEDs draw so little power that the old dimmer "starves" the fixture, causing it to pulse. You must replace the wall switch with a dedicated LED-compatible dimmer (CL or ELV type).
The "Ghosting" Effect
If the light emits a very faint glow even when the switch is off, your circuit may have a small amount of "phantom voltage", or the switch might be interrupting the neutral wire instead of the hot wire. While not usually dangerous, it can shorten the life of the LED driver. A licensed electrician can quickly diagnose and fix this polarity issue.
Buzzing Sounds
A humming or buzzing sound usually points to a low-quality LED driver or a mismatch with a dimmer. If the noise persists even when the light is at full brightness on a standard on/off switch, the fixture's internal transformer is likely vibrating. In this case, returning the unit for a replacement is the best course of action.
Conclusion:
Once your new LED fixture is securely installed and the power is restored, the most immediate difference you will notice is the quality and consistency of the light. Unlike older technologies that require warm-up time or flicker, modern LEDs provide instant, full brightness. Because these fixtures are designed to last for decades, this small investment of time effectively removes lighting maintenance from your home to-do list for the foreseeable future.
To keep your new lighting performing at its peak, periodically wipe the diffuser or lens with a dry microfiber cloth to prevent dust buildup, which can dim the light output over time. As you become more comfortable with basic wiring, you can explore adding dimmer switches specifically rated for LEDs to further customize the ambiance of your space. Completing this project not only improves your home's efficiency but also builds the foundational skills needed for more advanced electrical upgrades.
Frequently Asked Questions
Q1: Can I put an LED bulb in an old ceiling fixture?
A: Yes, provided the bulb's base matches the socket (usually E26) and the bulb's wattage is lower than the fixture's maximum rating. Since LEDs use significantly less wattage than incandescents, this is almost never an issue. However, ensure the bulb is "enclosed fixture rated" if the ceiling light is a sealed globe, as heat buildup can damage the LED's internal electronics.
Q2: What do I do with the old fixture?
A: Standard metal and glass fixtures can often be recycled at local scrap yards. However, if you are replacing a fluorescent fixture, the tubes contain small amounts of mercury and must be taken to a hazardous waste recycling center. Integrated LED fixtures should be treated as e-waste because they contain circuit boards.
Q3: How long do integrated LED fixtures actually last?
A: Most are rated for 50,000 hours. If you leave the light on for 6 hours a day, the fixture should last approximately 22 years. The "bulb" (the LEDs themselves) rarely fails; usually, it is the "driver" (the small transformer inside) that gives out first due to heat or power surges.