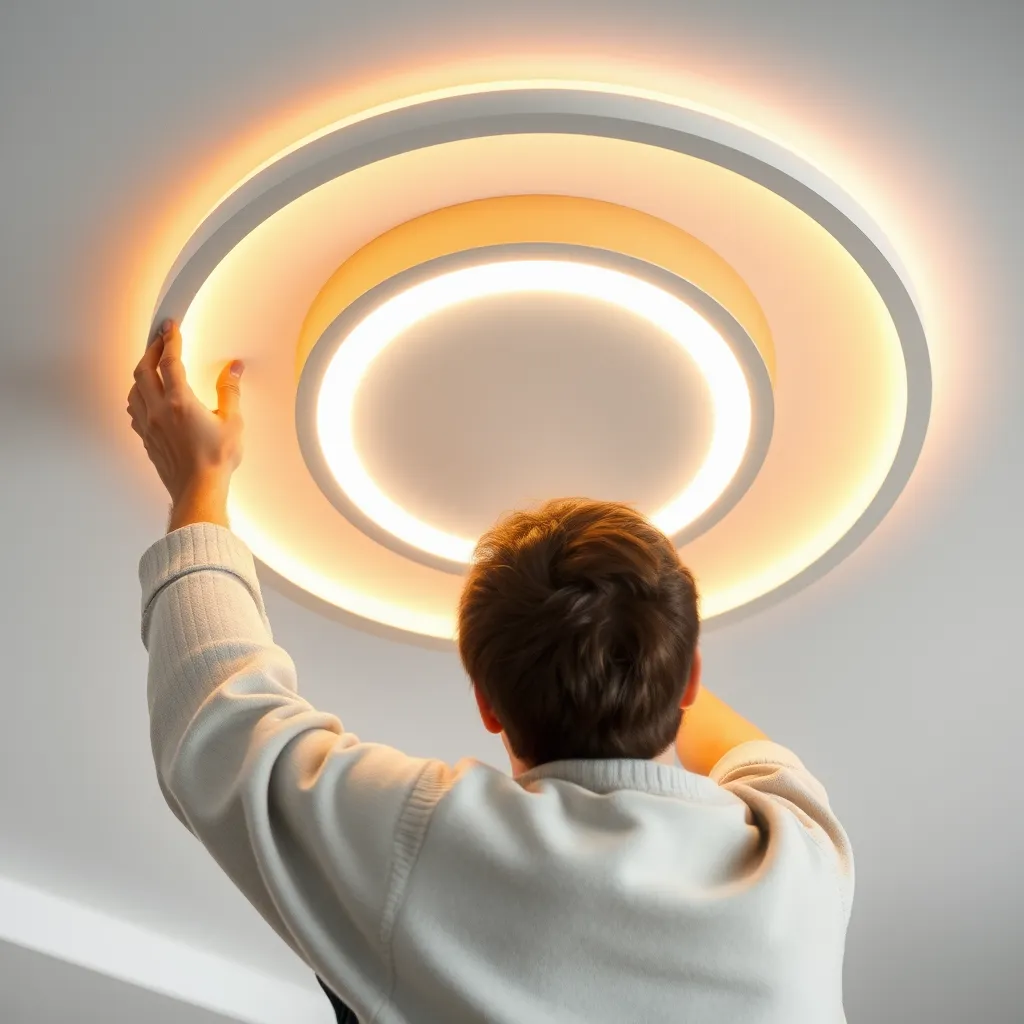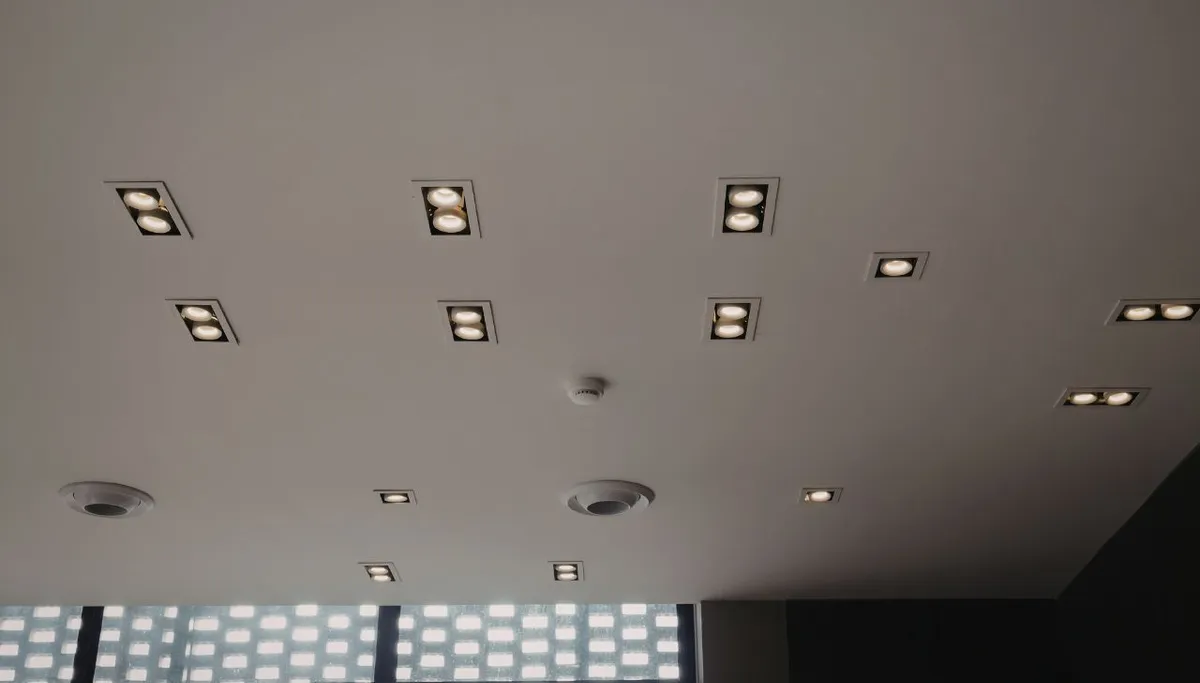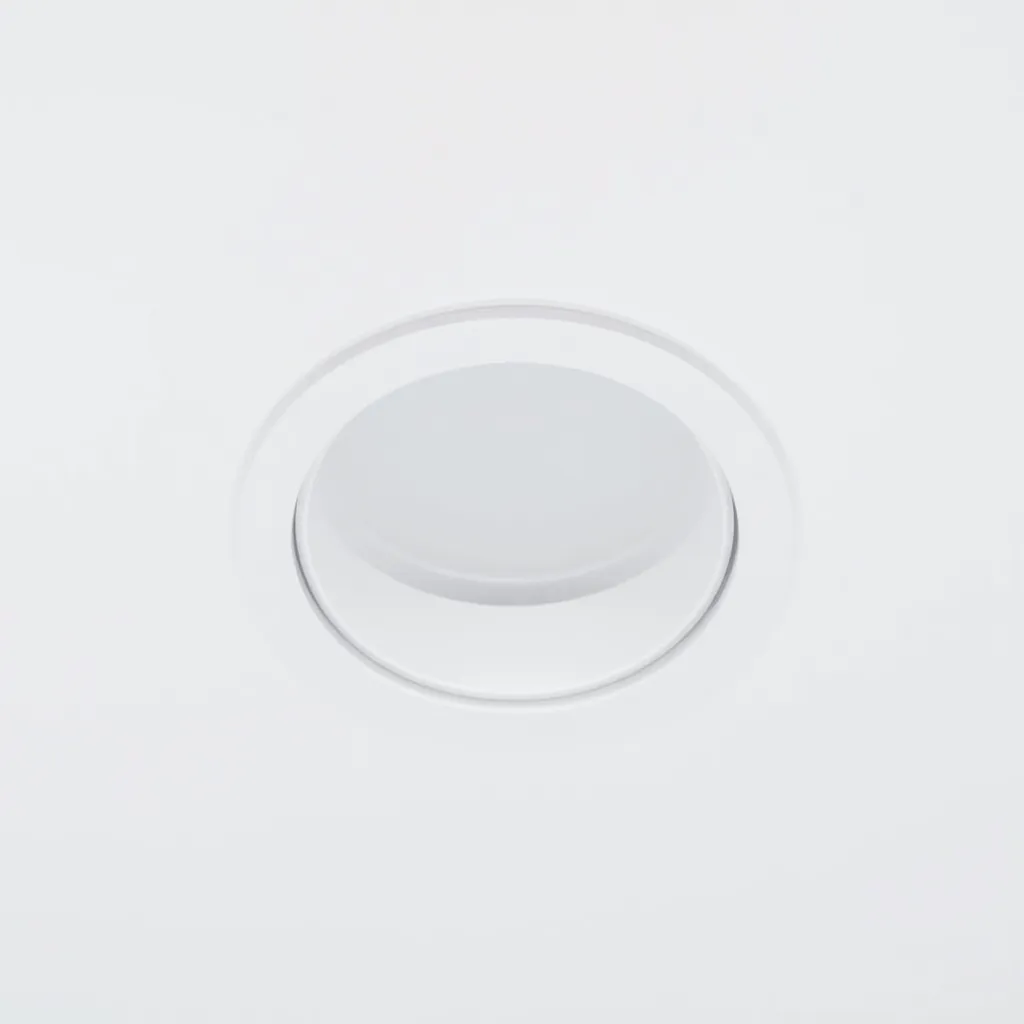
Updating a ceiling fixture is one of the most effective ways to modernize a room while improving energy efficiency. Modern light-emitting diode (LED) flush mount fixtures offer a low-profile aesthetic that works particularly well in rooms with standard 8-foot ceilings where a hanging chandelier or pendant might feel intrusive. Beyond the visual upgrade, these integrated units eliminate the need for bulb replacements, as the light source is built directly into the fixture and designed to last 25,000 to 50,000 hours.
The process of learning how to install a LED flush mount ceiling light is accessible for most homeowners, provided they follow strict safety protocols. While electrical work can seem intimidating, replacing an existing fixture involves working with just three primary wires: the hot, the neutral, and the ground. This task does not require running new circuits or opening walls, making it a "swap-out" project that typically takes less than an hour from start to finish.
Essential Tools and Preparation
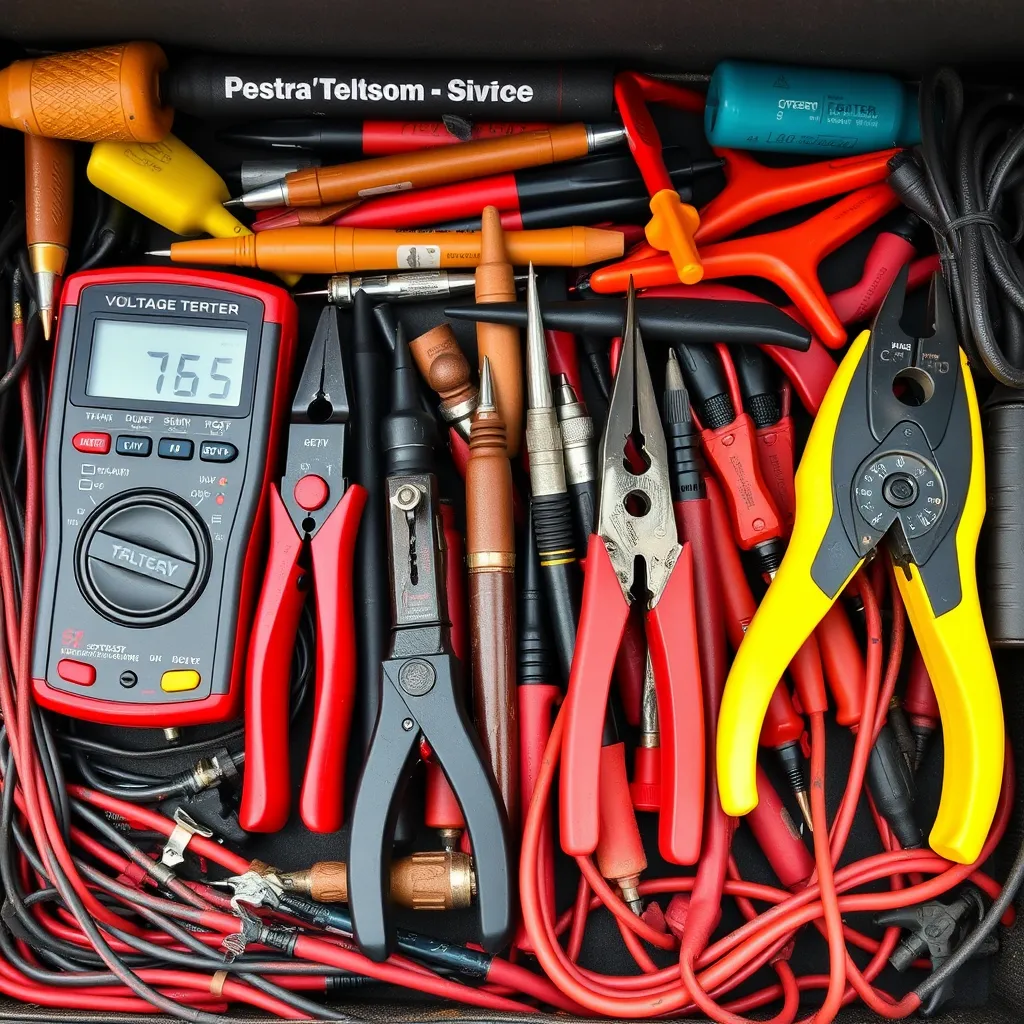
Success in electrical DIY depends heavily on having the correct tools staged before climbing the ladder. Using the wrong screwdriver can strip screws, and failing to verify the absence of voltage is a significant safety risk. Most modern integrated LED fixtures are lightweight-often between 2 and 5 pounds-so heavy-duty bracing is rarely required unless you are replacing a heavy ceiling fan.
Required Tool Kit
Non-contact voltage tester: This is the most critical tool. It detects electrical fields without touching bare wires, confirming the power is truly off.
Wire strippers: Used to remove insulation from the ends of the house wires if they are frayed or damaged.
Screwdrivers: You will likely need both a #2 Phillips head and a medium flathead.
Step ladder: Ensure it is tall enough to reach the ceiling comfortably without standing on the top step.
Wire nuts or lever connectors: While most fixtures include these, having a multi-pack of orange and yellow wire nuts ensures you have the right size for your specific wire gauge.
Understanding Your New Fixture
Before beginning, unbox the unit and identify the components. Integrated LED fixtures differ from traditional ones because they do not have a socket for a bulb. Instead, they feature an LED driver (a small rectangular box) and an LED array (the board with small yellow chips). Check the back of the fixture for a "CCT Switch." Many modern units allow you to select the color temperature-usually ranging from 2700K (Warm White) to 5000K (Daylight)-before you mount it to the ceiling.
Technical Specifications: LED vs. Traditional Fixtures
When selecting your replacement, do not rely on wattage alone. LEDs use significantly less power to produce the same amount of light. Instead, look at the lumen output to ensure the room remains sufficiently bright.
Light Output (Lumens) | Traditional Wattage (Incandescent) | Modern LED Wattage | Estimated Annual Energy Cost |
|---|---|---|---|
800 lm | 60W | 8W - 10W | $1.20 |
1600 lm | 100W | 14W - 18W | $2.10 |
2500+ lm | 150W | 22W - 30W | $3.50 |
Step 1: De-energizing the Circuit
Safety begins at the breaker panel. Locate the circuit breaker controlling the light and flip it to the "Off" position. Do not rely on the wall switch alone. In some older homes, the switch may only interrupt the neutral wire, leaving the fixture "hot" even when the light is off. After flipping the breaker, attempt to turn the light on at the wall. If it doesn't illuminate, use your non-contact voltage tester near the fixture base to confirm no current is present.
Step 2: Removing the Existing Fixture
Most flush mount lights are held in place by a center decorative nut or two side screws. Carefully remove the glass globe or plastic diffuser first to reduce weight. Once the cover is off, unscrew the mounting bolts holding the base to the ceiling. Lower the base slowly to reveal the wiring.
You will see two or three wire connections held together by plastic wire nuts. Unscrew these nuts by turning them counter-clockwise. If the old fixture is heavy, use a "S-hook" or a piece of stiff wire to hang the fixture from the mounting bracket while you disconnect the wires. This prevents the weight of the light from pulling on the house's copper wiring. Once disconnected, remove the old mounting bracket from the junction box.
Step 3: Installing the New Mounting Bracket
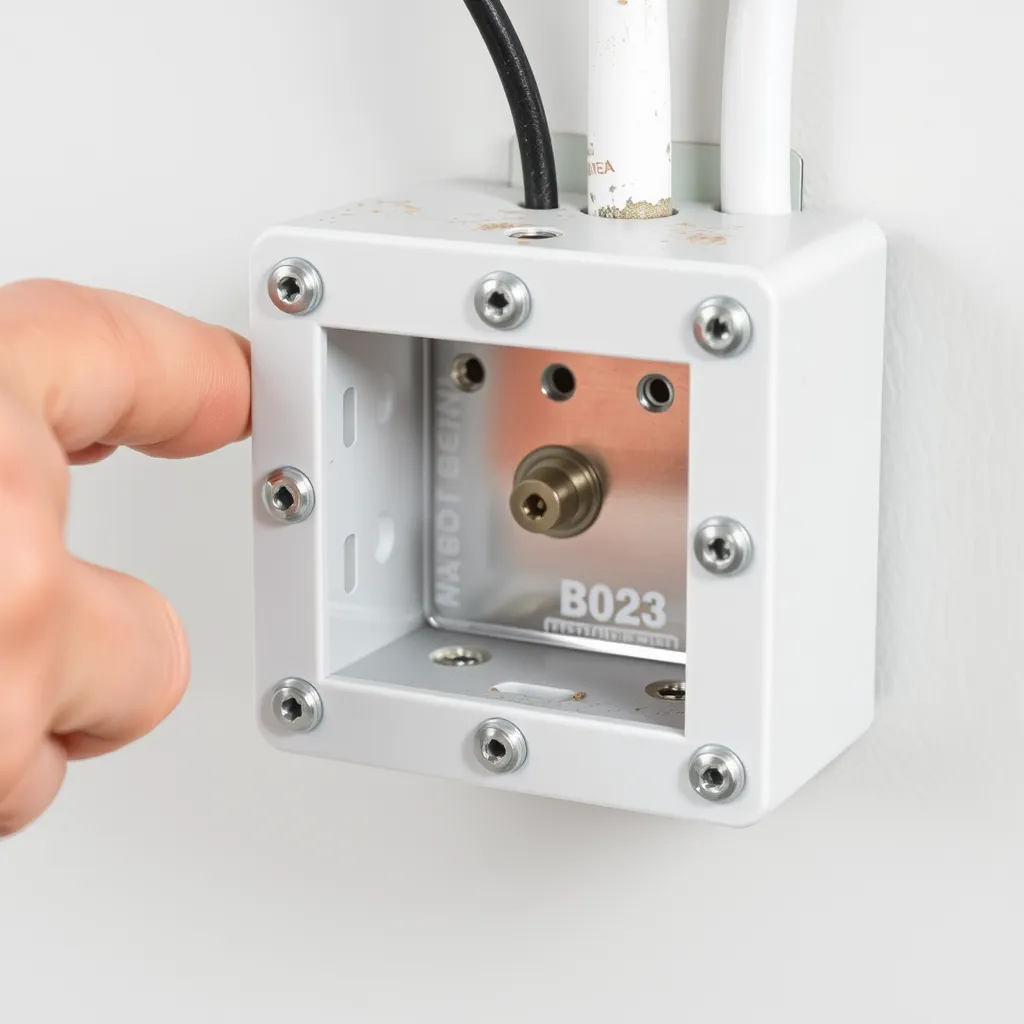
The mounting bracket (sometimes called a mounting plate or "crossbar") acts as the bridge between the electrical box and the fixture. Most LED flush mounts include a proprietary bracket designed to align with the fixture's specific mounting points. Screw this bracket into the two holes in the junction box using the provided machine screws. Ensure the bracket is level and tight; a loose bracket causes the fixture to sag, creating an unsightly gap between the base and the ceiling.
Step 4: Wiring the Integrated LED
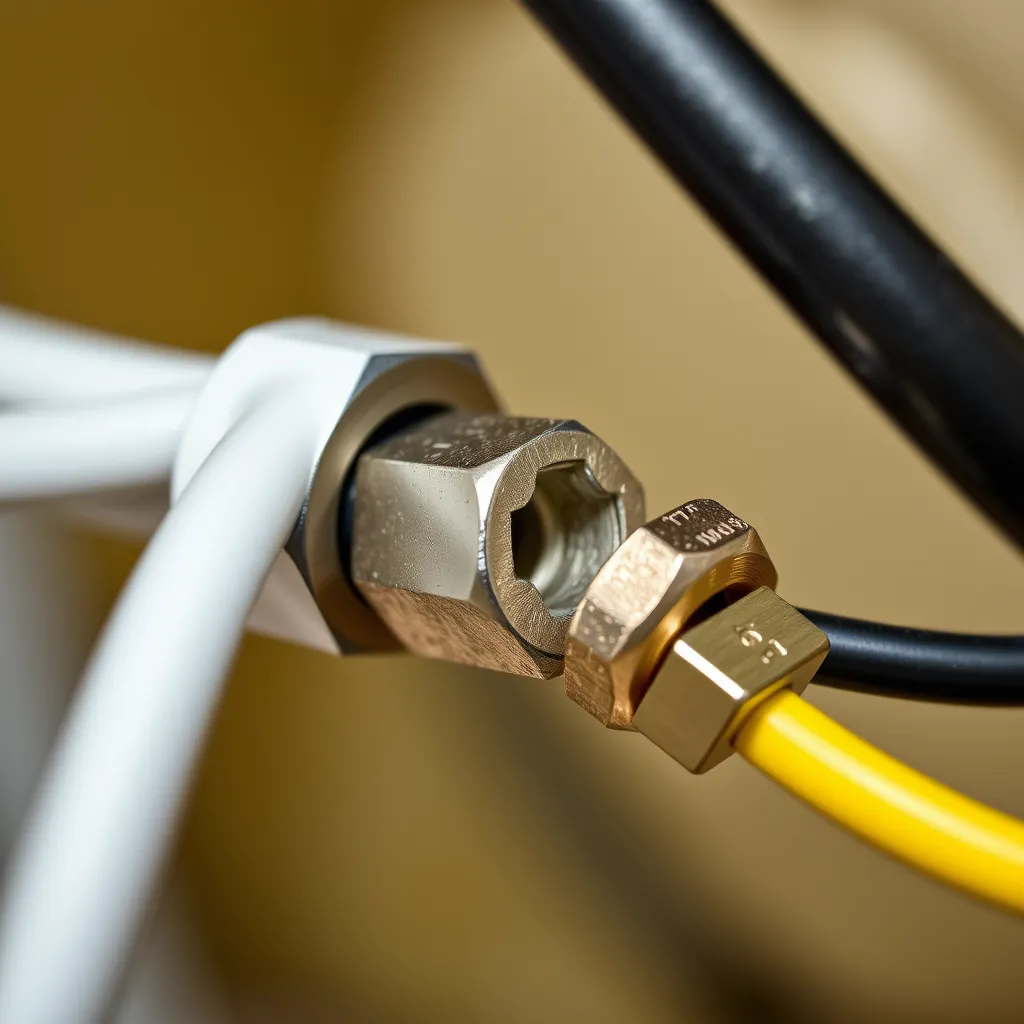
Standard residential wiring in North America follows a specific color code. Your house wiring will likely consist of a Black (Hot) wire, a White (Neutral) wire, and a Bare Copper or Green (Ground) wire. The fixture will have corresponding wires.
Ground Connection: Connect the green or bare copper wire from the fixture to the house ground wire. If your junction box is metal and has no ground wire, wrap the fixture's ground wire around the green grounding screw on the mounting bracket.
Neutral Connection: Join the white wire from the fixture to the white house wire. Twist the bare ends together clockwise and secure them with a wire nut.
Hot Connection: Join the black wire from the fixture to the black house wire. Secure with a wire nut.
After securing the wire nuts, give each wire a gentle tug. If a wire slips out, the connection is too loose. For added security, some professionals wrap a small piece of electrical tape around the base of the wire nut and the wires to prevent vibration from loosening the connection over time.
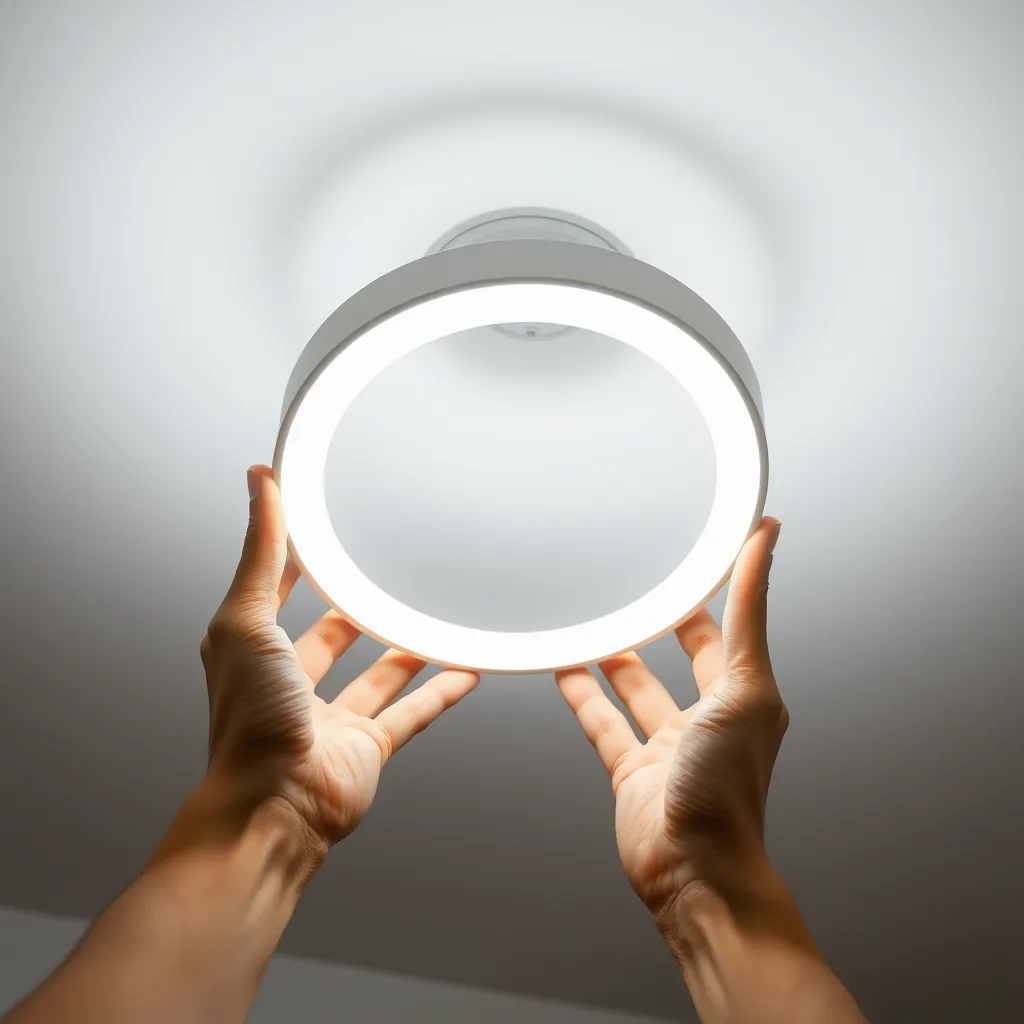
Step 5: Securing the Fixture Base
Carefully fold the wires into the junction box. This is often the most frustrating part of the process, as bulky wire nuts can take up significant space. Avoid pinching the wires between the fixture and the ceiling. Align the holes or slots on the fixture base with the screws on the mounting bracket.
Many modern LEDs use a "twist-and-lock" system or keyhole slots. Push the base upward and rotate it until it seats firmly. Tighten the decorative nuts or side screws until the fixture is snug against the ceiling. If the ceiling is textured or uneven, do not over-tighten, as this can crack the plastic housing of some budget-friendly LED units.
Step 6: Final Testing and Color Adjustment
Restore power at the breaker panel. Turn on the wall switch to verify the light functions. If the fixture is "Selectable CCT" and the light feels too yellow (warm) or too blue (cool), turn the power back off, remove the diffuser, and toggle the switch on the LED board to your preferred setting. Finally, snap or screw the diffuser/lens into place. A properly installed flush mount should have no visible gaps and should not flicker when powered on.
Troubleshooting Common Installation Hurdles
Even a straightforward project can encounter issues, particularly in older homes or when using modern dimming systems.
The Light Flickers or Stays Dimly Lit
This is frequently caused by a "phantom load" or an incompatible dimmer switch. Integrated LEDs require a specific type of dimmer known as an ELV (Electronic Low Voltage) or a CFL/LED compatible dimmer. Older dimmers designed for incandescent bulbs vary the voltage in a way that interferes with the LED driver, leading to flickering, buzzing, or a reduced lifespan for the fixture.
Gaps Between the Fixture and the Ceiling
If the fixture does not sit flush, the junction box may be protruding slightly from the drywall, or the wires inside the box are preventing the fixture from seating deep enough. Try re-arranging the wires to the perimeter of the box rather than the center. If the box itself is crooked, you may need to use a foam gasket or a small bead of paintable caulk to hide the gap.
Dealing with Old Wiring (No Ground)
In homes built before the 1960s, you may find only two wires (black and white) and no ground. While the LED will function without a ground, it is a safety feature that protects against electrical shock if a wire shorts to the metal housing. If no ground is present, the best practice is to install the fixture to a plastic junction box or consult an electrician to discuss GFCI protection for that circuit.
Conclusion
Installing an LED flush mount ceiling light is a straightforward upgrade that delivers lasting benefits in both efficiency and style. With proper preparation, basic tools, and strict adherence to safety protocols, most homeowners can complete the swap in under an hour. These integrated fixtures eliminate bulb replacements, reduce energy consumption, and modernize any room with a sleek, low-profile design. By following each wiring step carefully and testing your work before securing the diffuser, you'll enjoy reliable, beautiful lighting for decades to come.
Frequently Asked Questions
Q1: Can I install a LED flush mount if I have a ceiling fan box?
A: Yes. Ceiling fan boxes are heavy-duty and rated for much higher weights (usually up to 70 lbs) than a standard light fixture requires. The hole spacing is the same, so your new LED fixture will mount perfectly to a fan-rated box. You will simply have extra support that you aren't fully utilizing.
Q2: Do I need to replace the entire fixture if the LED stops working?
A: With integrated LED flush mounts, the "bulbs" are not replaceable. If the light fails, you typically have to replace the entire unit. However, most failures occur in the driver, not the LEDs themselves. High-quality fixtures often come with 5-year warranties to cover these components, as the LEDs are rated to last 20+ years under normal usage.
Q3: How many lumens do I need for a standard bedroom?
A: For a standard 10x12 bedroom, aim for a fixture that produces between 1,500 and 2,000 lumens. This provides enough light for general tasks. If the room is used for reading or detailed work, consider a fixture on the higher end of that scale and pair it with a compatible dimmer switch to adjust the ambiance as needed.
Q4: Is it safe to use a higher wattage LED than the previous incandescent bulb?
A: The "Max Wattage" rating on a ceiling box refers to heat dissipation. Since an 18W LED produces significantly less heat than a 60W incandescent, you are well within safety limits. When you install a LED flush mount ceiling light, you are almost always reducing the thermal load on your home's electrical system, which is a major benefit for fire safety.