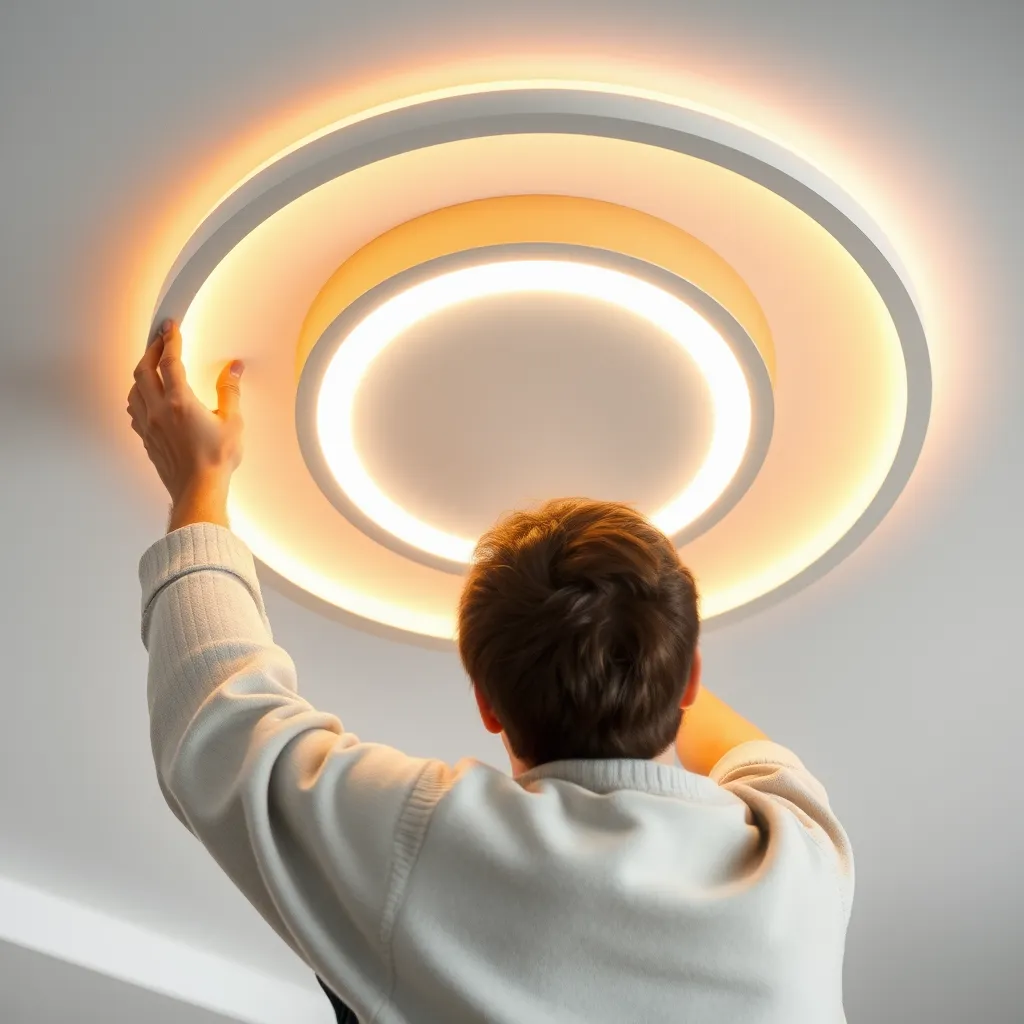
Install LED recessed lighting in an existing ceiling using canless (wafer-style) LED fixtures. Cut a 6-inch hole in the drywall with a hole saw, run electrical cable from the nearest power source to the hole, connect the wires to the fixture's integrated junction box, push the fixture into the hole, and the spring clips lock it flush against the ceiling. No attic access is required. Each fixture takes 20-30 minutes to install if the wiring run is accessible. Canless LED fixtures cost $7-$15 each and produce 900-1,100 lumens of bright, even light.
This guide covers retrofit installation in a finished ceiling where no recessed cans exist. If you already have recessed cans and just want to upgrade to LED, use a retrofit kit instead - it screws into the existing bulb socket and takes under 2 minutes per fixture.
Tools and Materials

Item | Purpose |
|---|---|
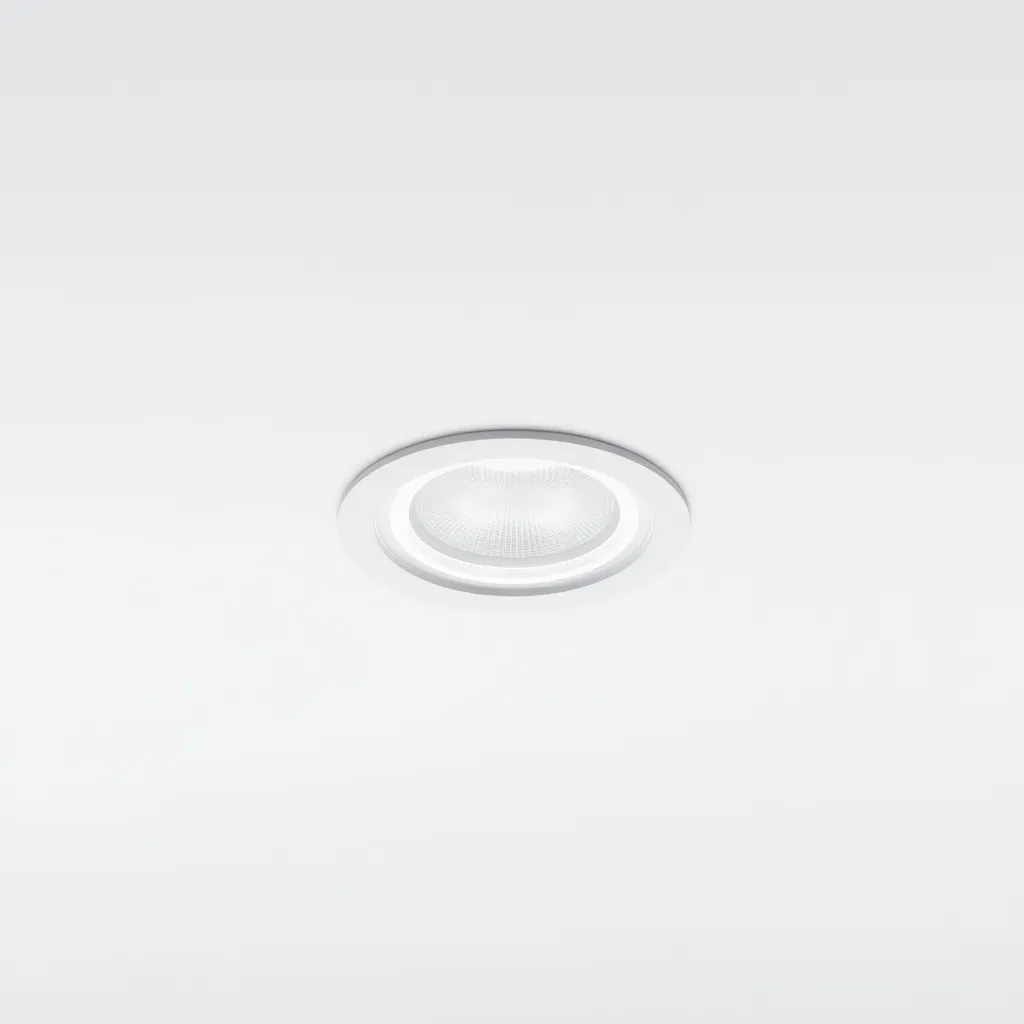
Canless LED recessed light (6-inch) | The fixture itself - light, driver, and junction box in one package |
6-inch hole saw or adjustable drywall cutter | Cuts the ceiling hole to the exact fixture size |
14/2 or 12/2 Romex cable | Electrical wiring from power source to fixture |
Non-contact voltage tester | Verifies power is off before working |
Wire nuts and electrical tape | Secures wire connections |
Stud finder | Locates joists to avoid cutting into them |
Fish tape or flexible drill bit | Routes wire through enclosed ceiling cavities |
Step 1: Plan the Layout
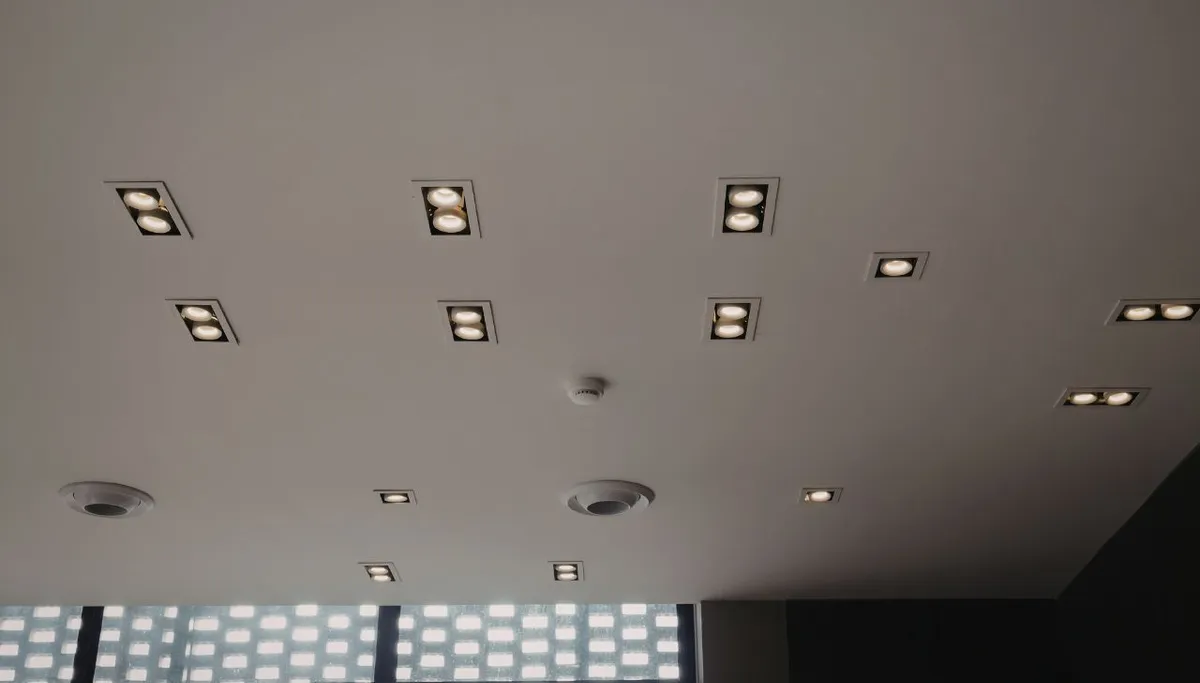
Determine how many lights you need and where they should go. The standard spacing rule is to divide ceiling height by 2 for maximum distance between lights. For an 8-foot ceiling, space lights no more than 4 feet apart. Place lights 2-3 feet from walls to provide wall-washing effect. Use a stud finder to mark joist locations - you need to cut holes between joists, not into them. Mark each light position on the ceiling with a pencil.
Before cutting, drill a small pilot hole at each marked position and insert a bent wire hanger to feel for obstructions (pipes, ducts, wires) in the ceiling cavity. This 30-second check prevents the frustration of cutting a full 6-inch hole only to discover a joist, pipe, or duct blocking the space.
Step 2: Turn Off Power and Run Cable
Turn off the circuit breaker for the room and verify power is off with a voltage tester. Cut the first hole with your hole saw. Run 14/2 Romex cable from the existing switch location or power source through the ceiling cavity to the first hole. For multiple fixtures, daisy-chain the cable from one hole to the next. A fish tape or flexible drill bit helps guide cable through enclosed ceiling cavities without attic access.
If you are adding a new switch for the recessed lights, run cable from the switch location up into the ceiling, through the cavity to the first fixture, then from fixture to fixture. Leave 12 inches of extra cable hanging from each hole for easy connection to the fixture's junction box. All wiring must comply with local electrical code - permits may be required for new circuit installation.
Step 3: Connect and Install the Fixture
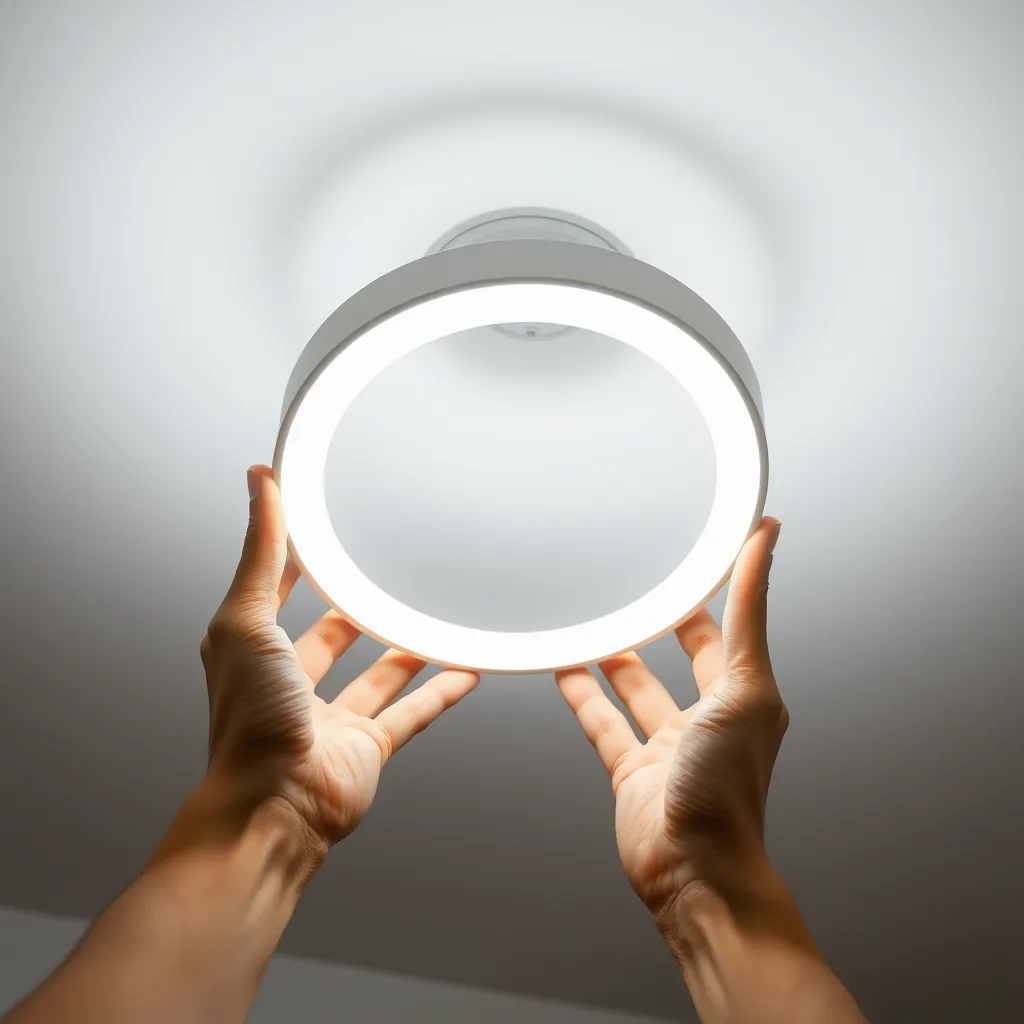
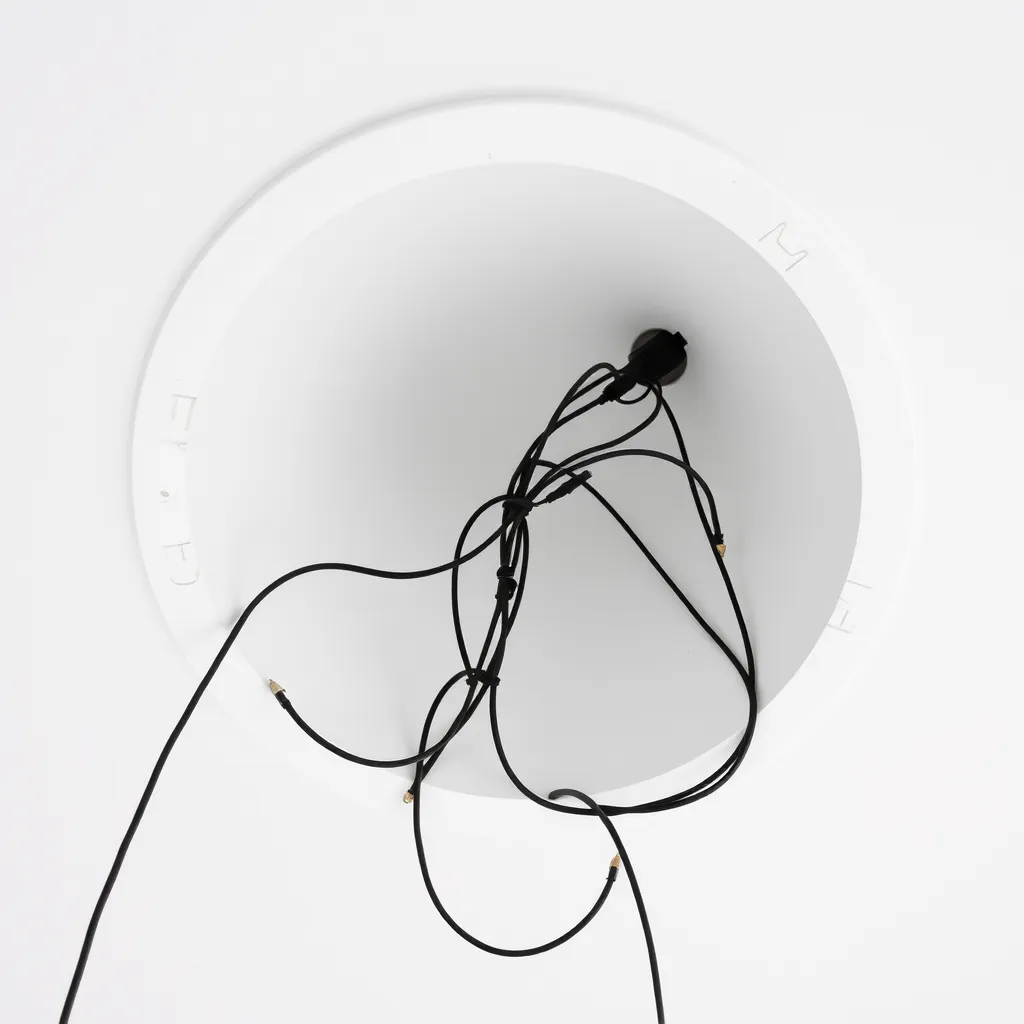
Canless LED recessed lights include a small junction box with a built-in Romex connector. Push the cable through the connector, strip the wires, and connect black to black, white to white, bare copper to green ground. Secure with wire nuts and close the junction box. Push the junction box up into the ceiling cavity. Compress the spring clips on the LED fixture, push it into the hole, and release - the clips grab the back of the drywall and pull the fixture flush against the ceiling surface.
The fixture should sit flat against the ceiling with no gaps. If it feels loose, the hole may be slightly oversized - some fixtures include adjustable clips for this situation. If the hole is too small, enlarge it slightly with a drywall rasp or utility knife. Test each fixture before moving to the next by temporarily restoring power.
Step 4: Restore Power and Test
After all fixtures are installed and wired, restore power at the breaker and test with the switch. All lights should turn on immediately at full brightness. If a light does not work, turn off the breaker and check its wire connections at the junction box. If all lights work, install a dimmer switch if desired - most canless LED fixtures are dimmable with an LED-compatible dimmer.
Conclusion:
Switching to canless LED recessed lighting is an easy way to modernize your home with a clean look, better efficiency, and flexible placement. For the best results, pair your fixtures with a compatible dimmer and choose models with features like selectable color temperature or smart controls. Once installed, these lights provide long-lasting, high-quality illumination with simple future upgrades.
Frequently Asked Questions
Q1: Do I need an electrician to install recessed LED lights?
A: If you are running new wiring and adding a switch, basic electrical knowledge is required. Many jurisdictions require a permit and inspection for new electrical circuits. If you are comfortable running Romex cable and making wire connections, the project is achievable as a DIY job. If you have no electrical experience or your home has aluminum wiring, hire a licensed electrician. The typical professional cost is $100-$200 per fixture including materials and labor.
Q2: Can I install recessed lights without attic access?
A: Yes - that is exactly what canless LED fixtures are designed for. They install entirely from below the ceiling. The junction box, driver, and LED module all fit through the ceiling hole. You route wire through the ceiling cavity using fish tape inserted through the cut holes. This is called a "remodel" or "old work" installation and is the standard method for adding recessed lighting to finished ceilings.
Q3: How many recessed lights do I need per room?
A: For a 12×12 foot room with an 8-foot ceiling, 4-6 recessed lights provide even ambient illumination. The formula is: room square footage ÷ light spacing squared. With 4-foot spacing on an 8-foot ceiling: 144 sq ft ÷ (4×4) = 9 grid positions, reduced to 4-6 practical positions after accounting for furniture and room use. For task-heavy rooms like kitchens, place lights over work areas (sink, stove, island) in addition to general ambient positions.