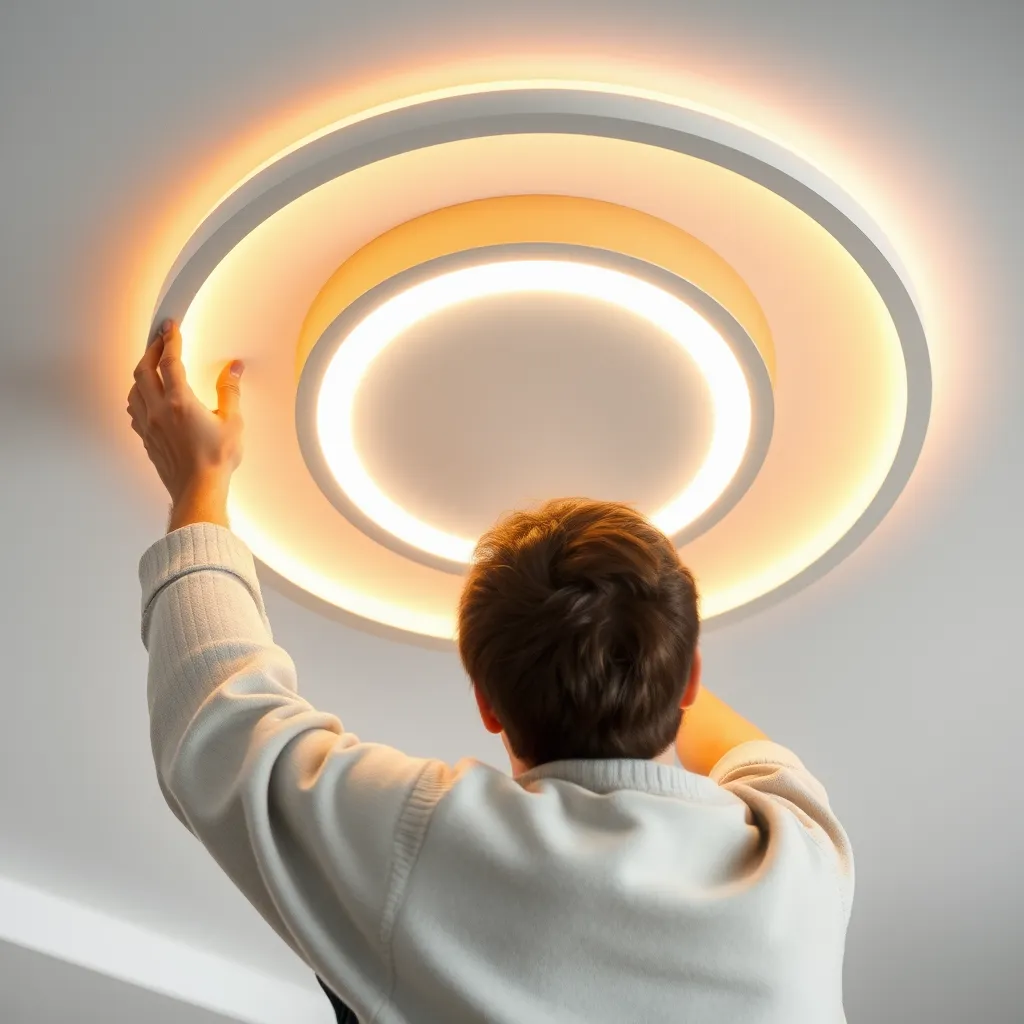
Traditional recessed "can" lights have been a staple of residential architecture for decades, but they are often the least efficient part of a home's lighting plan. Older fixtures rely on incandescent or halogen bulbs that generate significant heat and consume excessive electricity. Beyond energy use, these older setups often suffer from "light leaks" and a dated aesthetic characterized by yellowed plastic trim rings and visible gaps between the bulb and the housing.
The solution isn't necessarily to tear out the entire fixture. Modern LED retrofit kits allow you to upgrade your existing recessed lighting to high-efficiency, integrated technology in minutes. These kits replace both the bulb and the trim, creating a sealed, modern look while slashing energy consumption. This transition addresses the three main flaws of traditional recessed lighting: poor light quality, high operating costs, and thermal inefficiency.
Understanding the Retrofit Advantage
When you decide to replace recessed lighting with LED, you have two primary options: swapping the bulb for an LED equivalent or installing an integrated retrofit kit. While a simple bulb swap is the easiest path, the retrofit kit is superior for several technical reasons.
An integrated module includes a built-in trim ring and a gasket that seals the opening against the ceiling. This prevents the "chimney effect," where conditioned air from your living space escapes through the light fixture into the attic or joist space. Furthermore, integrated LEDs are designed as a single thermal unit. Because the LEDs are mounted directly to a heat sink that is part of the trim, they dissipate heat more effectively than an LED bulb squeezed into a tight, enclosed can. This thermal management is why retrofit kits often carry lifespans of 50,000 hours or more, significantly outlasting even the best standalone LED bulbs.
Essential Components and Specifications

Before purchasing hardware, you must identify the physical specifications of your existing "cans." Most residential recessed housings are 4, 5, or 6 inches in diameter. Measuring the internal diameter of the metal housing (not the plastic trim) ensures a snug fit for the new module.
Feature | Standard Option | High-Performance Option |
|---|---|---|
Color Rendering Index (CRI) | 80 CRI (Standard) | 90+ CRI (True-to-life colors) |
Luminous Efficacy | 60-70 Lumens/Watt | 85-100+ Lumens/Watt |
Lifespan | 25,000 Hours | 50,000+ Hours |
Dimming Range | 100% to 20% | 100% to 1% (Deep dimming) |
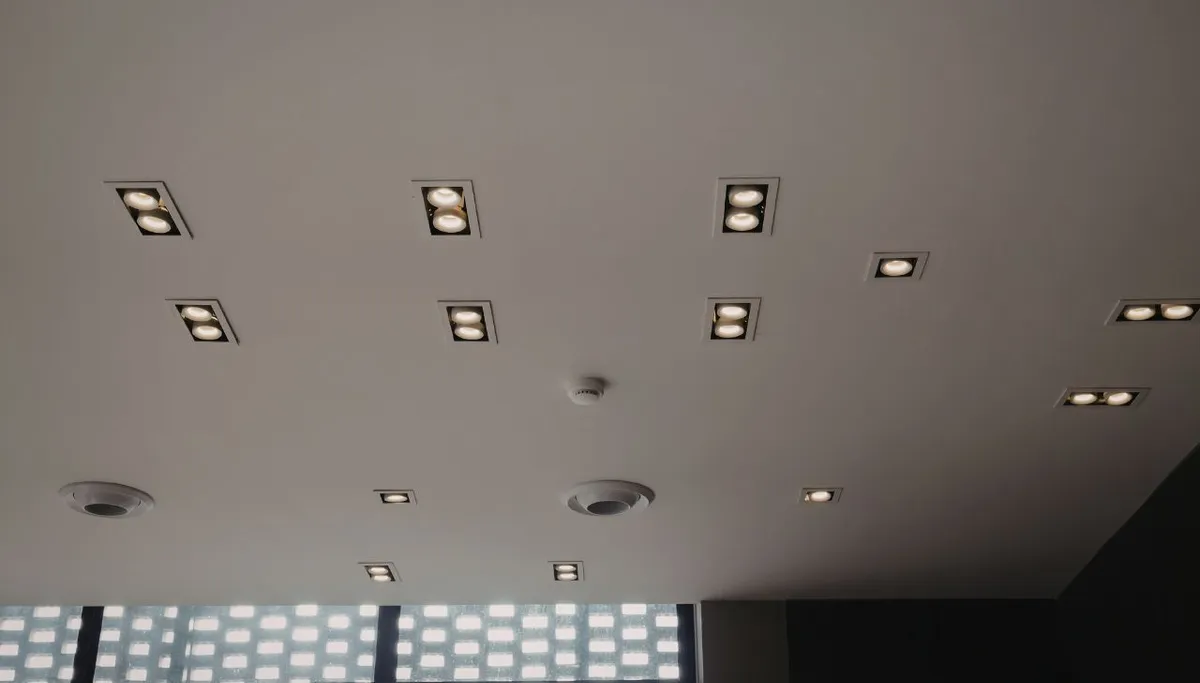
Sizing and Compatibility
The most common size in modern homes is the 6-inch can, though 4-inch cans are frequently found in bathrooms and over kitchen counters for task lighting. Many manufacturers now offer "universal" 5/6-inch kits. These utilize adjustable torsion springs that can be moved to different slots on the module's frame to accommodate both 5-inch and 6-inch housings. If your housing lacks the internal brackets required for torsion springs, look for kits that use "friction clips" or "blade springs" which grip the sides of the can via tension.
Color Temperature and Atmosphere
Color temperature, measured in Kelvin (K), defines the "warmth" or "coolness" of the light. This is a critical decision that affects the mood of a room:
2700K: Provides a warm, amber glow similar to traditional incandescent bulbs, making it ideal for bedrooms and living rooms.
3000K: Slightly whiter and is often preferred for kitchens and hallways.
4000K or 5000K: Provides a crisp, daylight-like environment that aids focus and visibility in workspaces, garages, or laundry rooms.
Preparation and Safety Protocol
While this project is considered a DIY-friendly task, it involves electrical components. Safety should be the priority. Before you begin, ensure the light switch is in the "off" position. If you are working on older wiring or feel unsure about the condition of the sockets, turning off the circuit breaker is a recommended precaution.
Gather the following tools and materials:
A stable A-frame ladder: Ensure it is tall enough to reach the ceiling comfortably without standing on the top step.
A non-contact voltage tester: To verify the power is truly off at the socket.
A microfiber cloth: To wipe away dust or cobwebs inside the old housing before installation.
The LED retrofit modules: Verified for the correct size and color temperature.
The Installation Process: A Detailed Walkthrough
Replacing recessed lighting with LED modules is a straightforward mechanical process. Most homeowners can complete a single room in less than an hour.
Step 1: Removing the Legacy Components
Start by unscrewing the old bulb. Once removed, reach inside the can and pull down on the existing trim ring. Most trims are held by two metal springs. Pull the trim down about two inches until you see the springs. Squeeze the spring arms together to release them from the brackets inside the can. If your trim is held by friction, simply pull downward with steady pressure until it slides out. This is a good time to inspect the interior of the housing for any signs of scorched wiring or debris.
Step 2: Preparing the Socket
The LED module connects to your house wiring via an E26 screw-in adapter (the standard light bulb base). Take the adapter provided in your kit and screw it into the socket inside the can. Ensure it is tight, as a loose connection can lead to arcing or flickering. The adapter will have a female "orange" or "quick-connect" plug hanging from it. This connector is the bridge between the old housing and the new LED technology.
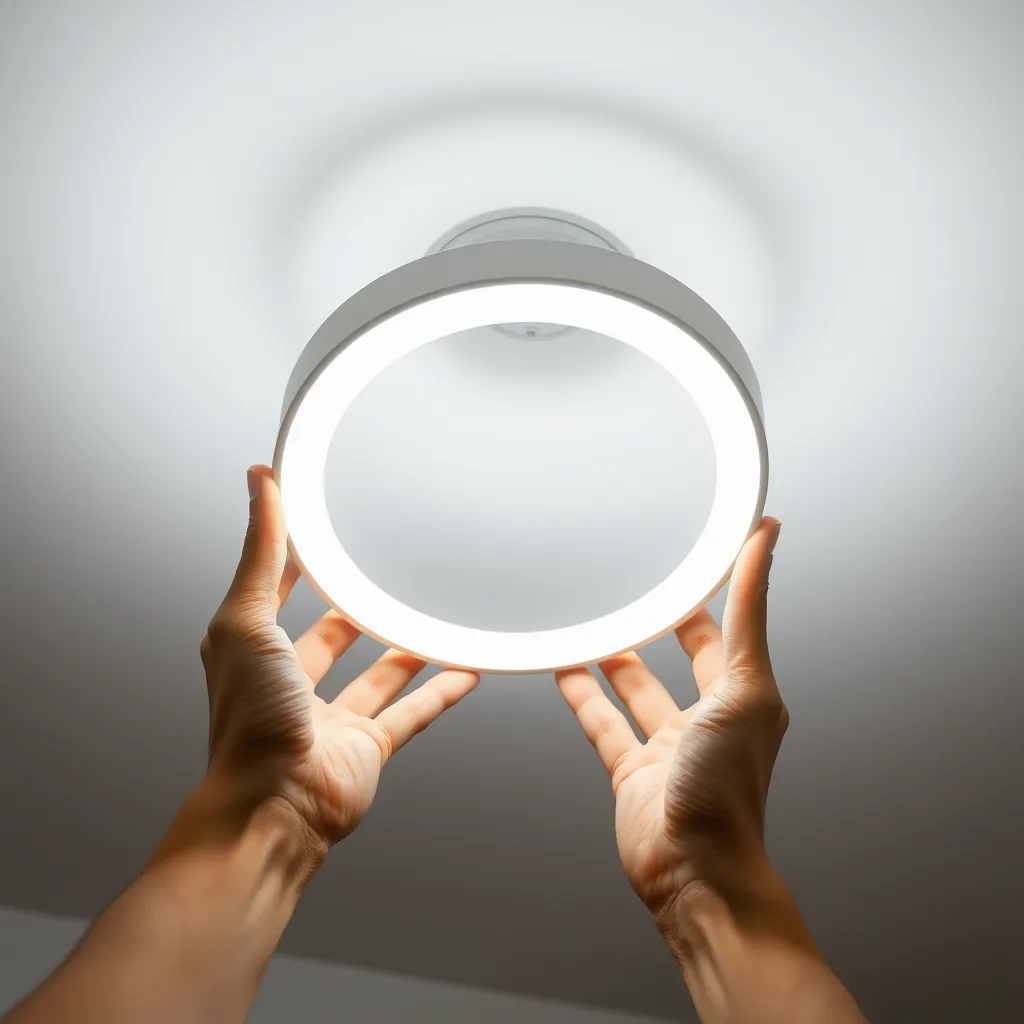
Step 3: Connecting the Module
Hold the LED retrofit module up to the ceiling and plug the male connector from the module into the female connector you just installed in the socket. These connectors usually "click" or lock into place. Before pushing the unit into the ceiling, let it hang for a moment and turn on the light switch to verify the connection is solid. If the light illuminates, turn the switch back off and proceed.
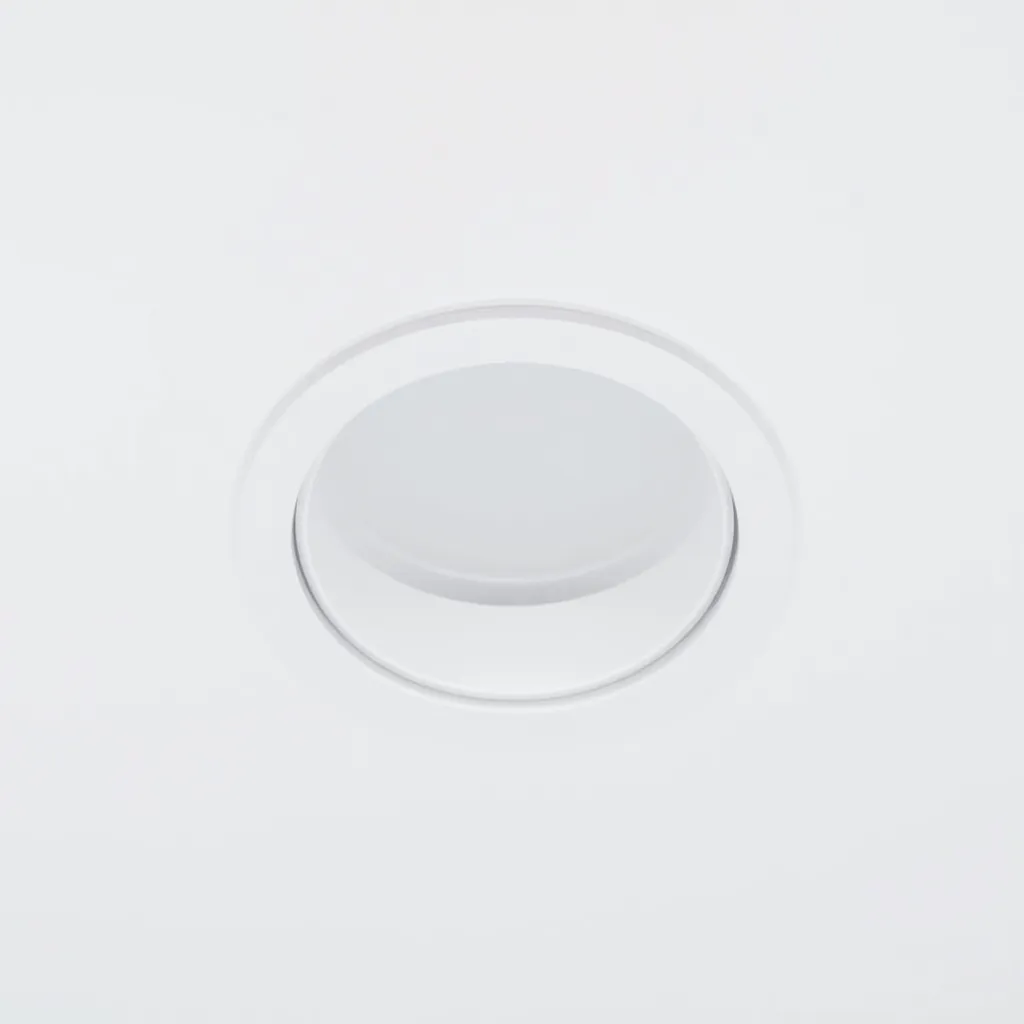
Step 4: Securing the Unit
If your kit uses torsion springs (the V-shaped wires), squeeze the legs of the springs together and hook them into the metal brackets (C-shaped tabs) on the inside of the can. Once hooked, push the entire module upward. The springs will pull the module flush against the ceiling. If your kit uses friction clips, simply align the module with the center of the can and push upward firmly. The metal clips will bite into the sides of the housing to hold the unit in place.
Addressing Dimmer Compatibility
One of the most frequent issues encountered when you replace recessed lighting with LED is flickering or a limited dimming range. This is rarely a fault of the LED itself, but rather an incompatibility with the wall switch. Older dimmers were designed for "resistive loads" (incandescent bulbs). LEDs are "electronic loads" and require a different type of signal.
Standard incandescent dimmers use "leading-edge" TRIAC technology. Many LEDs prefer "trailing-edge" or ELV (Electronic Low Voltage) dimming. If you notice a buzzing sound or if the lights flash when dimmed low, you likely need to upgrade to a dedicated LED+ dimmer. These switches allow you to adjust the "low-end trim," which sets the minimum voltage the dimmer sends to the light, preventing the drop-off that causes flickering at low levels.
Minimum Load Requirements: Some older dimmers have a minimum load requirement of 40 or 60 watts. Since a single LED retrofit might only pull 9 to 12 watts, a circuit with only two or three lights might not draw enough power to keep the dimmer's internal switch engaged, leading to erratic behavior.
Advanced Features: CRI and Selectable CCT
When selecting your hardware, pay attention to the Color Rendering Index (CRI). CRI measures how accurately a light source reveals the true colors of objects compared to natural sunlight. For kitchens and bathrooms, look for a CRI of 90 or higher. This ensures that food looks appetizing and skin tones appear natural in the mirror. Lower CRI lights (80 and below) can often make spaces feel "muddy" or cast a slight greenish-gray hue.
If you are undecided on color temperature, look for "Selectable CCT" modules. These units feature a small toggle switch on the back of the module that allows you to cycle through 2700K, 3000K, 3500K, 4000K, and 5000K. You can test different settings in your actual room before final installation, ensuring the light complements your paint colors and furniture perfectly.
Long-Term Benefits and ROI
The financial argument for this upgrade is compelling. A standard 65-watt BR30 incandescent bulb costs significantly more to operate than a 10-watt LED retrofit that produces the same amount of light. In a room with six recessed lights, you are reducing the power draw from 390 watts to just 60 watts.
In addition to electricity savings, the reduction in heat load can lower air conditioning costs during summer months. Incandescent bulbs are essentially small heaters; in a room with 10 or 20 recessed lights, the thermal output is substantial. By switching to LEDs, you remove this heat source from your living space, allowing your HVAC system to run more efficiently.
Common Troubleshooting Scenarios
The module won't stay flush: This usually happens because the torsion spring brackets inside the can are bent or the wiring is bunched up behind the module. Pull the module down, tuck the wires neatly to the side of the socket, and ensure the springs are fully seated in the brackets.
The light flickers: Check the dimmer compatibility first. If there is no dimmer, check the E26 adapter to ensure it is screwed tightly into the socket. A loose connection here is a common culprit.
Ghosting (lights stay on very dimly when off): This occurs when a small amount of current leaks through the circuit, often from a smart switch or a dimmer with an illuminated pilot light. Installing a LUT-MLC (Minimum Load Cap) or switching to a high-quality LED-rated dimmer usually solves this.
Conclusion
Replacing your traditional recessed lighting with LED retrofit kits is one of the highest-impact upgrades you can make to a home. The project requires no electrician, no patching of drywall, and no changes to your existing ceiling housings, yet it delivers immediate gains in energy efficiency, light quality, and aesthetics. By cutting wattage by up to 80 percent, eliminating heat output, and sealing the gaps around outdated trim rings, retrofit modules pay for themselves through lower utility bills while extending fixture lifespan well beyond what any standard bulb can offer.
The key to a successful upgrade is matching the right components to your space: confirm your housing diameter, choose a color temperature that fits the room's purpose, prioritize a CRI of 90 or higher in living areas, and verify dimmer compatibility before you flip the switch. With the right kit in hand, you can transform an entire room in under an hour and enjoy decades of clean, consistent, low-cost light.
Frequently Asked Questions
Q1: Can I put an LED retrofit into a non-IC rated can?
A: Yes. Non-IC (Insulation Contact) rated cans require a 3-inch clearance from insulation because of the high heat produced by old bulbs. Because LED retrofits produce significantly less heat, they are safe to use in these housings. However, the LED does not change the rating of the can itself; you must still maintain the required clearance from insulation as specified by the original housing's label.
Q2: Will these work in wet locations like showers?
A: Most LED retrofit kits are "Damp Rated," which is suitable for bathrooms. However, if the light is located directly inside a shower stall where it might be splashed, you must verify that the kit is specifically "Wet Location Rated." These units feature additional gaskets and sealed electronics to prevent moisture ingress.
Q3: Do I have to remove the old "can" to install these?
A: No. The primary benefit of a retrofit kit is that it utilizes the existing metal housing. You only remove the old bulb and the decorative trim. The "can" stays in the ceiling, acting as the structural support and electrical enclosure for the new LED module.
Q4: How do I know if my recessed light is 5-inch or 6-inch?
A: Remove the existing bulb and measure the diameter across the inside of the metal housing. If the measurement is roughly 5.5 to 6 inches, you have a 6-inch can. If it is closer to 5 inches, it is a 5-inch can. Many modern kits are designed with "swing-out" springs that allow them to fit both sizes interchangeably.