The power supply is the heart of any LED installation. It converts high-voltage alternating current (AC) from your wall outlets into the low-voltage direct current (DC) that light-emitting diodes require. While the process of connecting these components is straightforward, precision is required. A single mismatch in voltage or an undersized transformer can lead to flickering, premature component failure, or even fire hazards. Understanding the electrical requirements of your lighting system ensures a safe, long-lasting, and flicker-free experience.
Understanding Electrical Requirements
Before touching any wires, you must identify the specific electrical needs of your light strips. Most residential LED tapes operate on either 12V DC or 24V DC. This voltage is fixed; you cannot run a 12V strip on a 24V supply without instantly burning out the diodes. Conversely, a 24V strip connected to a 12V supply will either fail to light entirely or produce a very dim, orange-hued glow.
The second factor is wattage. Think of voltage as the pressure in a water pipe and wattage (or amperage) as the volume of water flowing through it. Your power supply must be capable of providing more "volume" than the lights demand. Lighting professionals follow the 80% Rule: never load a power supply to more than 80% of its rated capacity. This provides a safety buffer for "inrush current" (the surge when lights first turn on) and prevents the unit from overheating during extended use.
LED Chip Type | Voltage | Watts per Meter | Total Load (5m) | Recommended Supply (80% Rule) |
|---|---|---|---|---|
SMD 2835 (Standard) | 12V | 4.8W | 24W | 30W - 40W |
SMD 2835 (High Density) | 12V | 9.6W | 48W | 60W - 75W |
SMD 5050 (RGB) | 12V | 14.4W | 72W | 90W - 100W |
SMD 2835 (Ultra Bright) | 24V | 19.2W | 96W | 120W - 150W |
COB (Dotless) LED | 24V | 15W | 75W | 100W |
Calculating Your Total Power Load
To determine the exact power supply size you need, use this formula: (Total Length in Meters × Watts per Meter) × 1.2 = Minimum Power Supply Wattage.
For example, if you are installing 8 meters of RGB tape rated at 14.4W/m, the calculation is (8 × 14.4) = 115.2W. Adding the 20% safety margin (115.2 × 1.2) gives you 138.24W. In this scenario, a 150W power supply is the appropriate choice.
Choosing the Right Power Supply Architecture
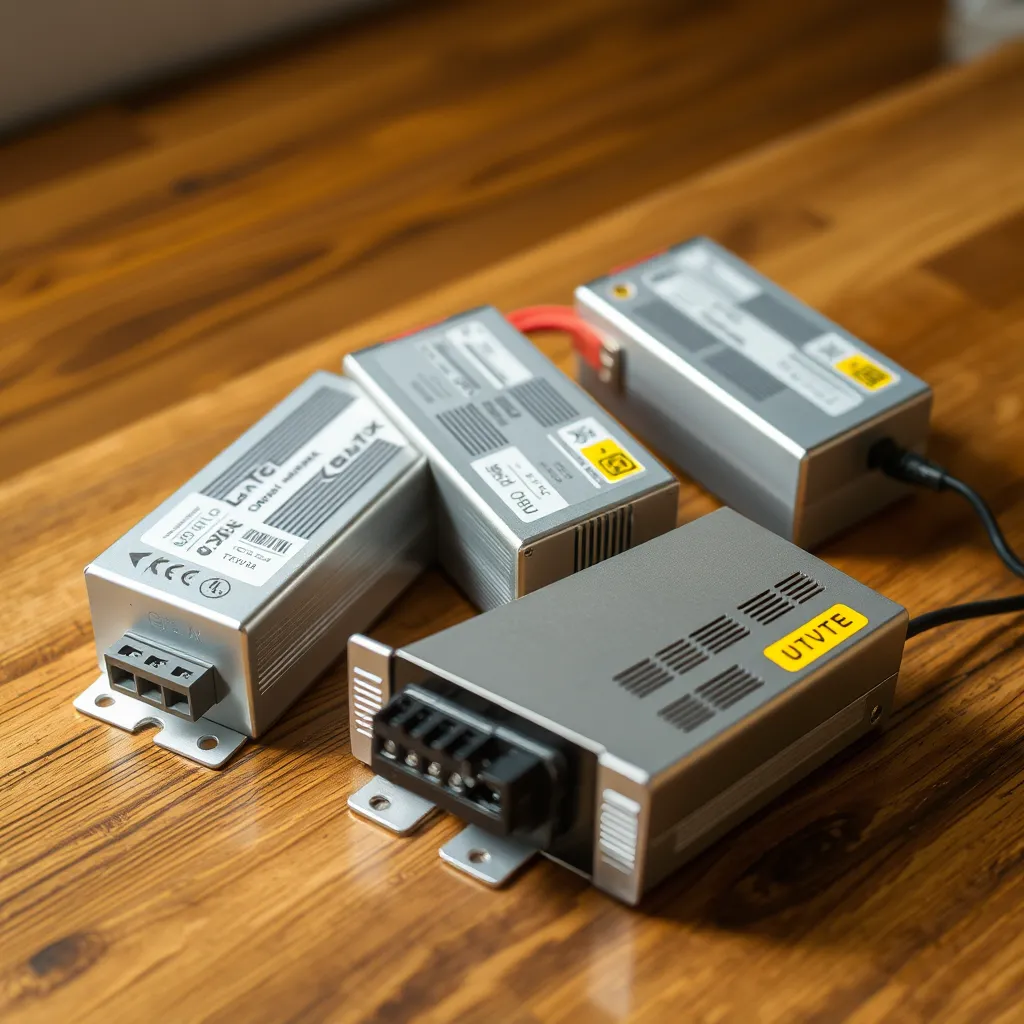
The environment and scale of your project dictate which type of power source is best. Not all transformers are built for the same conditions, and selecting the wrong enclosure type can lead to overheating or short circuits.
Desktop and Wall-Wart Adapters
These are the most common for DIY projects, such as behind-a-TV bias lighting or desk setups. They are "plug-and-play" and typically come with a standard 2.1mm or 2.5mm DC barrel jack. They are fully enclosed in plastic, making them safe for households with children or pets, but they are rarely rated for more than 60W to 96W. If your project requires more power, you will likely need to step up to an industrial-style unit.
Enclosed Switching Power Supplies
Often called "mean well" style supplies or "caged" supplies, these metal-framed units are designed for higher loads and permanent installations. They feature screw terminals for both AC and DC connections. Because the terminals are exposed, these should be mounted inside a cabinet, a ventilated junction box, or a dedicated equipment rack. They are highly efficient and often include internal cooling fans for units over 200W.
Waterproof (IP67) Drivers
For bathroom, kitchen, or outdoor installations, an IP67-rated driver is mandatory. These units are "potted," meaning the internal electronics are encased in a solid block of resin to prevent moisture ingress. They do not have fans and instead dissipate heat through their aluminum outer shell. When mounting these, ensure there is at least an inch of air space around the unit to prevent heat buildup.
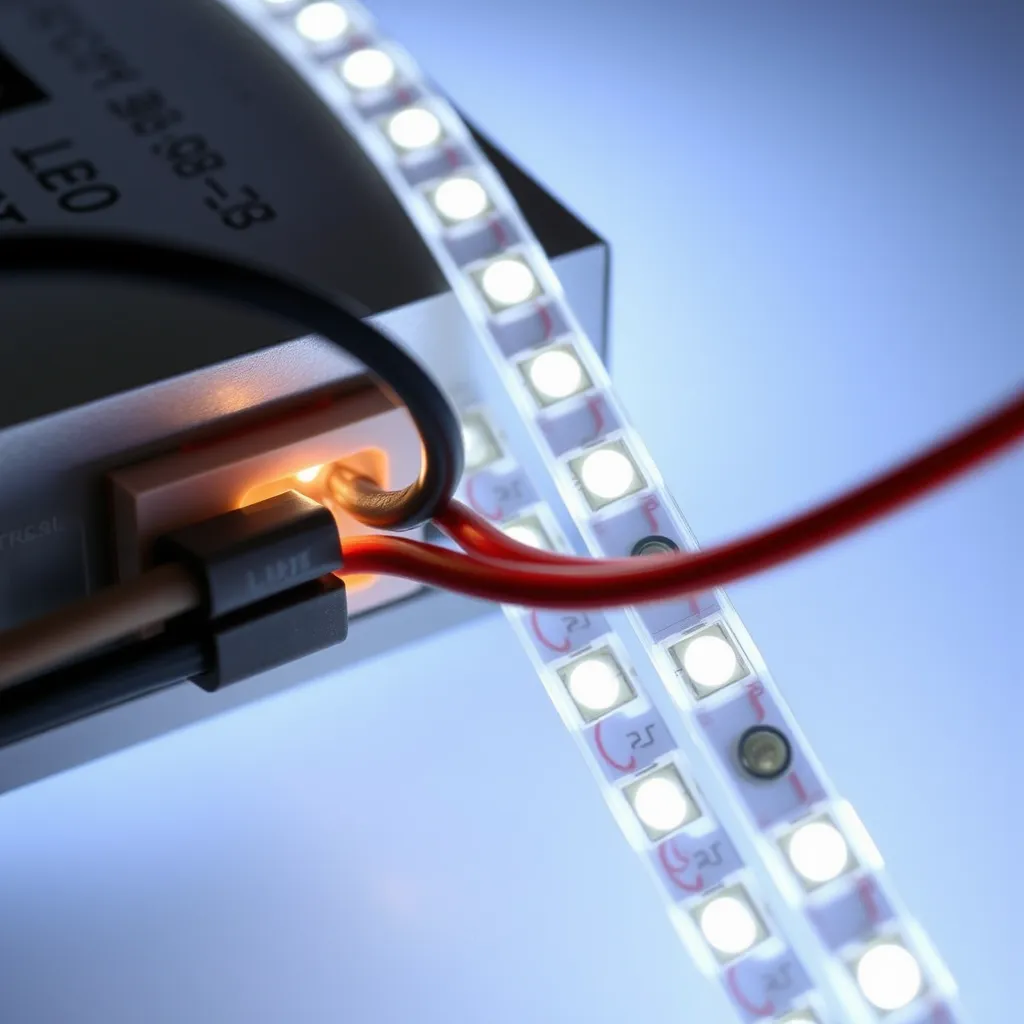
Wiring Methods and Polarity
When you connect LED lights to power supply units, polarity is the most critical factor. Direct current flows in one direction: from positive (+) to negative (-). On almost all LED strips, the positive trace is marked with a + sign and typically uses a red wire. The negative trace is marked with a - sign and uses a black wire.
Using DC Barrel Connectors
If your strip and power supply both have barrel connectors, simply push them together. If your strip has bare wires but your power supply has a barrel plug, you can use a DC Female Screw Terminal Adapter. You screw the bare wires into the adapter, which then plugs directly into the power supply. This is the cleanest method for non-permanent installations.
Hardwiring to Screw Terminals
For enclosed power supplies, you will see labels like L, N, and G (or a ground symbol) on the AC side, and V+ and V- (or COM) on the DC side.
L (Live): Usually the black or brown wire from your wall plug.
N (Neutral): Usually the white or blue wire.
G (Ground): The green or yellow/green wire.
V+: The red wire from your LED strip.
V- / COM: The black wire from your LED strip.
Always use ferrule terminals or "tin" the ends of your wires with solder before inserting them into screw terminals. This prevents stray wire strands from causing a short circuit between the terminals.
Managing Voltage Drop in Long Runs
A common issue in large installations is voltage drop. As electricity travels through the thin copper traces of an LED strip, it encounters resistance. This resistance converts some of the electrical energy into heat, resulting in lower voltage at the end of the strip. The result is a strip that is bright at the beginning and noticeably dimmer or "warmer" in color at the far end.
12V systems are much more susceptible to voltage drop than 24V systems. To combat this, you have two primary options:
Mid-Point Feed: Connect the power supply to the center of the LED run rather than the end. This halves the distance the electricity must travel.
Parallel Injection (Power Injection): Run a separate 16-gauge or 18-gauge "bus wire" alongside the strip and tap into the strip every 5 meters. This provides a "fresh" supply of voltage directly from the transformer to the later sections of the lights.
Step-by-Step Connection Process
Follow this sequence to ensure a safe installation. Never work on the system while the power supply is plugged into the wall.
1. Prepare the Wires
Strip approximately 6mm (1/4 inch) of insulation from the ends of your LED strip wires. If you are using a multi-color RGB strip, you will have four wires (Black for +, then Red, Green, and Blue for the negative channels). For standard single-color strips, you only have two.
2. Connect the DC Side First
Attach your LED wires to the DC output of the power supply. Ensure the connections are tight. If using screw terminals, tug gently on the wire to make sure it is seated firmly. If the wire slides out, the screw is likely clamping onto the insulation rather than the copper core.
3. Connect the AC Side
If you are using a hardwired supply, connect your AC cord to the L, N, and Ground terminals. Ensure no copper is visible outside the terminal block. If your power supply has a voltage selector switch, verify it is set to your local voltage (110V in North America, 230V in Europe/Asia) before proceeding.
4. The Initial Test
Plug the power supply into the wall. The lights should illuminate instantly. If they don't, unplug immediately. Check for reversed polarity or a short circuit where the wires might be touching each other. If the power supply makes a high-pitched whining sound or "chirps," it is likely detecting a short circuit and has entered protection mode.
Troubleshooting Common Issues
If your installation isn't perfect on the first try, check these three common failure points:
The Lights are Flickering
Flickering is almost always a sign of an undersized power supply or a loose connection. If the flicker is consistent (like a strobe), the power supply is likely overloaded and is cycling on and off to protect itself. Reduce the length of the strip or upgrade to a higher-wattage supply. If the flicker is intermittent, check the solder joints or the wire nuts where the power supply meets the strip.
The Power Supply is Getting Very Hot
While power supplies naturally generate heat, you should be able to keep your hand on the casing comfortably. If it's too hot to touch, you are exceeding the 80% load rule, or there is insufficient ventilation. Relocate the supply to a more open area or reduce the brightness of the LEDs using a dimmer to lower the current draw.
The Color is Wrong at the End of the Strip
If you have an RGB strip and the end looks pinkish when the beginning is white, your Blue and Green channels are experiencing voltage drop. Because Red LEDs require less voltage to operate, they stay bright while the other colors fade. This is a clear indicator that you need to implement power injection.
Conclusion:
Connecting LED lights to a power supply is a simple task in mechanical terms, but it rewards the person who respects the electrical details behind it. The recurring themes throughout this guide - matching voltage exactly, sizing your supply with the 80% rule in mind, observing correct polarity, and planning for voltage drop on longer runs - are not arbitrary best practices. They are the difference between an installation that runs cool and consistent for a decade and one that flickers, fades, or fails within months.
Before you plug anything in, take a moment to verify three things: that your strip's voltage matches the supply, that the wattage calculation includes the 20% safety margin, and that your positive and negative connections are correct and firmly seated. Choose an enclosure type suited to the environment - a sealed plastic adapter for a desk, a caged supply for a cabinet, or an IP67 driver for anywhere near moisture - and give every unit room to breathe.
Do that groundwork, and the actual moment of connection becomes exactly what it should be: you plug it in, and the lights simply come on. When something does go wrong, the troubleshooting almost always traces back to one of the same few culprits - an undersized supply, a loose joint, or voltage drop - so a methodical check of those points will resolve the vast majority of issues. Take your time, prioritize safety over speed, and your lighting will reward you with years of clean, even illumination.
Frequently Asked Questions
Q1: Can I use a laptop charger to power my LED lights?
A: Only if the voltage matches exactly. Most laptops use 19V or 20V DC, which will destroy 12V LED strips. If you happen to have a 12V laptop charger and the wattage is sufficient for your strip length, it can work, but you must verify the output label carefully before connecting.
Q2: How far can the power supply be from the LED strip?
A: Distance matters because of resistance in the extension wires. If the power supply is more than 3 meters (10 feet) away, you must use thicker wire (14AWG or 16AWG) to prevent the voltage from dropping before it even reaches the start of the lights.
Q3: Is it better to have one large power supply or several small ones?
A: For very large rooms, using several smaller power supplies is often easier. It reduces the need for long wire runs and helps avoid the complexities of power injection. However, for perfectly synced dimming, a single large power supply is the more professional approach.