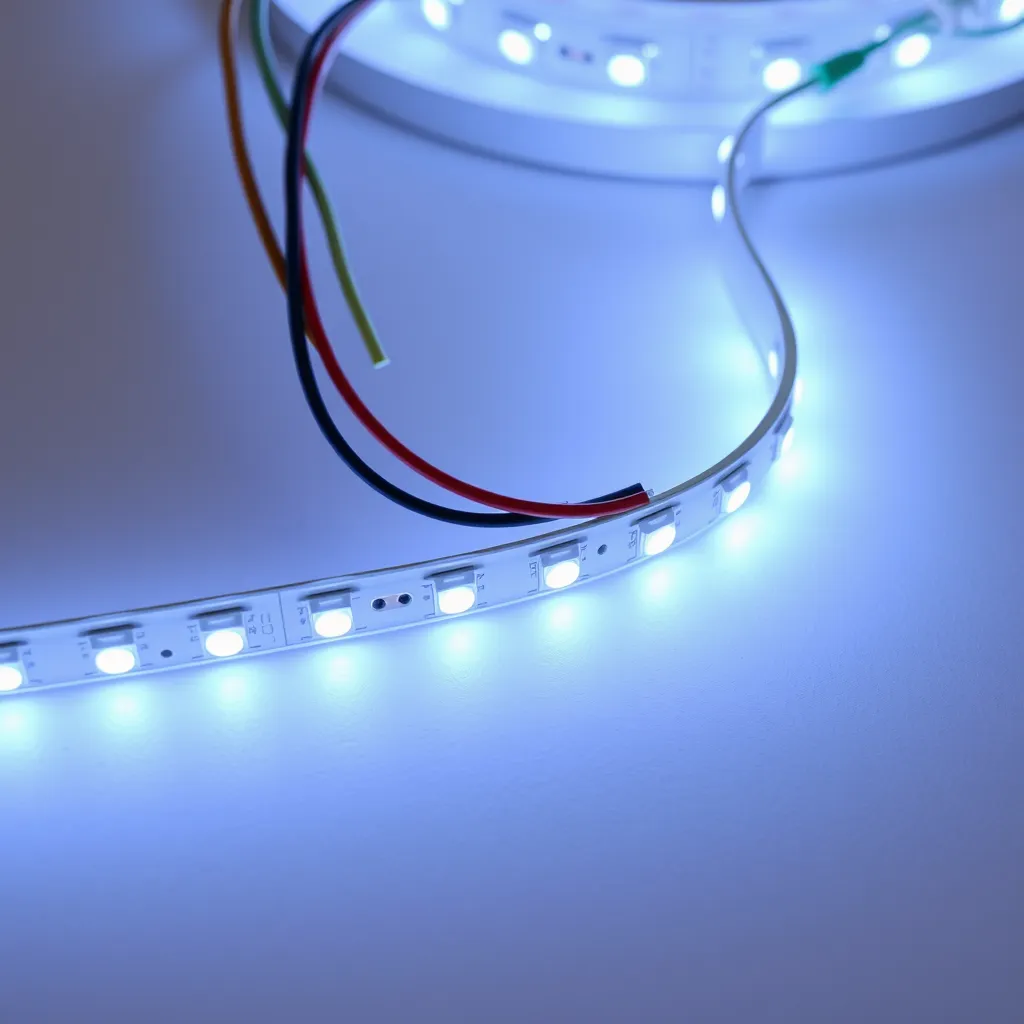
Connect LED strip lights together using solderless clip connectors, soldering, or wire jumpers between the copper pads at the cut points. Solderless connectors snap onto the exposed copper pads and create a pressure contact in seconds with no tools. Soldering creates a permanent electrical bond that handles heat and vibration better. Wire jumpers let you bridge gaps or turn corners between strip segments. Whichever method you choose, always match the strip voltage (12V or 24V), type (single-color, RGB, or RGBW), and polarity markings.
The most important rule when connecting strips end-to-end is to never exceed the manufacturer's maximum run length, typically 5 meters (16 feet) for 12V strips. Beyond this limit, voltage drop causes dim LEDs at the far end and overheated copper traces near the power supply.
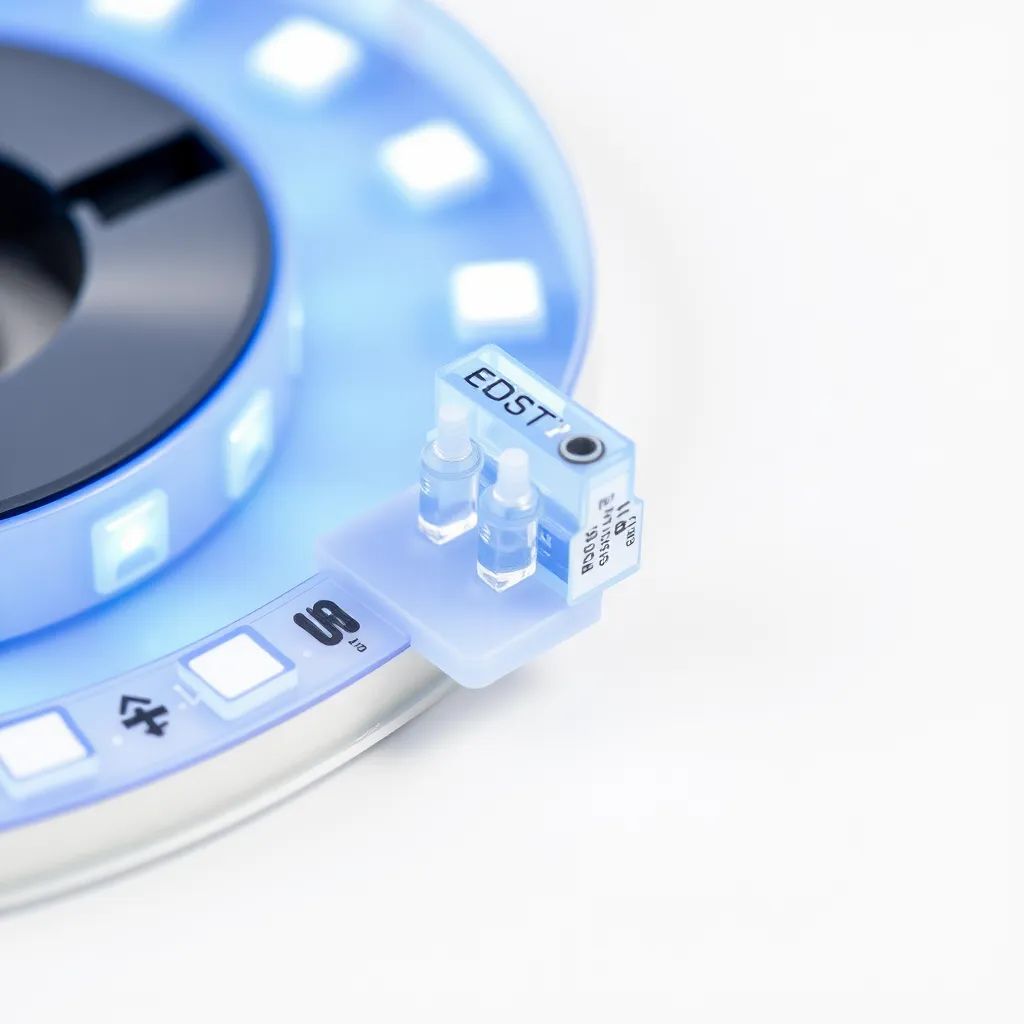
Method 1: Solderless Clip Connectors
Solderless connectors are the fastest way to join LED strips. Open the connector's locking clip, slide the strip end in until the copper pads align with the connector pins, and snap the clip shut. Make sure the polarity marks (+ and −) on the strip match the connector's labeled terminals. For RGB strips, match the +, R, G, and B markings. The connection is complete in about 10 seconds.
There are three main connector shapes: strip-to-strip (straight), L-shaped (90-degree corners), and T-shaped (three-way junctions). Wire-lead connectors have short wires between two clips, which allow you to bridge small gaps or go around obstacles. These connectors cost $5-$10 for a pack of 10 and are available for 8mm, 10mm, and 12mm strip widths. Check your strip width before purchasing because a 10mm connector will not fit an 8mm strip.
The drawback of solderless connectors is reliability in warm environments. Heat causes the plastic clip to expand slightly, loosening the contact over time. If a previously working strip develops a dead section or intermittent connection at a joint, the connector is the first thing to check. For permanent installations near heat sources, soldering is the better choice.
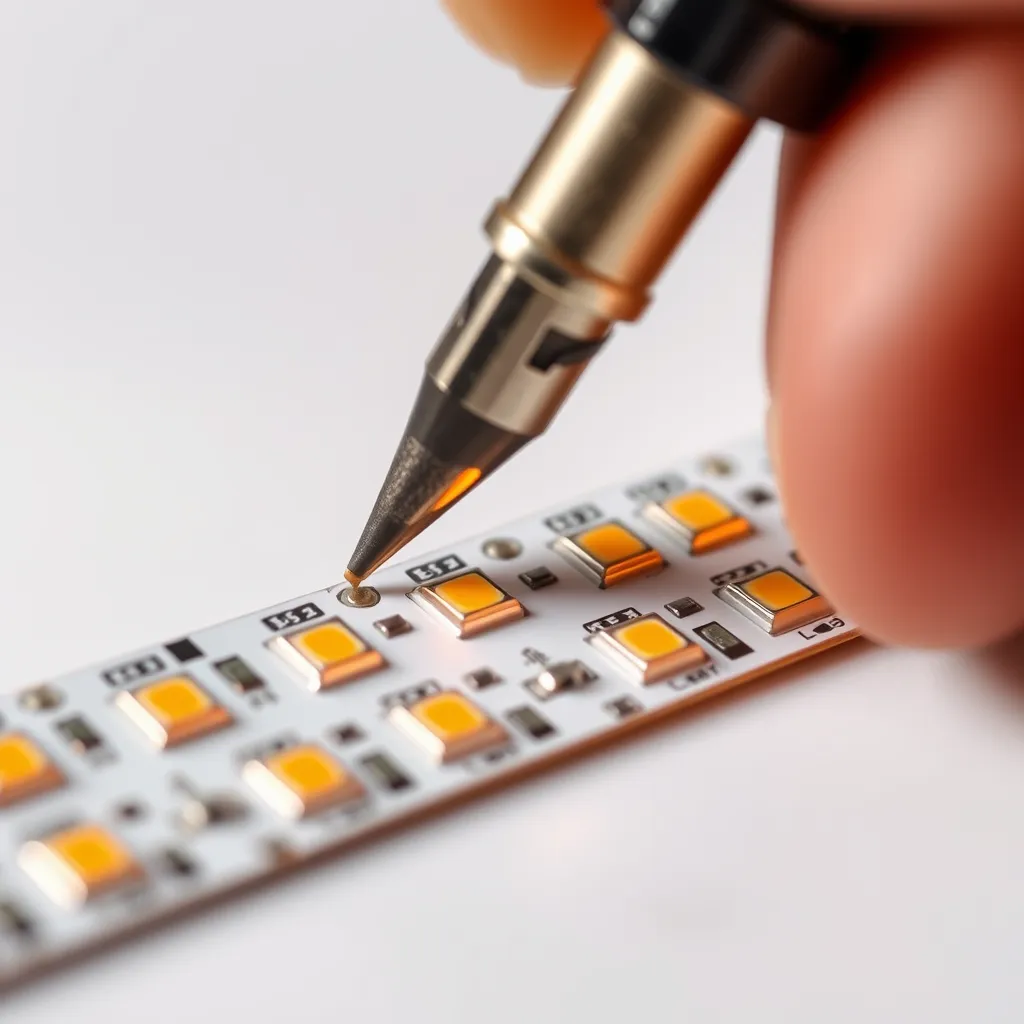
Method 2: Soldering
Soldering creates the most reliable connection between LED strips. Set your soldering iron to 350-400°C (660-750°F). Tin the copper pads on each strip end by touching the iron to the pad and applying a small amount of solder until it flows smoothly and forms a thin, shiny coating. Then tin the ends of your connecting wire (18-22 AWG stranded wire works best). Press the tinned wire to the tinned pad and touch the iron briefly - 2 to 3 seconds - until the solder melts together.
For a direct strip-to-strip butt joint (no gap), tin both sets of pads, align the strips end-to-end, and bridge each pair of corresponding pads with a small solder bead. This requires a steady hand because the pads are only 2-3mm apart. Using a helping-hands tool or tape to hold the strips in position makes this much easier. After soldering, cover the joint with heat-shrink tubing or electrical tape to prevent shorts and protect the connection.
Method 3: Wire Jumpers for Gaps and Corners
When your LED strip needs to navigate around a corner, cross a gap, or turn 90 degrees along a surface, wire jumpers are the solution. Cut a length of stranded wire for each conductor (2 wires for single-color, 4 for RGB, 5 for RGBW). Solder or clip-connect one end to the first strip segment and the other end to the second segment. Keep the wire as short as practical to minimize voltage loss, but leave enough slack for clean routing.
Wire jumpers are essential for under-cabinet lighting installations where the strip must cross from one cabinet section to another with a gap in between. Route the wire through the cabinet interior or along the back edge for a clean appearance. Use 20 AWG wire for jumpers under 1 meter and 18 AWG for longer connections.
Critical Rules for Connecting Strips
Rule | Why It Matters |
|---|---|
Never exceed the max run length (usually 5m for 12V) | Prevents voltage drop, dim ends, and overheated PCB traces |
Match voltage exactly (12V to 12V, 24V to 24V) | Mismatched voltage burns out the lower-voltage strip instantly |
Match strip type (single-color, RGB, RGBW) | Different types have different numbers of conductors and control signals |
Use parallel wiring for runs over 5m | Run separate power feeds to each segment from the supply |
Check polarity before powering on | Reversed polarity will not damage most strips but the LEDs won't light |
For installations longer than 5 meters, connect each 5-meter segment independently back to the power supply using parallel wiring rather than chaining them in series. This ensures each segment receives full voltage and eliminates the voltage drop problem. Your power supply must be rated for the combined wattage of all connected segments plus a 20% safety margin.
Conclusion:
Mastering these connection techniques opens up endless possibilities for custom lighting layouts, from complex under-cabinet designs to seamless room-wide accent lighting. By choosing the right method-whether the convenience of clips or the durability of solder-you ensure your installation remains both functional and visually pristine for years to come.
As you plan your project, always prioritize safety by respecting power limits and double-checking your voltage compatibility. Taking the extra time to plan your route and secure your connections will prevent common headaches like flickering or dimming, leaving you with a professional-grade lighting setup that highlights your space perfectly.
Frequently Asked Questions
Q1: Can I connect two different brands of LED strips?
A: You can connect different brands if they share the same voltage, type (single-color or RGB), and strip width. The LED density and brightness may differ between brands, creating a visible transition at the joint. For the most uniform appearance, use the same product throughout. Different voltages must never be mixed on the same circuit.
Q2: Why do my LED strips dim at the connection point?
A: Dimming at a connection usually indicates a poor electrical contact. For solderless connectors, open the clip and ensure the copper pads are fully seated against the pins. For soldered joints, check for cold solder joints (dull, grainy appearance instead of shiny). A cold joint has high resistance, which causes voltage drop and dimming at that point. Reheat and reflow the solder to fix it.
Q3: How many LED strips can I connect together?
A: You can connect as many strips as your power supply can handle, provided you use parallel wiring for each 5-meter segment. A 12V strip should never run more than 5 meters in a single series chain. With parallel wiring and an appropriately sized power supply, you can connect 10, 20, or more meters of strip - each segment just needs its own direct power feed from the supply.