Converting legacy fluorescent fixtures to modern LED technology is one of the most effective ways to reduce energy consumption and eliminate the maintenance headaches of flickering tubes and failing components. While many "plug-and-play" options exist, a true conversion often requires you to remove a ballast for LED lights to achieve maximum efficiency and long-term reliability.
The ballast is a transformer-like device that regulates the current to fluorescent lamps. In an LED system, this component is not only unnecessary but becomes a "vampire" load, consuming between 5 and 15 watts of electricity just to stay powered. By performing a ballast bypass, also known as a direct-wire installation, you provide line voltage directly to the LED tubes, simplifying the circuit and removing a common point of failure.
Understanding LED Tube Categories
Before opening a fixture, you must identify which type of LED tube you have purchased. The industry categorizes these into three main types, and only one of them requires the full removal of the ballast.
Type | Common Name | Ballast Required? | Wiring Difficulty | Energy Efficiency |
|---|---|---|---|---|
Type A | Plug-and-Play | Yes (Existing) | Very Low | Moderate |
Type B | Direct Wire | No (Bypass) | Moderate | High |
Type C | External Driver | No (New Driver) | High | Highest |
Type A+B | Hybrid/Dual Mode | Optional | Low to Moderate | High |
Type B tubes are the industry standard for professional retrofits. They contain an internal driver that accepts 120V or 277V power directly. This guide focuses on the installation of Type B tubes, as they offer the best balance of cost-effectiveness and performance.
Essential Tools and Safety Protocols
Electrical work requires precision and the right equipment. Working inside a ceiling fixture involves overhead reach and tight spaces, so gather these tools before starting:
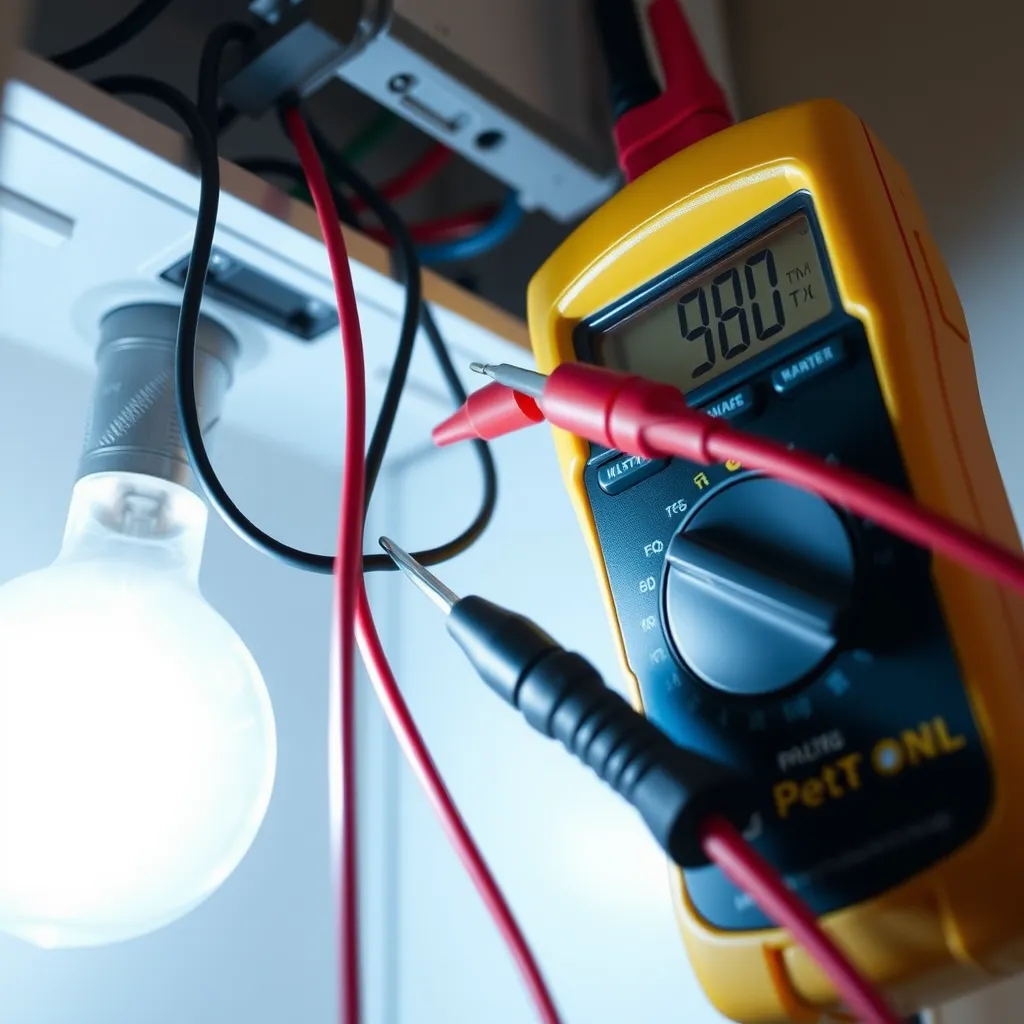
Non-contact voltage tester: To verify the circuit is truly dead.
Wire strippers: Sized for 14-18 AWG wire.
Wire nuts or push-in connectors: For secure, insulated joins.
Lineman's pliers or side cutters: To remove the old ballast wiring.
Screwdriver: Typically a Phillips or 1/4" nut driver for the ballast cover.
Step ladder: Ensure it is stable and tall enough to reach the fixture comfortably.
Safety Warning: Never rely solely on a wall switch to cut power. Light switches often only break the "hot" wire, leaving the "neutral" and potentially a shared hot wire active in the junction box. Always flip the circuit breaker and use your voltage tester to confirm the absence of electricity at the fixture itself.
The Critical Role of Tombstones
The "tombstones" are the plastic sockets that hold the tubes in place. When you remove a ballast for LED lights, the type of tombstone in your fixture determines your wiring strategy.
Shunted vs. Non-Shunted Sockets
A shunted tombstone has internal busbars that connect the two pins together. This means electricity flows through both pins as a single path. These are common in "Instant Start" fluorescent fixtures.
A non-shunted tombstone keeps the two pins electrically isolated from each other. These have two separate wire entry points on the back.
Why this matters: Most single-ended Type B LED tubes require non-shunted tombstones because they need the hot and neutral wires to connect to separate pins on the same end of the tube. If you use a shunted tombstone with a single-ended tube, you will create a dead short the moment you flip the switch. Double-ended LED tubes, however, are generally compatible with both types.
Step-by-Step Ballast Removal and Rewiring
Once you have confirmed your tube type and tombstone compatibility, follow these steps to bypass the ballast.
1. Access the Internal Wiring
Remove the plastic lens or metal grid (diffuser) from the fixture. Take out the old fluorescent tubes and dispose of them at a local hazardous waste facility, as they contain mercury. Locate the ballast cover-usually a long metal strip in the center of the fixture-and remove the screws or squeeze the sides to pop it off.
2. Disconnect the Ballast
You will see a tangle of wires. The wires coming from the ceiling are usually Black (Hot) and White (Neutral). The wires exiting the ballast and going to the tombstones are usually Red, Blue, and Yellow.
Cut the wires as close to the ballast as possible. This leaves you with the maximum amount of "lead" wire to reach your new connections. Unscrew the mounting nut holding the ballast to the fixture and remove the heavy metal box entirely.
3. Rewire for Single-Ended LED Tubes
If your LED tubes are "Single-Ended," you only need to provide power to one side of the fixture.
Identify the "Live" end of the fixture (the side you want to power).
Take all wires coming from the tombstones on that end.
Connect the Black (Line) wire from your building to one side of the tombstone.
Connect the White (Neutral) wire to the other side of the tombstone.
The tombstones at the far end of the fixture should remain unwired; they will simply act as a physical cradle for the tube.
4. Rewire for Double-Ended LED Tubes
Double-ended tubes are often easier for DIYers because they mimic the physical layout of the original wiring.
Connect the Black (Line) wire to all the wires leading to the tombstones on the left side of the fixture.
Connect the White (Neutral) wire to all the wires leading to the tombstones on the right side of the fixture.
Ensure all connections are secured with wire nuts and no bare copper is exposed.
Testing and Final Assembly
Before snapping the ballast cover back on, perform a quick visual inspection. Ensure the green or bare copper ground wire is still securely fastened to the metal frame of the fixture. This is vital for safety in the event of an electrical fault.
Insert the LED tubes. If you are using single-ended tubes, look for the "Input" label on the tube and ensure that end is inserted into the powered tombstones. Replace the ballast cover and the diffuser.
Restore power at the breaker. The lights should turn on instantly without humming or flickering. If the tubes do not light up, or if the breaker trips immediately, there is likely a short circuit or a mismatch between the tube type and the tombstone.
Common Mistakes to Avoid
Even for experienced DIYers, retrofitting legacy fixtures has its pitfalls. Avoiding these three common errors will save time and prevent equipment damage.
Mixing Shunted and Non-Shunted: As mentioned, using single-ended tubes with shunted tombstones is the most common cause of failure. If you aren't sure, use a multimeter to check for continuity between the pins. If it beeps, it's shunted.
Ignoring the Warning Label: Once you remove the ballast, the fixture is no longer "standard." If someone installs a fluorescent tube into a direct-wire fixture later, the tube could shatter or the fixture could catch fire. Always apply the "Modified Fixture" sticker included with your LED tubes.
Loose Wire Nuts: Vibration from building HVAC systems or footsteps overhead can loosen poorly applied wire nuts. Always give every wire a "tug test" after twisting the nut on. If the wire slides out, redo the connection.
Financial and Environmental Impact
The decision to remove a ballast for LED lights is often driven by the bottom line. A typical 4-lamp T12 fixture consumes roughly 160-180 watts. After a Type B LED conversion, that same fixture will consume about 60-72 watts while providing equivalent or better light output.
In a commercial setting where lights run for 12 hours a day, the payback period for the tubes and the labor is often less than 18 months. Furthermore, because LEDs do not contain mercury, you are significantly reducing the environmental footprint of your building's maintenance cycle.
Conclusion:
Converting fluorescent fixtures to LED through a ballast bypass delivers significant energy savings, eliminates maintenance issues, and extends fixture lifespan. By understanding the differences between Type A, B, and C tubes, identifying shunted versus non-shunted tombstones, and following proper safety protocols, even DIYers can successfully complete this retrofit. Always verify power is off at the breaker, label modified fixtures clearly, and ensure secure wire connections to prevent hazards. While buying new LED fixtures may suit damaged housings, retrofitting existing ones remains the most cost-effective and environmentally friendly choice. With payback periods under 18 months commercially, this upgrade delivers lasting value.
Frequently Asked Questions
Q1: Can I leave the ballast in place if I'm using Type B tubes?
A: No. Type B tubes are designed to receive 120-277V directly. If you pass that power through a ballast first, you will likely destroy the internal driver of the LED tube or cause the ballast to overheat. Type B tubes require the ballast to be completely disconnected and bypassed.
Q2: What do I do with the extra wires?
A: In many fixtures, you will have more wires coming from the tombstones than you have incoming power wires. You can group these together using a larger wire nut. For example, in a 4-lamp fixture, you might have four blue wires. You would strip the ends of all four, twist them together with the incoming black wire, and cap them with a single wire nut.
Q3: Is it better to just buy a new LED fixture?
A: If your existing fixture is "crusty"-meaning the plastic tombstones are brittle and cracking or the metal housing is rusted-replacing the entire fixture is often faster and safer. However, if the housing is in good condition, retrofitting is significantly cheaper and keeps the metal out of the landfill.
Q4: How do I know if my LED tube is single-ended or double-ended?
A: Check the packaging or the printed text on the tube itself. Single-ended tubes will have "L" (Live) and "N" (Neutral) markings on the pins of only one end. Double-ended tubes will often have "L" on one end and "N" on the other, or they will explicitly state "Double-Ended Power" on the label.