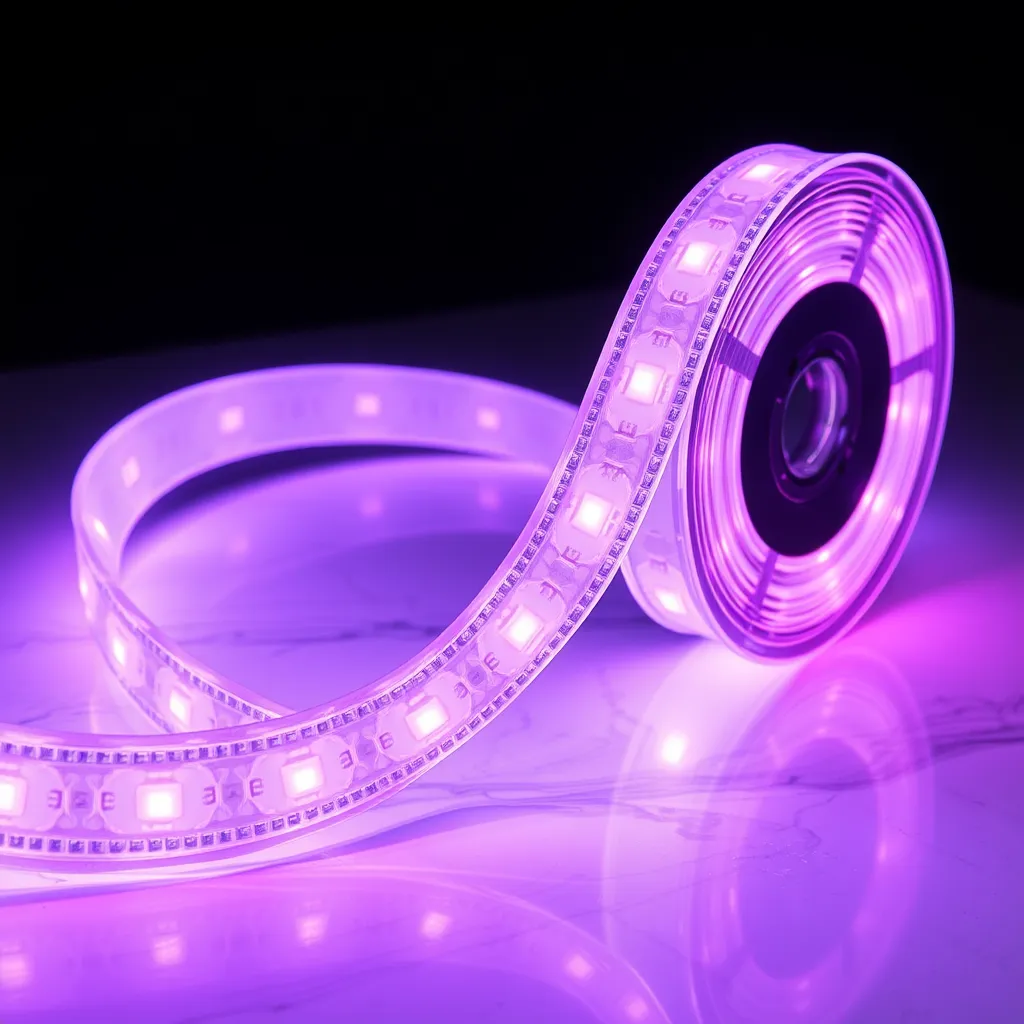
Smart lighting has transitioned from a high-end luxury to a standard DIY home improvement project. Among the various ecosystems available, the Lotus Lantern platform is one of the most widely used for controlling versatile RGB and RGBIC tape lights. While these systems offer a high degree of customization, the initial pairing process can occasionally be temperamental due to network protocols and hardware configurations.
Successful synchronization requires a clear understanding of how the controller communicates with your mobile device. Most of these systems utilize a dual-communication method: Bluetooth for local, immediate control and 2.4GHz WiFi for remote access and smart home integration. Understanding the distinction between these two is the first step toward a stable, flicker-free setup.
Hardware Preparation and Physical Connections
Before opening any software, the physical integrity of the circuit must be verified. A common mistake is assuming the lights are defective when the issue lies in the orientation of the pins. These strips typically use a 4-pin (RGB) or 3-pin (Addressable/RGBIC) connector. Each connector has a small embossed arrow. These arrows must point toward each other. If the connection is reversed, the circuit will not complete, and the lights will remain dark or potentially short-circuit the controller.
Power requirements are equally critical. Most consumer-grade strips operate on 12V or 24V DC. Using a power adapter with insufficient amperage will cause the lights to flicker or change color unexpectedly, especially when set to white.
Component | Checklist Item | Correct State |
|---|---|---|
Connectors | Arrow alignment | Arrows pointing at each other (→ ←) |
Power Supply | Voltage matching | Must match the rating printed on the strip (usually 12V) |
Controller Box | Indicator light | Flashing (pairing mode) or solid (connected) |
Adhesive Surface | Cleanliness | Dust-free and dry for maximum adhesion |
Power Specifications and Requirements
Parameter | Requirement/Detail |
|---|---|
Standard Voltage | 12V or 24V DC |
Minimum Amperage | 2A (for a standard 16.4ft / 5m strip) |
Peak Power Consumption | White color (Red, Green, and Blue diodes fully illuminated) |
Mounting for Optimal Signal
The controller box contains the Bluetooth and WiFi antennas. Mounting this box behind a thick metal television or inside a metal cabinet can significantly degrade the signal. For the most reliable connection, position the controller box in a location with a clear "line of sight" to your smartphone or within 15 feet of your wireless router. If the strip is being installed under kitchen cabinets, ensure the controller is not tucked too deeply behind appliances that generate electromagnetic interference, such as microwaves.
The Software Pairing Process
The Lotus Lantern app acts as the bridge between your hardware and your creative vision. It is available on both the iOS App Store and Google Play Store. During the installation, the app will request several permissions. It is a common misconception that "Location Services" is an invasive request; however, Android and iOS both require location data to be enabled for any app to scan for nearby Bluetooth Low Energy (BLE) devices.
Establishing the Initial Link
Once the app is open, ensure your phone's Bluetooth is active. Power on the lights. Most modern controllers enter "discovery mode" automatically upon the first power-up, often indicated by a rapid pulsing or a specific color sequence. If the lights are steady, you must manually trigger a reset.
Open the app and tap the "+" icon or the device list menu.
The app will automatically scan for the "ELK-BLEDOM" or "Lotus" signal.
Tap the device name once it appears. The lights will usually flash once to confirm the handshake.
If the device is a WiFi-enabled model, you will be prompted to select your network and enter your password.
To manually trigger a reset, unplug and plug the power cord three to five times in quick succession, or hold the single button on the controller box for approximately five seconds.
The 2.4GHz Network Requirement
A frequent point of frustration involves WiFi frequency bands. Lotus Lantern controllers use 2.4GHz chips because they have a longer range and better wall penetration than 5GHz bands. If your router uses "Smart Connect" (a single SSID for both 2.4GHz and 5GHz), the controller may fail to pair. To resolve this, temporarily disable the 5GHz band in your router settings or move far enough away from the router that your phone forces itself onto the 2.4GHz band before starting the pairing process.
Advanced Lighting Controls and Customization
Once connected, the interface provides several modes that go beyond simple color selection. Understanding how to use these features effectively can transform a room's atmosphere from a static glow to a dynamic environment.
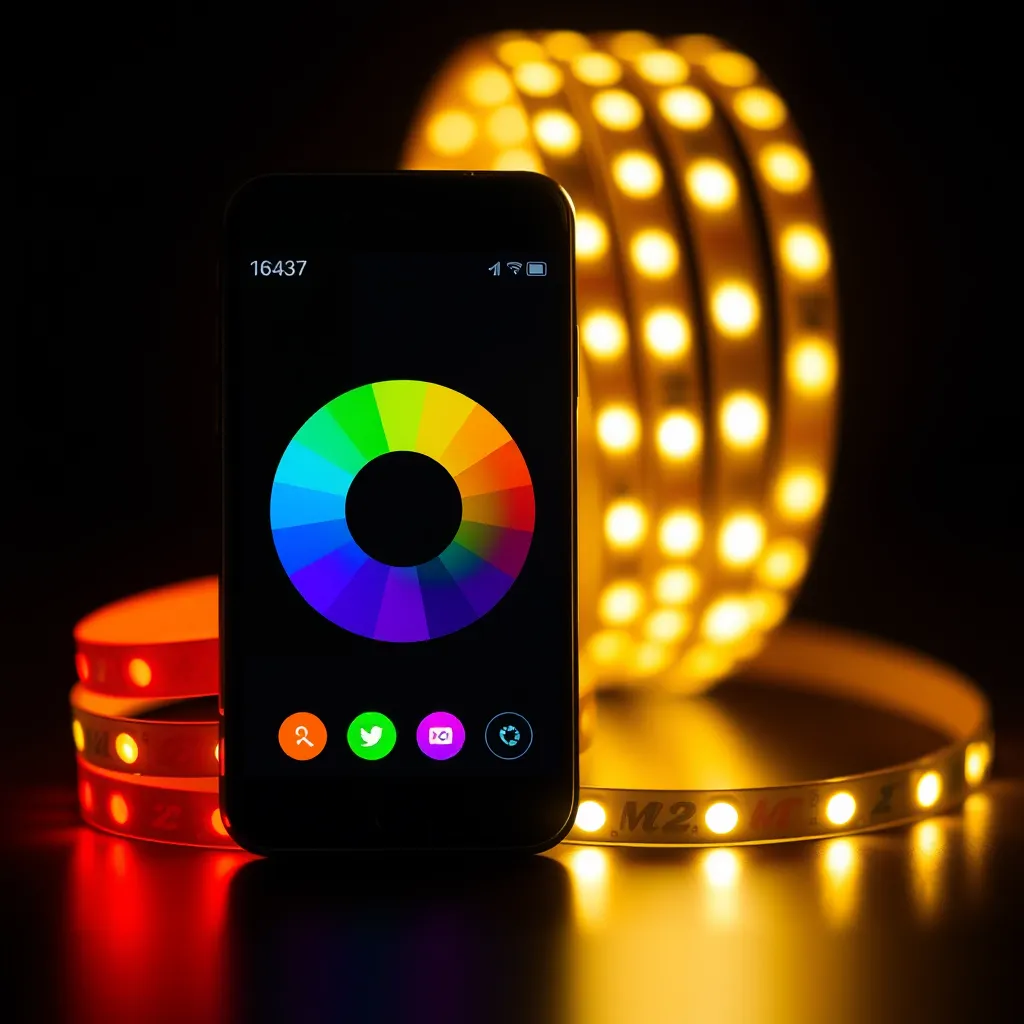
Color Theory and the RGB Wheel
The color wheel allows for 16 million combinations, but achieving specific "mood" lighting requires nuance. For a "Warm White" effect on an RGB strip, you must balance the sliders toward a pale orange/yellow. True white is often achieved by selecting the center of the wheel, but because this uses the RGB diodes, it may have a slight blue or purple tint. Higher-end "RGBW" strips include a dedicated white diode to solve this issue; the app will provide a separate slider for "W" brightness if your hardware supports it.
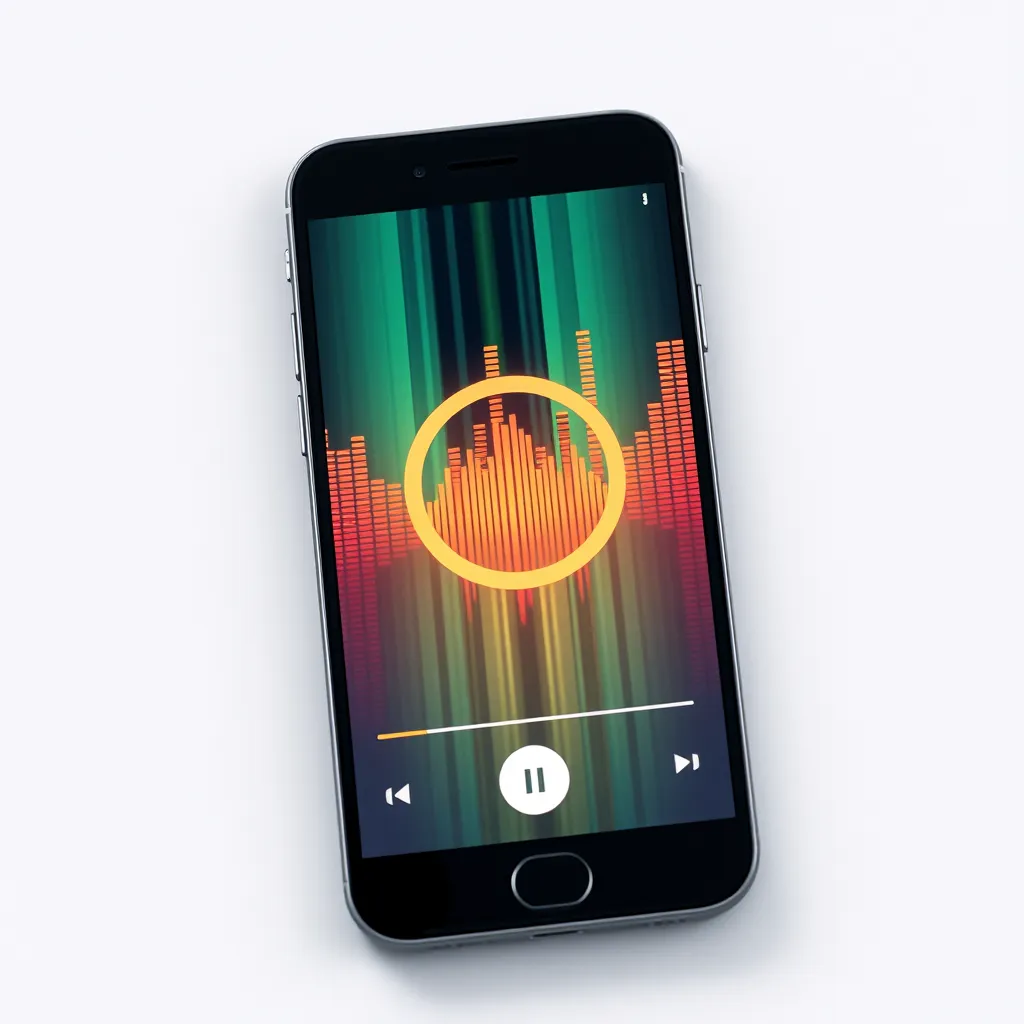
Music Synchronization Mechanics
The app offers two types of music synchronization based on how the audio is captured:
Mode | Mechanism | Best Use Case |
|---|---|---|
Phone Mic Mode | Listens via the smartphone's microphone | Parties where the phone is near the speakers |
External Mic Mode | Listens via a microphone built into the controller box | Permanent setups (e.g., behind a TV) |
Adjust the "Sensitivity" slider to ensure the lights aren't constantly flickering at low volumes or staying "stuck" at high volumes.
Scheduling and Automation
The timer function is stored on the controller's internal memory. This means that once you set a schedule (e.g., lights on at 7:00 PM and off at 11:00 PM), the lights will follow this routine even if your phone is turned off or leaves the house. This is a powerful tool for home security, giving the impression that someone is home while you are away.
Troubleshooting Persistent Connection Failures

When the standard pairing steps fail, the issue is typically related to signal interference or a "hung" firmware state in the controller. If the device disappears from the app list, follow these diagnostic steps in order:
Addressing Bluetooth Interference
Bluetooth operates on the 2.4GHz ISM band, which is crowded with signals from cordless phones, microwaves, and other smart devices. If the app cannot find the lights, turn off other Bluetooth devices in the immediate vicinity. Restarting your phone clears the Bluetooth cache, which often resolves "Device Not Found" errors. On Android, clearing the "Bluetooth Storage" cache in the system settings is a deeper fix for persistent pairing loops.
Managing Voltage Drop
If you have connected multiple strips together (daisy-chaining), you might notice the lights at the far end are dimmer or a different color (usually shifting toward red). This is called voltage drop. The thin copper traces on the LED tape have resistance, and the voltage gradually decreases over distance. To fix this, you should use a "power injection" method, where you run a separate power wire from the controller to the end of the second or third strip, ensuring consistent 12V delivery across the entire run.
Firmware and App Resets
If the app becomes unresponsive, check for updates in the app store. If the software is current but the hardware is acting erratically (e.g., displaying the wrong colors), a hard reset is necessary. Delete the device from the app, perform the "power cycle" reset mentioned earlier, and re-pair. This forces the controller to clear its temporary memory and re-establish a fresh handshake with your network.
Integrating with Smart Home Ecosystems
While the Lotus Lantern app is the primary control method, many users want to integrate their lights with Alexa or Google Home. This usually requires a specific "WiFi Bridge" version of the controller. If your controller is Bluetooth-only, it cannot be controlled via voice assistants unless you purchase a compatible Bluetooth-to-WiFi gateway. For WiFi models, you must link the "Lotus Lantern" or "Magic Home" skill within the Alexa or Google Home app using the same login credentials you created during the initial setup.
Grouping Multiple Strips
If you have installed lights in different areas-such as under-cabinet lighting and toe-kick lighting-you can control them as a single unit. In the app, look for the "Group" or "Room" function. By adding both controllers to a single group, a single tap on the color wheel will change both strips simultaneously. This is essential for maintaining a cohesive aesthetic in a large room.
Conclusion:
Setting up Lotus Lantern smart lighting is straightforward once you understand the fundamentals behind each step. Most pairing failures trace back to a handful of fixable causes: reversed pin connectors, an underpowered adapter, poor antenna placement, or a router broadcasting on the wrong frequency band. By verifying your physical connections, ensuring you're on a 2.4GHz network, and positioning the controller for a clear signal, you eliminate the vast majority of headaches before they start. From there, features like music synchronization, scheduling, grouping, and voice-assistant integration let you transform a simple strip of light into a dynamic, responsive part of your home.
Frequently Asked Questions
Q1: Why does my light strip only show Red, Green, or Blue?
A: This is almost always a physical connection issue. If one of the pins is not making full contact in the 4-pin connector, that specific color channel will fail. Unplug the strip, check for bent pins, and ensure the connector is pushed in firmly. If the problem persists, the strip may have been bent too sharply, breaking the internal copper trace for that color channel.
Q2: Can I cut the LED strip to a specific length?
A: Yes, but you must only cut along the designated copper pads (usually marked with a scissor icon). Cutting anywhere else will break the circuit for the entire remaining section. Once cut, you can use "gapless connectors" to attach a new wire or another strip to the cut end, though soldering provides a much more reliable and permanent connection.
Q3: Why is the remote control not working?
A: Many Lotus Lantern kits come with an IR (Infrared) remote. These require a direct line of sight to the small sensor wire on the controller box. If the sensor is hidden behind a desk or TV, the remote will not function. Also, ensure the plastic battery tab has been removed from the bottom of the remote. If it still fails, the app control will usually work as a reliable backup.
Q4: Is it safe to leave these lights on 24/7?
A: LEDs are highly efficient and produce very little heat compared to incandescent bulbs. However, the controller box and the power adapter can warm up over time. It is best practice to use the app's timer function to turn them off when not in use. This extends the lifespan of the LEDs-which are typically rated for 25,000 to 50,000 hours-and prevents premature failure of the power supply.