Setting up LED strip lights is mostly plug-and-play: connect the strip to the controller, plug the controller into the power adapter, plug the adapter into a wall outlet, then peel the backing and stick the strip to your surface. If the kit is a smart one, download the app and pair it. A standard 16-foot (5m) kit takes about 15-30 minutes, and you won't need any tools beyond scissors (to trim the strip) and a little isopropyl alcohol (to clean the surface first).
What's in a Typical Kit
Component | What it does |
|---|---|
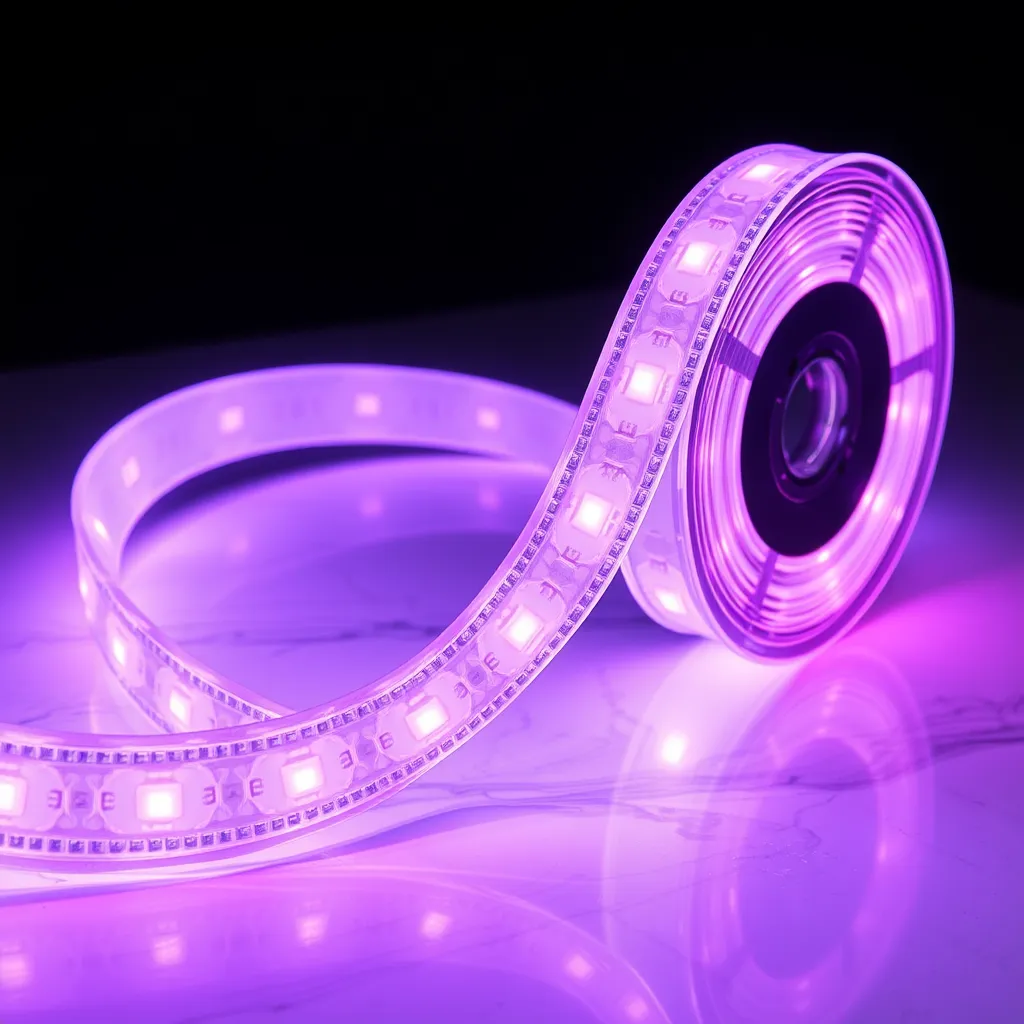
LED strip (16 ft / 5m roll) | The flexible strip of LEDs - your light source |
Controller / receiver | Takes commands from the remote or app and runs colors and effects |
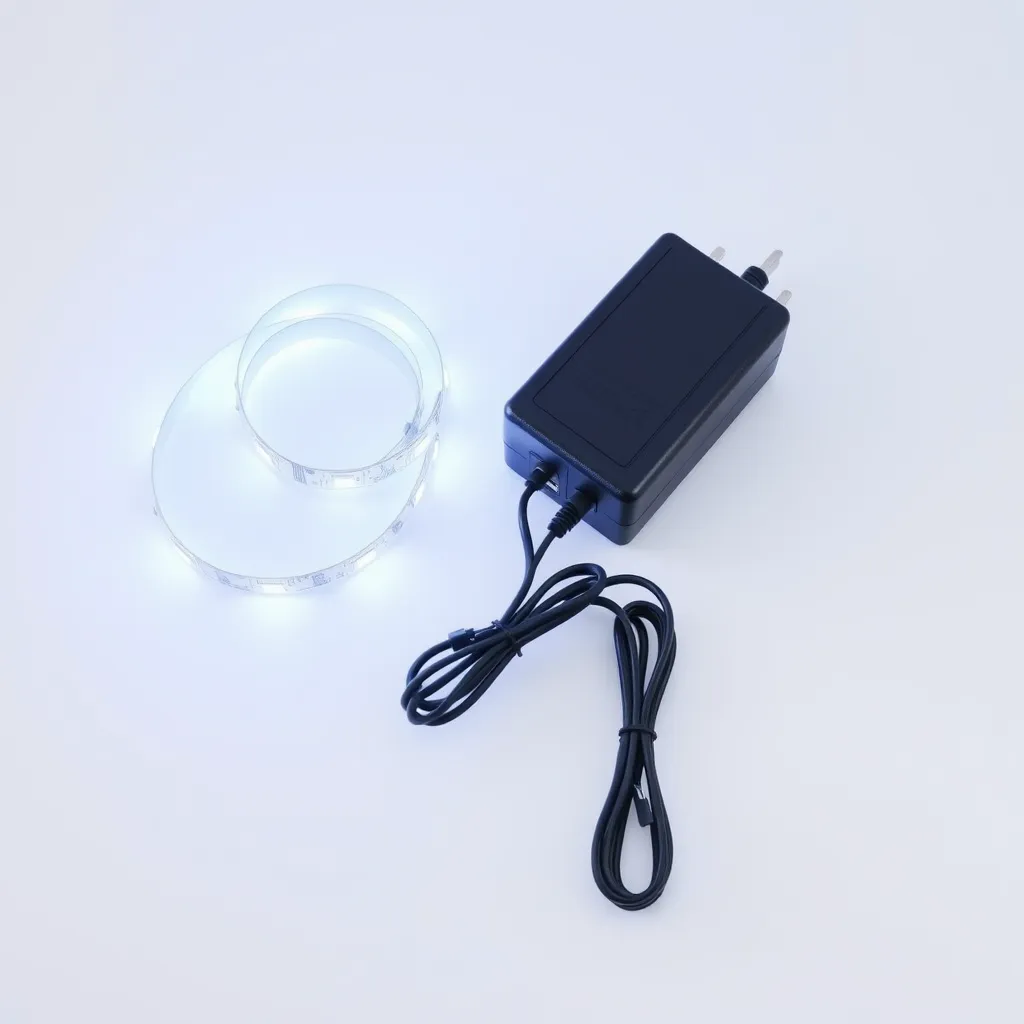
Power adapter (12V or 24V DC) | Converts wall power to the low voltage the strip needs |
Remote (IR or RF) | Changes color, brightness, and effects wirelessly |
Mounting clips and screws | Extra hold for textured or overhead surfaces (some kits) |
Connectors | Corner pieces or extension cables (some kits) |
How to Set Up LED Strip Lights (Step by Step)
1. Connect the components - and test before you stick
Wire it up in this order: power adapter → controller → LED strip. The adapter's DC barrel plug goes into the controller's input, and the strip's keyed plug (4-pin for RGB, 2-pin for single-color) goes into the controller's output. It's all plug-and-play - the connectors only fit one way, so you can't reverse them.
Before peeling any adhesive, plug in and power on to confirm the whole strip lights up. If it doesn't, reseat every connector and check the remote's battery - many ship with a plastic pull-tab over the battery that you have to remove first. Testing now saves you from sticking down a strip with a dead section.
2. Plan the layout
Hold the strip in place and preview it before committing. Popular spots are behind a TV or monitor, along the top of a wall, under a desk or cabinets, around a bed frame, or along a shelf. Plan so the controller end lands near an outlet, and mark your start and end points with a little painter's tape.
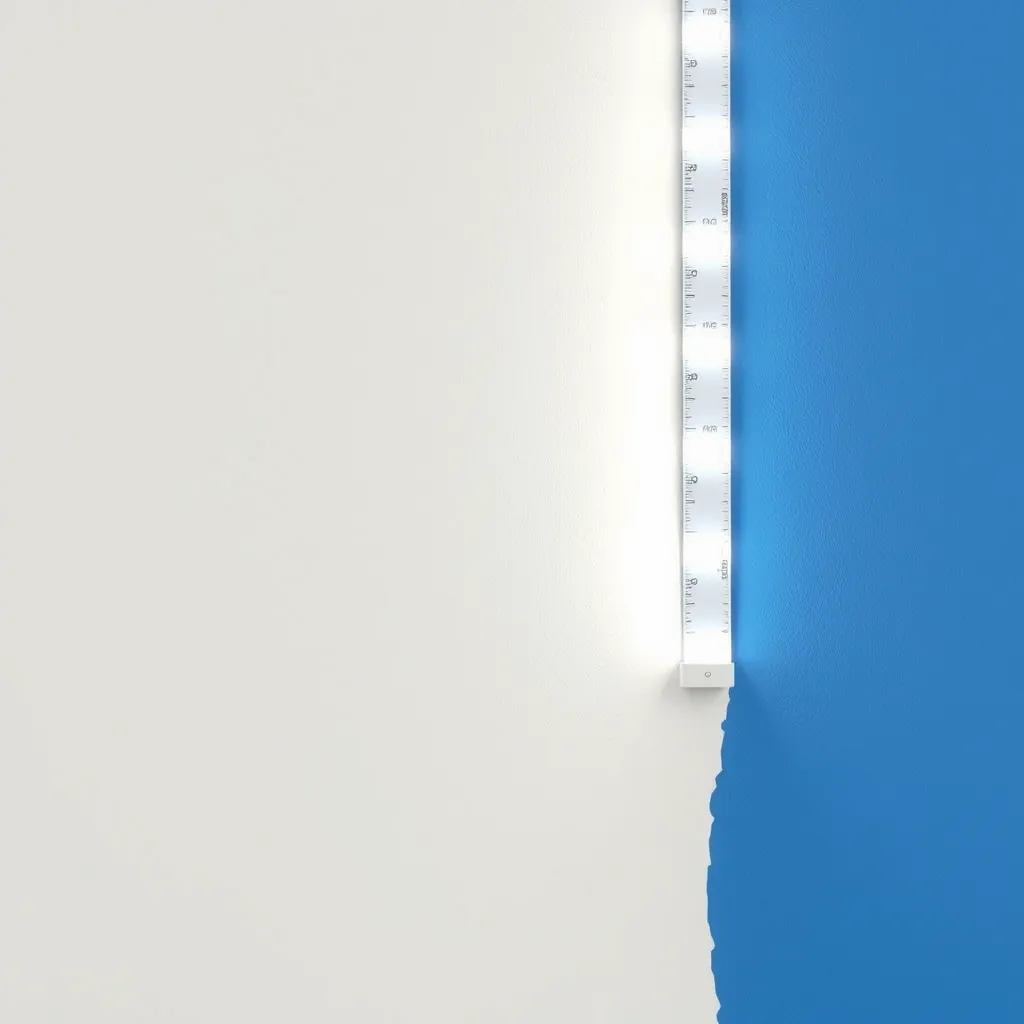
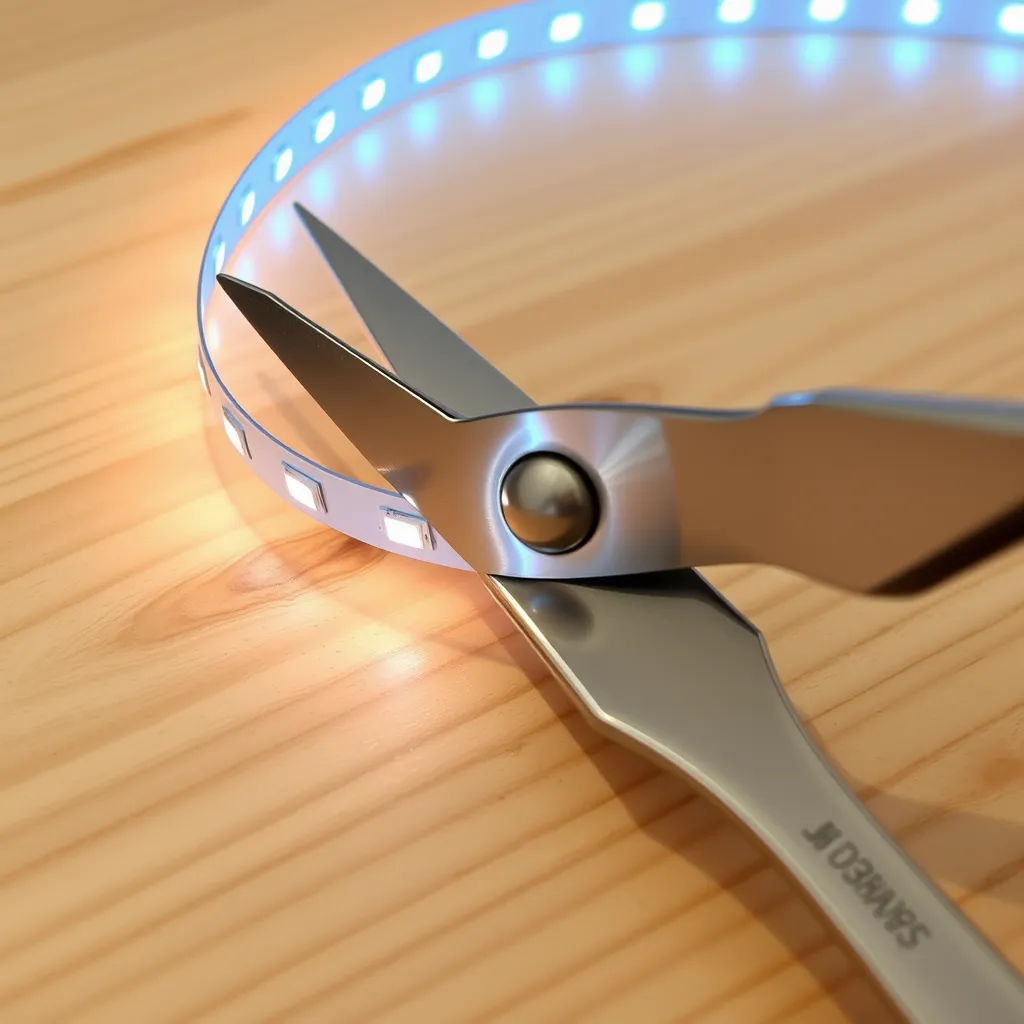
Too long? Trim at the marked cut lines (scissor icon or copper pads, usually every 2-4 inches). Turning a corner? Use the included corner connectors, solder a short jumper wire, or gently fold the strip back on itself at 90° - most flexible strips handle a soft bend, just don't crease it sharply.
3. Clean and mount
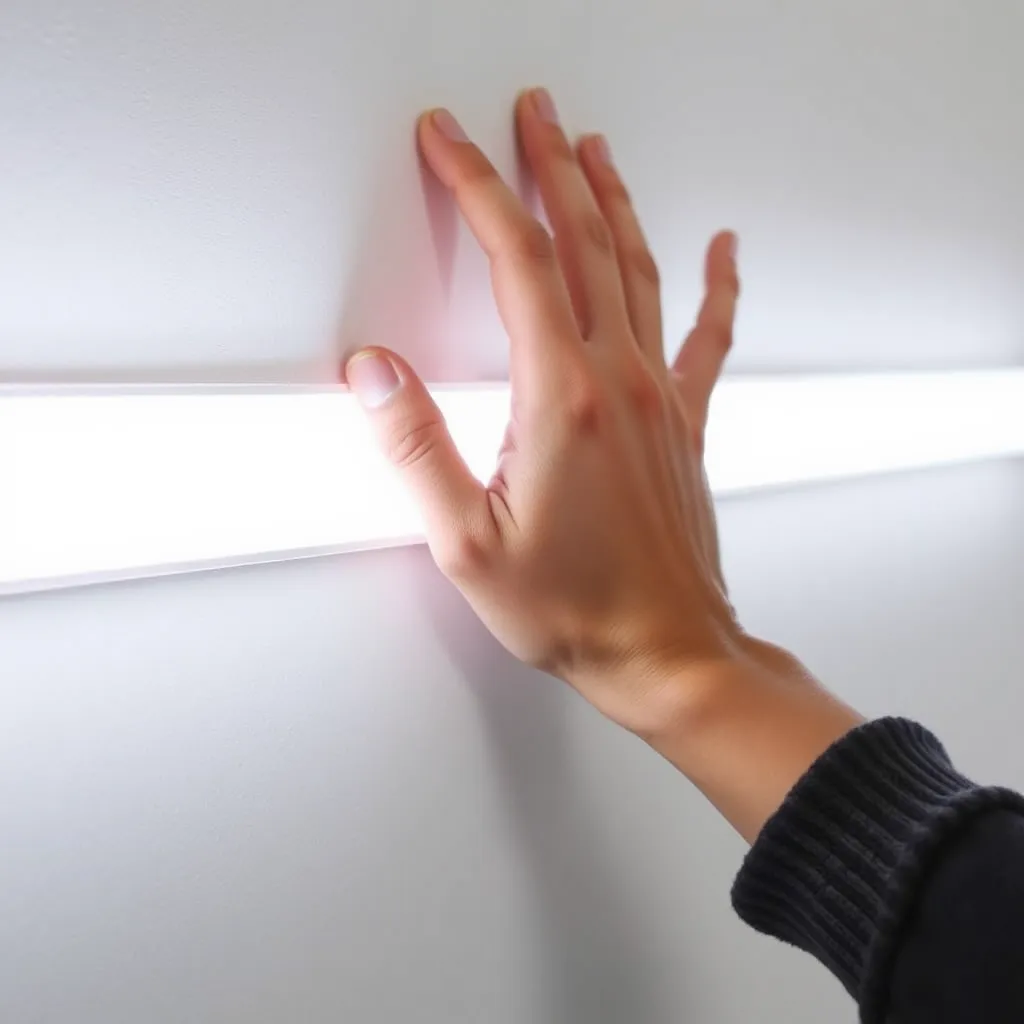
Wipe the surface with isopropyl alcohol (90%+) to clear dust, grease, and moisture, and let it dry for 2-3 minutes. Starting at the controller end, peel back 6-12 inches of backing, press the strip down firmly, then keep peeling and pressing in short sections, running a finger along it to push out air bubbles. On textured walls or ceilings, add a mounting clip every 12-18 inches for insurance. Tuck the controller and spare wire behind furniture or clip it neatly along the baseboard, and plug the adapter into the nearest outlet.
4. Set up the remote or app
IR remote: install the battery (usually a CR2032 coin cell), point it at the controller, and press - no pairing needed. IR needs line-of-sight to the controller.
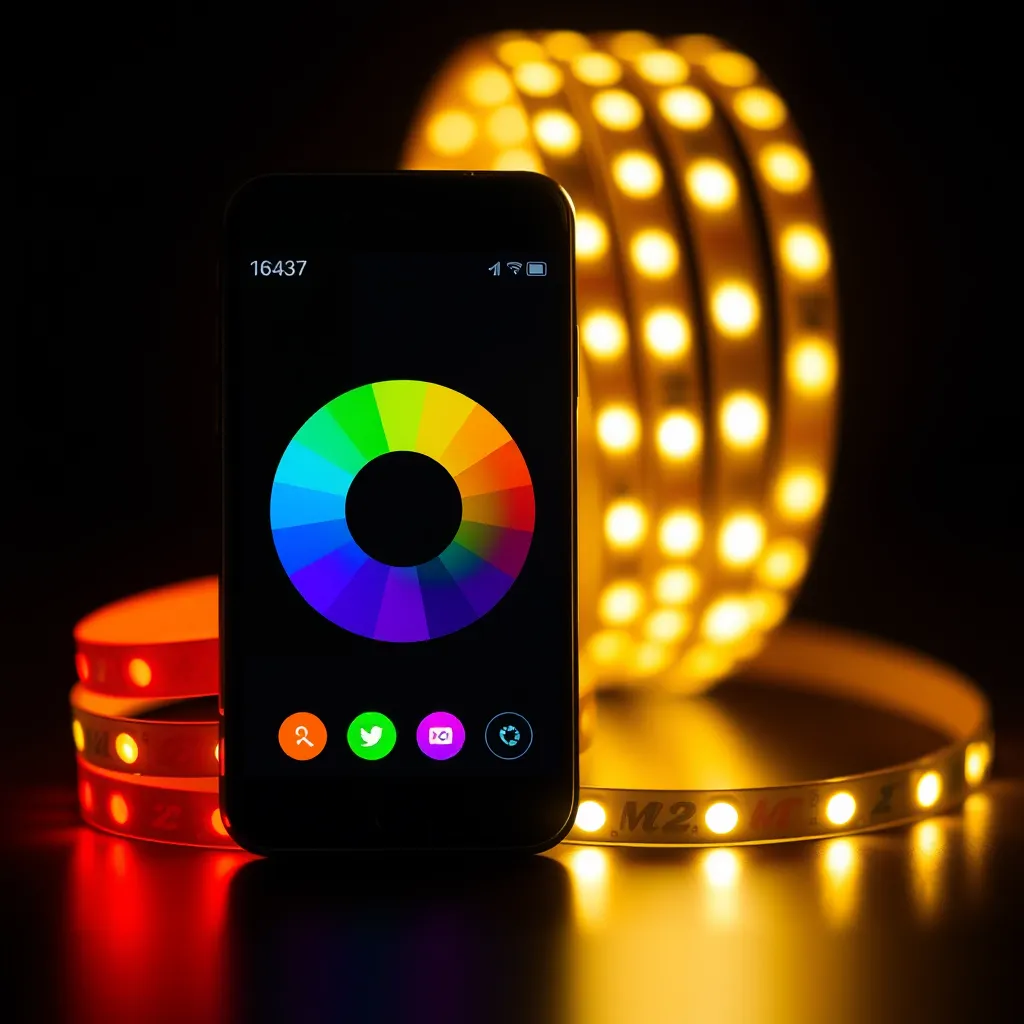
Bluetooth / Wi-Fi app: download the maker's app (Govee Home, Magic Home Pro, Tuya Smart, and the like), create an account if asked, and follow the pairing steps. Stay within about 30 feet during Bluetooth setup; for Wi-Fi, enter your 2.4 GHz network details when prompted, since most controllers don't support 5 GHz. Once paired, you get color, brightness, effects, schedules, and music sync from your phone.
Troubleshooting Common Issues
Nothing lights up
Recheck both connections (adapter-to-controller and controller-to-strip), confirm the outlet works with another device, press the power button on the controller itself, and check the remote battery.
Only part of the strip lights up
There's likely a damaged spot, often from shipping. Find the dark section, cut it out at the nearest cut marks, and rejoin the two good lengths with a strip-to-strip connector.
The app can't find the controller
Turn on Bluetooth (and, on Android, location services), make sure the controller has power, and bring your phone within about 10 feet for the first pairing. On Wi-Fi, double-check you're joining a 2.4 GHz network, not 5 GHz.
Conclusion
That's the whole job: connect adapter to controller to strip, test it, plan the run, clean and stick, then pair your remote or app. A 16-foot kit is a 15-30 minute project with no real tools required - and the two minutes you spend testing before peeling the adhesive is the single best way to avoid redoing it.
Frequently Asked Questions
Q1: Can I set up LED lights without a remote?
Yes. Most controllers have a small button on the unit that cycles power, color, and brightness, and Bluetooth/Wi-Fi models run entirely from the app. You only truly need the IR remote if the controller has no button and no app. Lost the remote? A universal LED remote ($5-$10) or an app-enabled replacement controller ($10-$20) will do.
Q2: Do LED strip lights have to stay plugged in?
Yes - there's no battery, so the adapter has to stay in a wall outlet to run. Unplugged, the strip is fully off; plugged in, the controller remembers your last on/off setting. Plug the adapter into a smart plug if you want scheduling or voice control through Alexa or Google Home.
Q3: Can I extend my strip past 16 feet?
Yes - add an extension strip or join another 16-foot strip with a strip-to-strip connector. The catch is power: don't exceed your adapter's wattage. If your adapter is rated 36W and each 16-foot strip draws 24W, one strip fits comfortably, but two would pull 48W and overload it - so you'd need a bigger adapter (or a second one). Aim to leave about 20% headroom, and for total runs over 32 feet, feed power to more than one point (power injection) so the far end doesn't dim.
Q4: How long does setup take?
About 15-30 minutes for a standard 16-foot kit - a few minutes to connect and test, and the rest to plan, clean, and stick the strip down.