To solder LED tape lights, tin the exposed copper pads on the strip with a thin layer of solder, place your pre-tinned wire on the pad, and apply the soldering iron tip for 2-3 seconds until the solder flows together into a smooth, shiny joint. Use a 25-40W soldering iron with a fine chisel tip, 60/40 rosin-core solder (0.8mm diameter), and 22-gauge stranded wire. Soldered connections are the most reliable method for joining LED strip sections - they create a permanent, low-resistance electrical bond that outperforms solderless clip connectors in durability, conductivity, and long-term reliability. The entire process takes 30-60 seconds per joint once you have basic soldering technique.
Tools and Materials
Soldering iron: A 25-40W iron with adjustable temperature is ideal. Set the temperature to 350-380°C (660-720°F). Higher temperatures risk damaging the LED chips and melting the flexible PCB substrate. A fine chisel tip (2-3mm wide) provides the best contact with the small copper pads on LED strips. Avoid pointed conical tips - they do not transfer heat efficiently to flat pads.
Solder: Use 60/40 tin/lead rosin-core solder in 0.8mm (0.031") diameter. Rosin-core flux is essential - it cleans the copper surface during soldering, allowing the solder to flow and bond properly. Lead-free solder (99.3/0.7 tin/copper) works but requires higher temperatures and is harder to work with. For LED strip work, leaded solder produces cleaner, easier joints.
Wire: 22-gauge stranded copper wire for standard-density LED strips. Use 20-gauge for high-density or high-power strips (RGBW, 24V). Stranded wire is preferred over solid wire because it flexes without breaking at the solder joint - important for LED strips that may shift slightly during installation. Pre-cut wires to 3-6 inches for inter-strip connections.
Additional supplies: Wire strippers, helping hands or clip holder (to hold the strip steady during soldering), heat shrink tubing (3:1 ratio, sized for the wire), isopropyl alcohol and cotton swab (for cleaning pads), and a damp sponge or brass tip cleaner (for cleaning the iron tip between joints).
Step-by-Step Soldering Process
Step 1: Prepare the strip. Cut the LED strip at a designated cut mark (marked with a scissor icon and visible copper pads). If the silicone waterproof coating covers the pads, carefully peel or scrape it away with a craft knife to expose clean copper. Clean the pads with isopropyl alcohol on a cotton swab to remove any residue or oxidation. Clean copper appears bright and shiny - dull or darkened copper will not accept solder properly.
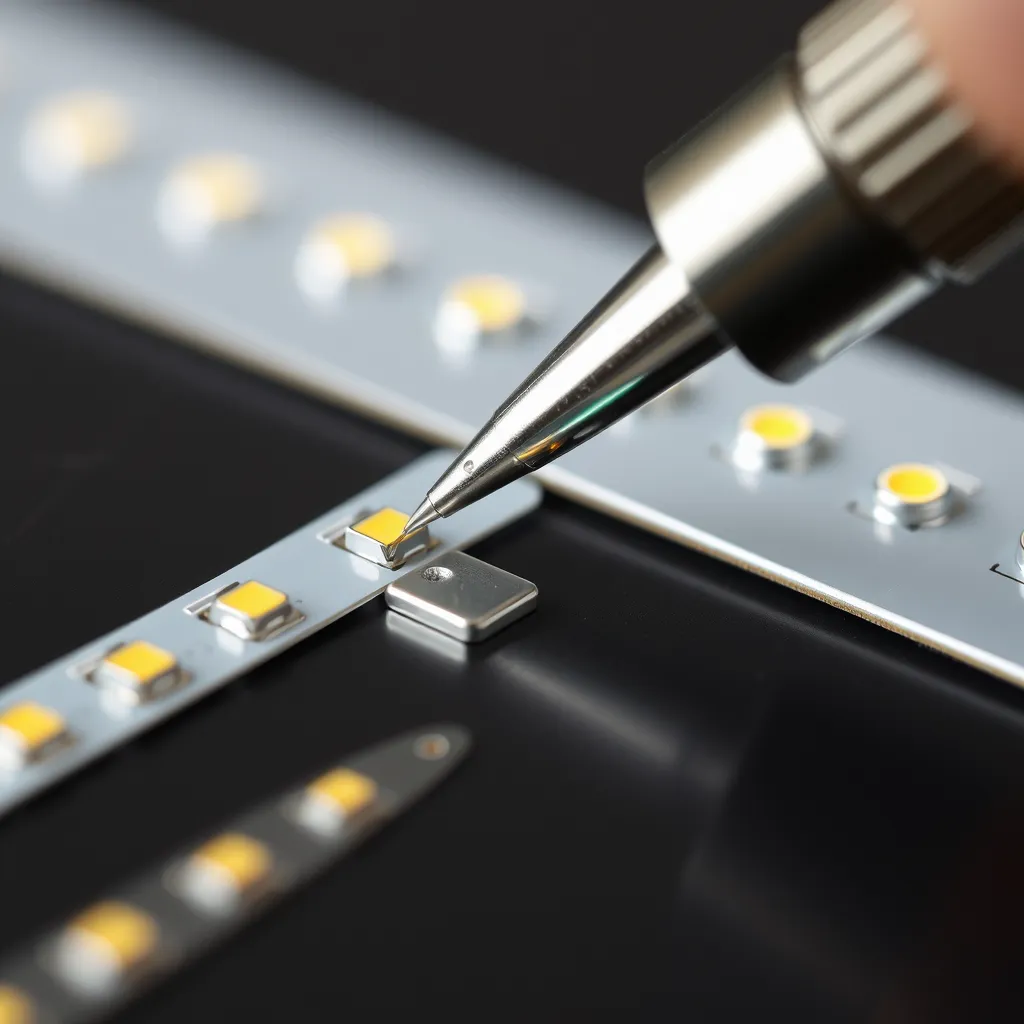
Step 2: Tin the pads. Heat the soldering iron to 350°C. Touch the iron tip to one copper pad for 1 second, then touch the solder wire to the junction of the tip and pad. The solder should melt and flow across the pad, forming a thin, shiny dome of solder. Remove the iron after 2-3 seconds. Repeat for each pad (2 pads for single-color strips, 4 for RGB, 5 for RGBW). Do not hold the iron on the pad for more than 3-4 seconds - excessive heat can delaminate the copper pad from the PCB or damage adjacent LEDs.
Step 3: Tin the wires. Strip approximately 3-5mm (1/8") of insulation from each wire end. Hold the stripped wire end against the iron tip and apply solder until the wire strands are coated with a thin layer of solder. This pre-tinning ensures a fast, clean connection when joining wire to pad.
Step 4: Join wire to pad. Hold the tinned wire against the tinned pad. Touch the soldering iron tip to both wire and pad simultaneously for 2-3 seconds. The solder on both surfaces should melt and flow together, creating a single smooth joint. Remove the iron. Hold the wire steady for 3-4 seconds while the solder cools and solidifies. A good joint appears smooth, shiny, and slightly concave. A bad joint (cold joint) appears dull, grainy, or blobby - reheat and add a tiny amount of fresh solder to fix it.
Step 5: Insulate. Slide a piece of heat shrink tubing over the completed solder joints and apply heat with a heat gun or lighter to shrink it tightly over the connection. This provides electrical insulation, strain relief, and moisture protection. For waterproof installations, apply a small amount of silicone sealant over the heat shrink for additional water protection.
Common Soldering Mistakes
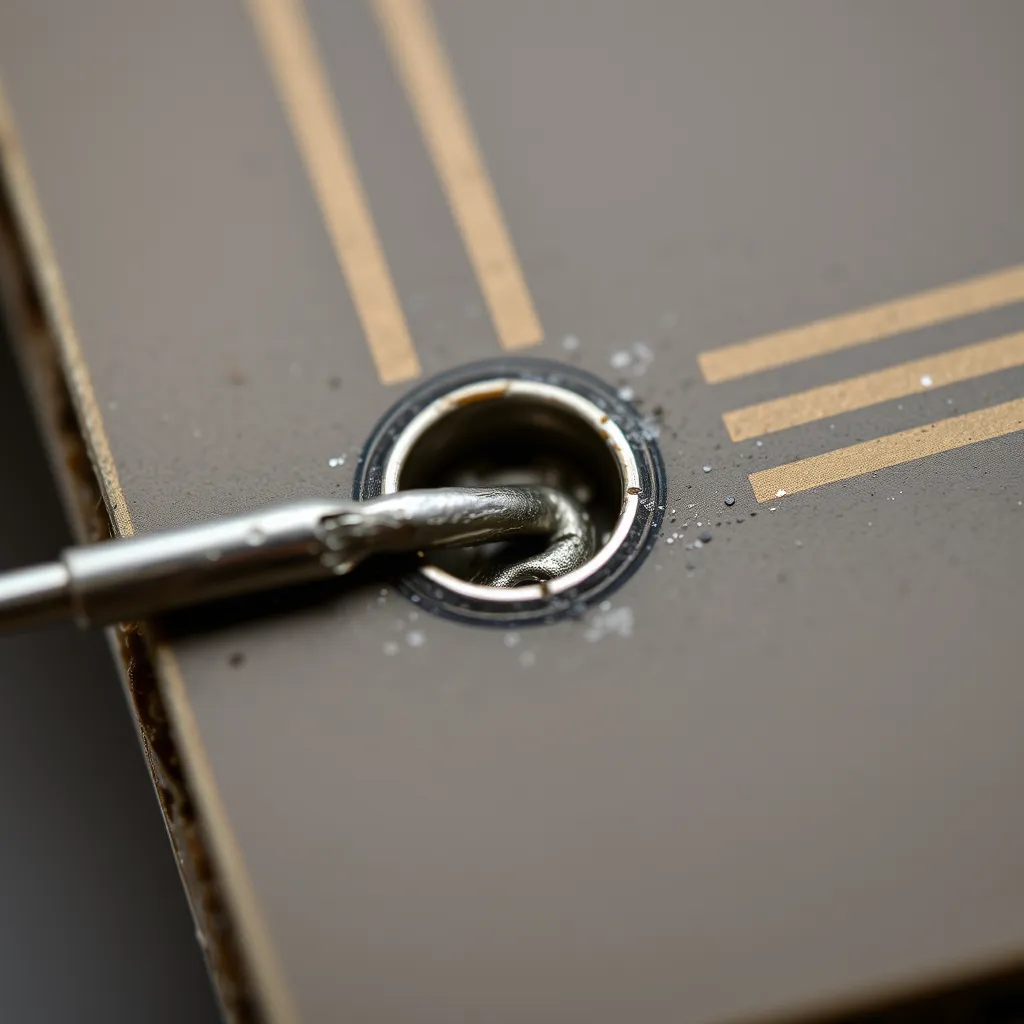
Cold joints: If the iron temperature is too low or contact time too short, the solder does not flow properly. Cold joints appear dull and rough rather than smooth and shiny. They create a high-resistance connection that causes flickering, color inconsistency, or complete failure at that point. Fix cold joints by reheating with proper temperature and adding a small amount of fresh solder.
Bridged pads: Applying too much solder causes adjacent pads to connect (bridge), creating a short circuit. This is most common on RGB and RGBW strips where pads are closely spaced. If pads bridge, use solder wick (desoldering braid) to remove excess solder - press the braid against the bridge, heat with the iron, and the braid will absorb the excess solder.
Lifted pads: Applying too much heat or mechanical force can separate the copper pad from the PCB substrate. Once a pad lifts, it cannot be reliably re-attached. You must cut back to the next set of pads and re-solder there. Prevent lifted pads by keeping iron contact under 4 seconds and never pulling or prying on the wire while the joint is hot.
Soldering vs Solderless Connectors
Solderless clip connectors are faster to install (just slide the strip in and close the clip) but have significant reliability drawbacks. The spring contacts in clip connectors can loosen over time, creating intermittent connections that cause flickering or dead sections. Heat cycling (from LED operation) and vibration accelerate this loosening. Soldered joints, by contrast, create a metallurgical bond that does not degrade over time - a properly soldered LED strip connection will last the lifetime of the strip.
Use solderless connectors for temporary installations, prototyping, or situations where soldering is not practical (no power, no workspace). Use soldered connections for permanent installations, commercial projects, outdoor/wet locations, and anywhere reliability is critical. The 5-10 minutes invested in soldering saves hours of troubleshooting failed clip connections later.
Frequently Asked Questions
Can I solder waterproof LED strips?
Yes, but you must remove the silicone waterproof coating from the copper pads before soldering. Use a craft knife to carefully peel away the silicone over each pad. After soldering and insulating the joint, reapply waterproofing by covering the exposed area with clear silicone adhesive or heat shrink tubing with adhesive lining. The waterproof integrity at the solder joint depends entirely on how well you reseal it - this is the most vulnerable point for water ingress in any waterproof LED strip installation.
What if my solder won't stick to the copper pads?
Solder that beads up and rolls off the pad indicates oxidation or contamination on the copper surface. Clean the pad with isopropyl alcohol and a fiberglass scratch pen or fine sandpaper (600 grit) to expose fresh copper. Apply a small amount of flux paste to the pad before soldering - flux removes surface oxides and allows solder to flow and bond. If the pad still rejects solder, it may be coated with a non-solderable finish - try the next set of pads on the strip.
How many solder joints can I make in one strip run?
There is no practical limit to the number of solder joints in a single strip run - each proper solder joint has negligible resistance and does not affect performance. The limiting factor is total strip length (voltage drop over distance), not the number of joints. A 5-meter 12V strip with ten solder joints performs identically to a single uncut 5-meter strip, assuming all joints are properly made. Poor solder joints, however, add resistance and can cause brightness drops at and beyond the bad joint.