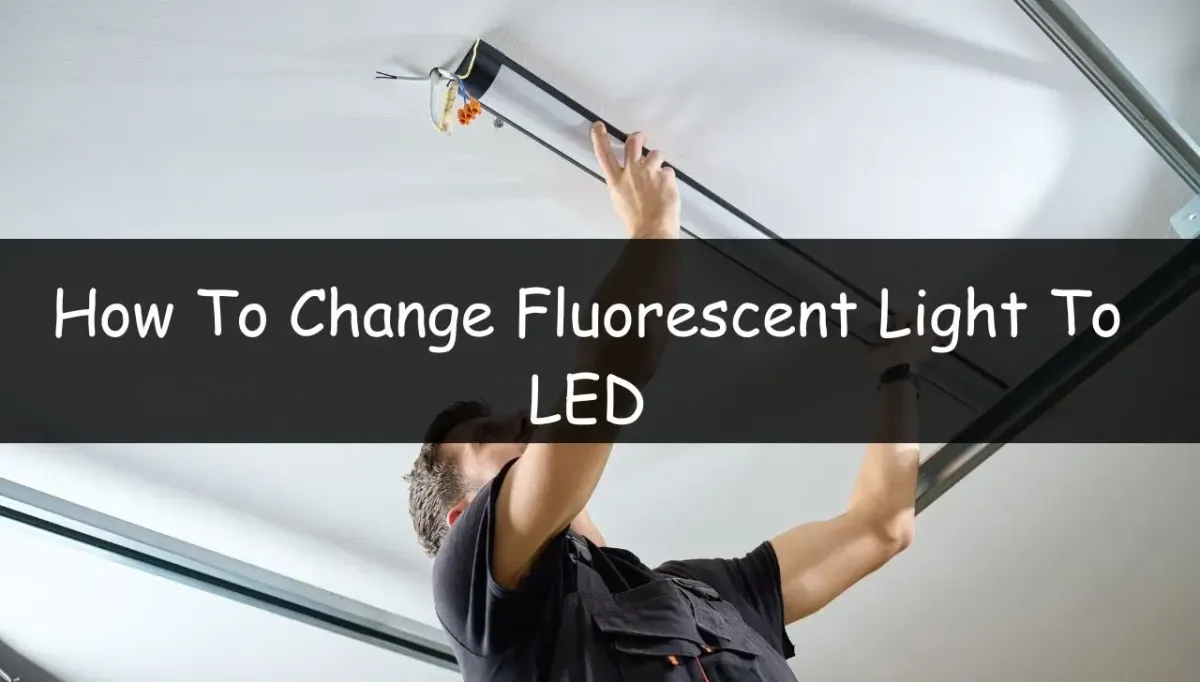
Swapping a 4ft fluorescent tube for LED can take you two minutes or twenty, and the difference comes down to one part inside the fixture: the ballast. Leave it in and the job is a simple tube swap. Bypass it and you do a little wiring, but you kill its energy waste for good.
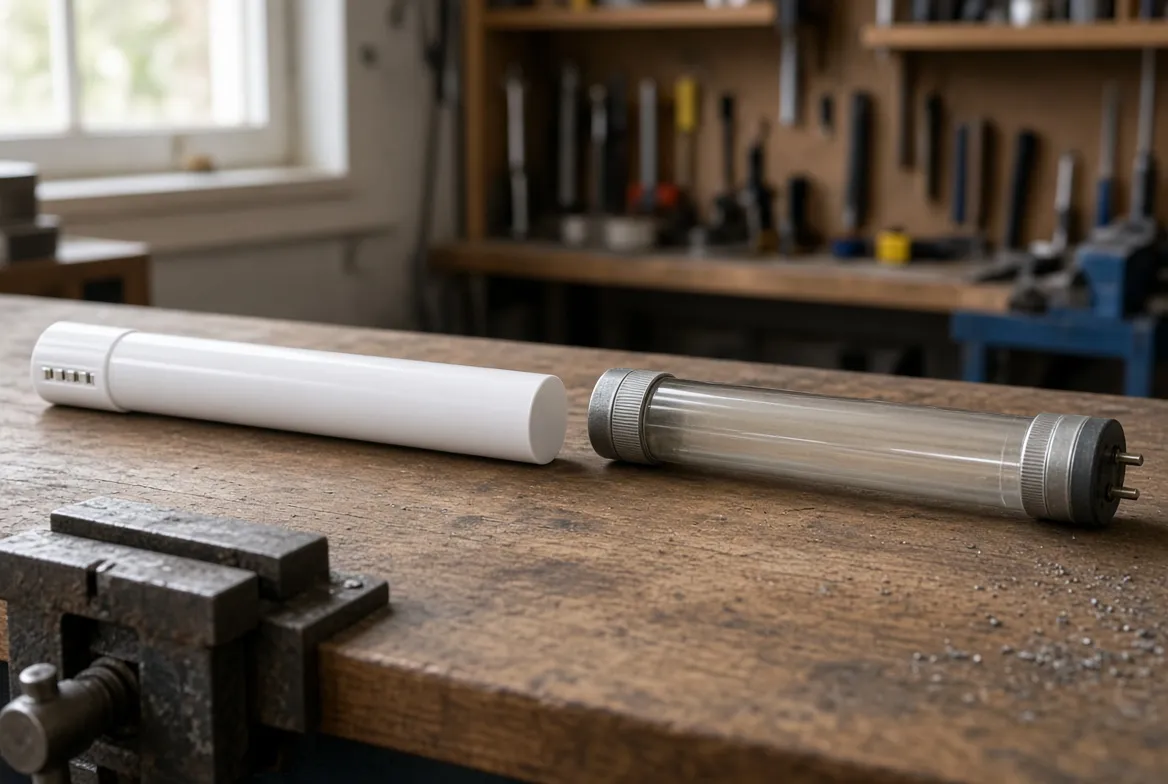
There are two ways to convert. A plug-and-play (Type A) LED tube drops into the existing sockets with no rewiring in under 2 minutes. A ballast-bypass (Type B) tube wires straight to line voltage in 15 to 20 minutes of basic electrical work. Either way, a 4ft LED T8 draws 15 to 18 watts against the fluorescent's 32, about 50% less, with instant, flicker-free light. The same approach works for other sizes in our guide on how to change a fluorescent light to LED.
The Ballast Is the Whole Decision:
Everything hinges on that one component. Type A keeps the ballast working, so it is fast but the ballast still wastes 3 to 8 watts and will fail someday. Type B removes it from the circuit, so it takes more effort now but runs cheaper and maintenance-free forever. Here is how to do both.
Method 1: The 2-Minute Plug-and-Play Swap (Type A)
This is the fastest route, no tools, no wiring. Turn off the switch, rotate the old fluorescent tube 90 degrees, and slide it out of the tombstone sockets. Slide the new Type A LED tube in, rotate to lock, and switch back on. The tube runs through the existing ballast, so anyone can do it.
Before buying, open the fixture and read the ballast label. Check the LED tube's compatibility list on the packaging. Type A tubes work with most instant-start electronic ballasts made after 2000, but not older magnetic or programmed-start ballasts. If yours is not compatible, go to Method 2.
The catch: the ballast stays in the circuit, drawing 3 to 8 watts and acting as a future failure point. When it eventually dies, you will replace it or switch to a bypass. For a quick upgrade, Type A is excellent, for maximum long-term efficiency, Method 2 wins.
Method 2: The Ballast Bypass for Maximum Savings (Type B)
This removes the ballast entirely, so the tube wires straight to line voltage. It is basic electrical work, roughly 15 to 20 minutes. Our guide on how to remove a ballast for LED lights covers the wiring in more detail.
Kill the breaker, not just the switch, and confirm power is off with a non-contact voltage tester. Remove the tubes and the diffuser cover.
Find the ballast, a rectangular box 8 to 12 inches long wired between the tombstones. Cut all wires running from it to the sockets, then unscrew and remove it or leave it disconnected in place.
Wire the tombstones to line voltage. For single-end tubes, both hot and neutral go to the sockets on one end. For double-end tubes, hot to one end, neutral to the other. Follow the tube's wiring diagram.
Secure and label. Cap connections with wire nuts, tape each one, and add a label reading "Ballast Bypassed, LED Tubes Only." Install the tube, replace the cover, and restore power.
Why the label matters: it stops someone later from fitting a fluorescent tube into the rewired fixture, which could arc or shatter, since the socket now carries line voltage directly.
4ft LED vs Fluorescent T8: The Specs Compared:
Spec | Fluorescent T8 | LED T8 |
|---|---|---|
Wattage | 32W | 15 to 18W |
Lumens | 2,800 | 2,200 to 3,200 |
Color temp | 4100K (fixed) | 3000K to 6500K (your choice) |
CRI | 75 to 85 | 80 to 95 |
Lifespan | 20,000 to 30,000 hrs | 50,000+ hrs |
Warm-up | 30 sec to 3 min | Instant |
Mercury | Yes (~4 mg) | None |
Which Method Should You Choose?
Choose Type A (plug-and-play) if your ballast is compatible and you want the fastest swap with zero wiring. It is ideal for a quick upgrade of a fixture or two where you do not mind the small ongoing ballast draw.
Choose Type B (ballast bypass) if your ballast is old, magnetic, or not on the compatibility list, or you want to erase its energy waste and never replace a ballast again. For garages, workshops, and any multi-fixture space, this is the long-term winner, and it pairs well with quality LED shop lights if you would rather replace the whole fixture.
Conclusion:
Converting a 4ft fluorescent to LED is one of the cheapest energy upgrades you can make. Pick Type A for a two-minute swap if your ballast is compatible, or Type B to bypass the ballast for maximum savings and no future maintenance. Either way you cut energy about 50% and get instant, flicker-free, mercury-free light for years.
(FAQs):
Q1. Can I use a 4ft LED tube in a T12 fluorescent fixture?
A: Yes. LED T8 tubes share the same G13 bi-pin base, so they lock into T12 tombstones despite the thinner tube. If the T12 fixture has a magnetic ballast, use a Type B bypass tube, since Type A tubes generally will not run on magnetic ballasts.
Q2. How much does converting to LED save?
A: One 4ft fixture (two tubes) saves about 30 watts. At 12 hours a day and $0.16/kWh, that is roughly $21 a fixture per year, so a four-fixture garage saves $84 and a 20-fixture office $420. At $5 to $10 a tube, payback is 3 to 8 months.
Q3. Do I need to replace the tombstones when bypassing the ballast?
A: For non-shunted tombstones (two separate contacts), no. For shunted ones (contacts joined internally), you may need non-shunted replacements if using single-end tubes. They cost $1 to $2 each and snap into the same holes. Check the tube's instructions.
Q4. Is a Type A or Type B tube better?
A: Type A is faster and needs no wiring, but keeps the power-wasting ballast. Type B takes 15 minutes of wiring but removes the ballast for good, lower running cost and no future ballast failures. For one fixture, Type A is fine, for many, Type B pays off.