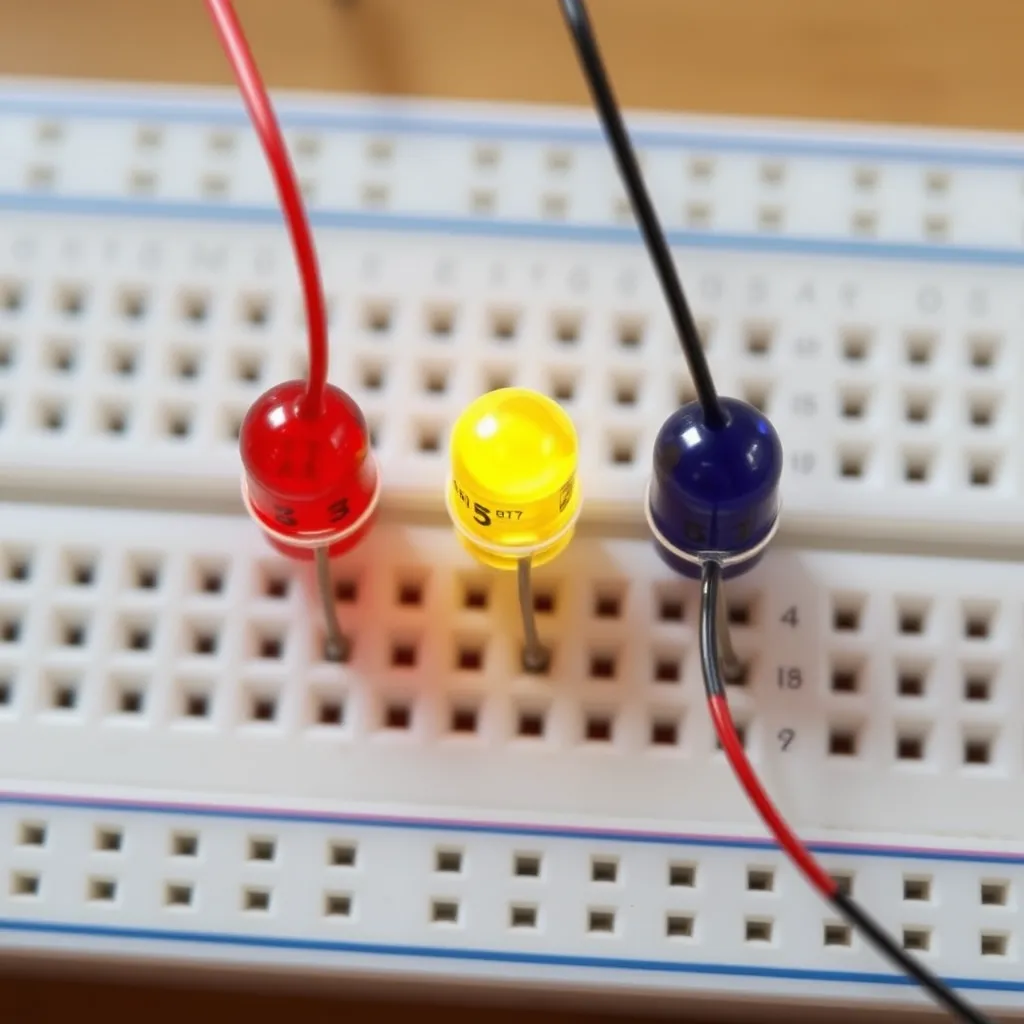
Make a basic LED light by connecting an LED to a current-limiting resistor and a DC power source. For a single LED on a 9V battery, use a 330-470 ohm resistor in series with the LED. Connect the longer leg (anode, positive) through the resistor to the positive battery terminal, and the shorter leg (cathode, negative) directly to the negative terminal. The resistor limits current to a safe level (typically 20 mA), preventing the LED from burning out. This basic circuit takes about 5 minutes to build and costs under $1 in parts.
Once you understand this basic circuit, you can scale it up to build LED strip lights, accent panels, custom light bars, and decorative displays. The principles stay the same - every LED needs a current-limiting resistor and a matched voltage source.
What You Need
Component | Purpose | Approximate Cost |
|---|---|---|
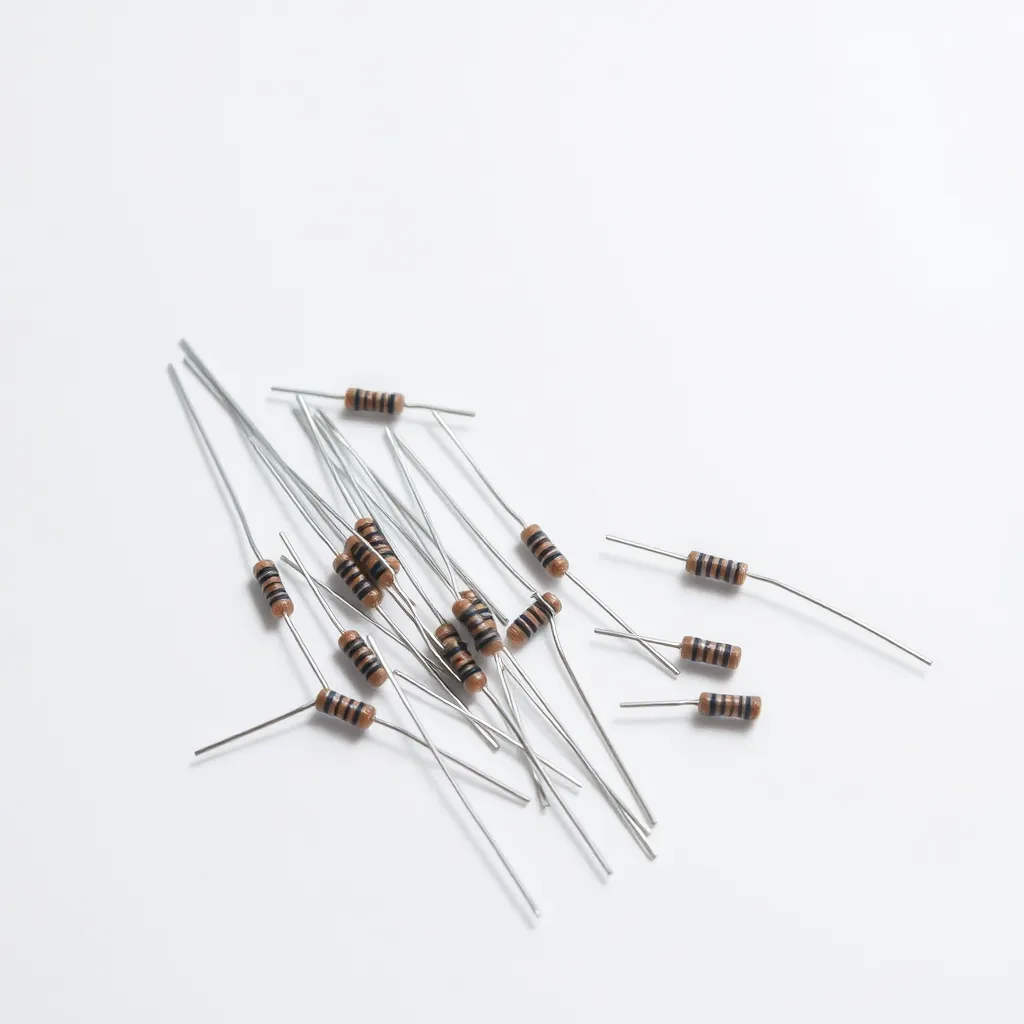
5mm LEDs (any color) | The light source | $3-$5 for 100 pieces |
Resistors (330Ω-1KΩ) | Limits current to protect the LED | $2-$4 for assortment pack |
Breadboard or perfboard | Holds components for prototyping or permanent builds | $3-$8 |
Power source (9V battery or 12V adapter) | Provides DC voltage | $2-$10 |
Wire (22 AWG solid or stranded) | Connects components | $5 for a spool |
Soldering iron + solder (for permanent builds) | Creates permanent electrical connections | $15-$30 for a basic kit |
How to Calculate the Resistor Value
Use Ohm's Law: R = (V_source − V_LED) / I_LED.
V_source is your power supply voltage.
V_LED depends on color: red ≈ 2V, green/blue ≈ 3.2V, white ≈ 3-3.4V.
I_LED is the safe current, usually 20 mA (0.020 A) for a standard 5mm LED.
Example: For a red LED on a 9V battery:
R = (9 − 2) / 0.020 = 350 ohms. The nearest standard resistor is 330Ω or 390Ω.
Using a higher resistor than calculated is safe but makes the LED slightly dimmer. Using a lower resistor increases brightness but shortens LED life. Never connect an LED directly to a power source - even a 3V coin cell can supply more current than the LED can handle and may damage it.
Building a Multi-LED Series Circuit
To build a light with multiple LEDs, wire them in series (positive leg of one LED connects to the negative leg of the next). Add the forward voltages together: three red LEDs in series need 2V + 2V + 2V = 6V.
The resistor calculation uses the combined voltage drop: R = (12 − 6) / 0.020 = 300Ω. This series string draws only 20 mA total regardless of how many LEDs are in the chain, making it efficient and simple.
The limitation of series wiring is that the total LED forward voltage must be less than the source voltage. On a 12V supply, you can run up to 5 red LEDs in series (5 × 2V = 10V, leaving 2V for the resistor) or 3 white LEDs (3 × 3.3V = 9.9V, leaving 2.1V). If one LED in a series chain fails open, the entire chain goes dark because the circuit is broken.
Building a Multi-LED Parallel Circuit
For more LEDs than a single series chain allows, use parallel wiring. Each parallel branch is an independent series chain with its own resistor. On a 12V supply, you might have five parallel branches, each containing 4 red LEDs and a resistor. This arrangement lets you power 20 LEDs from one supply. Each branch draws 20 mA independently, so five branches draw 100 mA total.
The critical rule for parallel LED circuits is that every branch must have its own resistor. Never share one resistor across multiple parallel branches. LEDs have slight manufacturing variations in forward voltage, and without individual resistors, the branch with the lowest forward voltage hogs most of the current, overheats, and fails, which then pushes even more current to the remaining branches in a cascade failure.
Making a DIY LED Light Panel
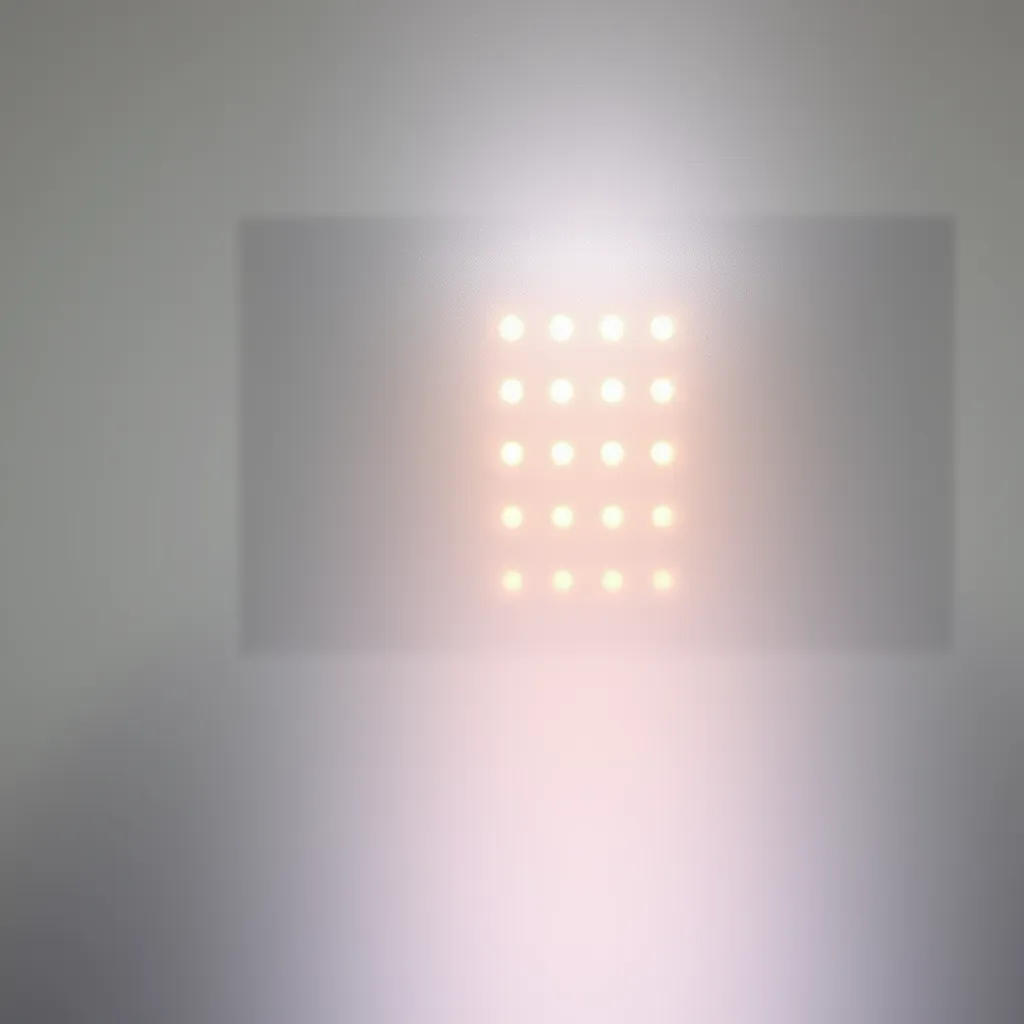
A custom LED panel uses a grid of LEDs on a perfboard or PCB. Plan your grid on paper first - for example, a 5×4 grid of 20 LEDs. Wire each column as a series chain and connect all columns in parallel to the power supply. Mount the perfboard inside a picture frame, behind a diffuser sheet (frosted acrylic or parchment paper), for a clean, professional-looking light panel. A 20-LED panel using high-brightness white LEDs produces enough light for accent or ambient room lighting.
For higher brightness, use high-power LEDs (1W-3W) instead of standard 5mm LEDs. These require heat sinks (aluminum plates or finned heat sinks) because they generate significant heat. They also need constant-current drivers instead of simple resistors for reliable, long-term operation. High-power LED builds are more complex but can produce light output equivalent to commercial fixtures.
Frequently Asked Questions
Q1: Can I power LEDs directly from a USB port?
A: Yes. USB ports provide 5V DC, which is perfect for 1-2 LEDs in series with a resistor. For a single white LED (3.3V forward voltage): R = (5 − 3.3) / 0.020 = 85Ω. Use a 100Ω resistor (nearest standard value). A USB-powered LED is an easy desk light, keyboard backlight, or indicator project. USB ports supply up to 500 mA (USB 2.0) or 900 mA (USB 3.0), so you can power up to 25 parallel LED branches from a single USB port.
Q2: Why does my DIY LED light flicker?
A: Flickering in a DIY LED circuit usually means a loose connection, insufficient power supply current, or no filtering capacitor. Check all solder joints and wire connections first. If using a battery, test with a fresh one - low batteries cause voltage fluctuation. For power adapter builds, add a 100μF electrolytic capacitor across the power rails to smooth voltage ripple. The capacitor acts as a tiny buffer that absorbs momentary voltage drops.
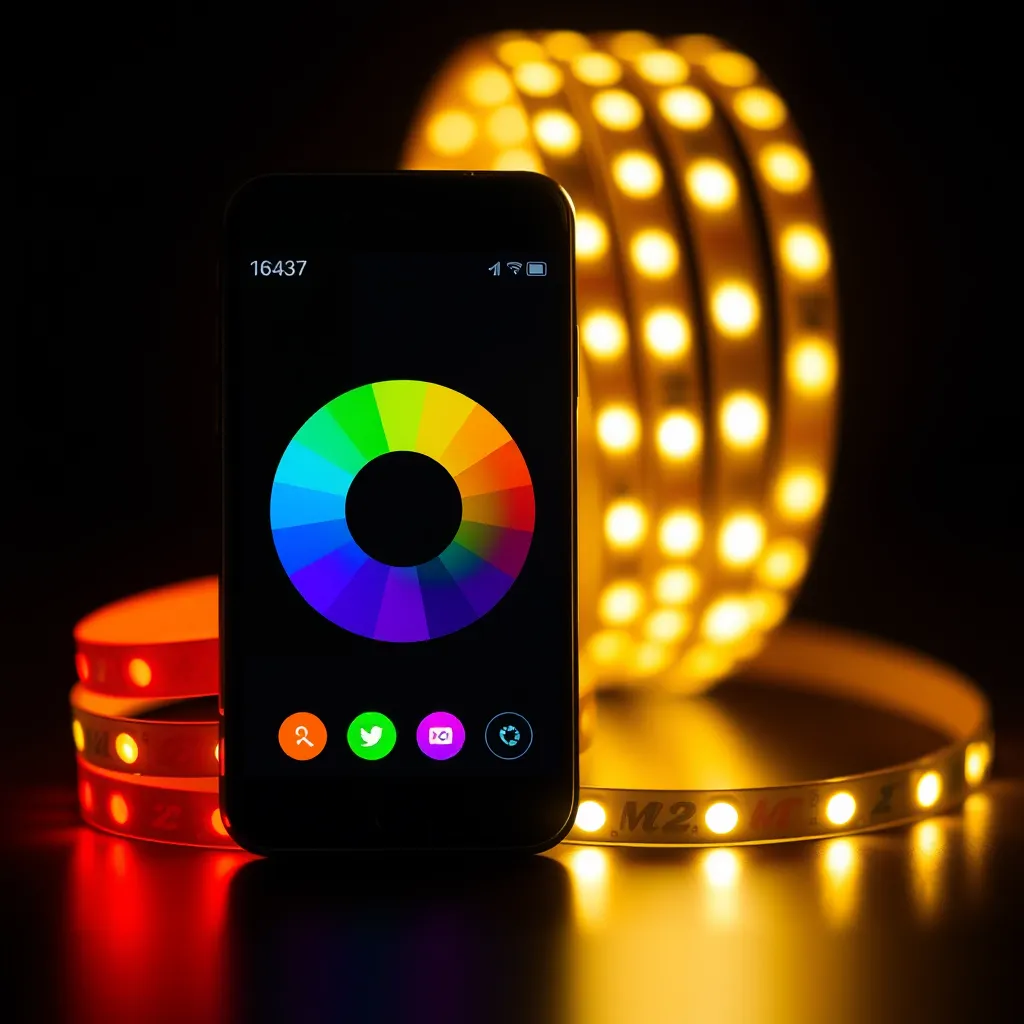
Q3: How do I make LED lights change color?
A: Use RGB LEDs, which contain red, green, and blue LED chips in a single package. By varying the current to each color channel, you mix any color. An Arduino or similar microcontroller makes this easy - connect each color channel through a resistor to a PWM-capable output pin, and program the color sequences. Pre-built RGB LED controllers are also available for $5-$10 and provide remote-controlled color mixing without any programming.