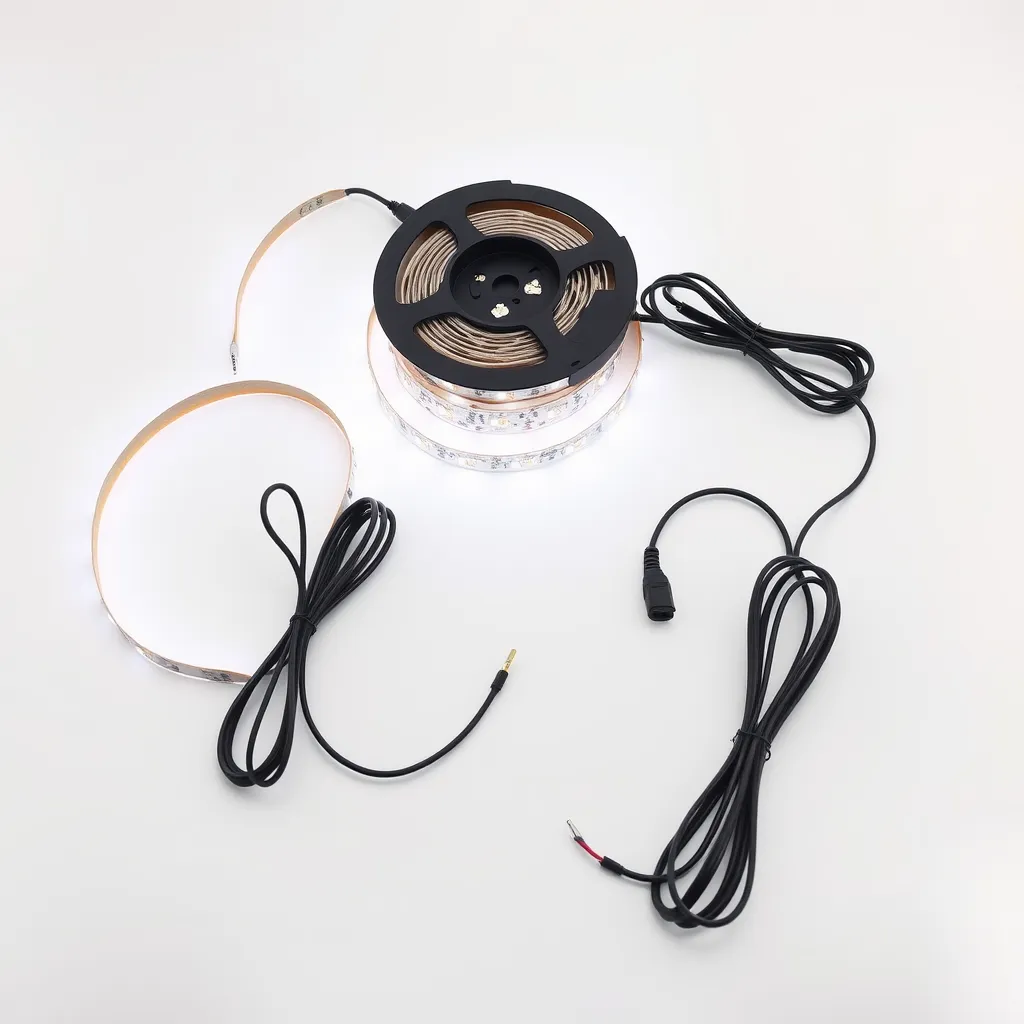
Wiring LED strip lights requires three components: the LED strip, a compatible DC power supply, and wire or connectors to bridge them. Match the power supply voltage to your strip (12V or 24V), ensure its wattage rating exceeds the total strip wattage by at least 20%, and connect positive to positive and negative to negative. The entire process takes 15 to 30 minutes for a basic single-color installation.
Whether you solder the connections or use solderless snap connectors depends on your comfort level and the permanence you want. Both methods work reliably when done correctly. This guide covers both approaches plus parallel wiring for longer runs.
What You Need
Component | Purpose | Typical Cost |
|---|---|---|
LED strip light | The light source itself | $10 - $40 per 16ft roll |
DC power supply (12V or 24V) | Converts wall AC to strip DC voltage | $10 - $25 |
Wire (18-22 AWG) | Connects supply to strip | $5 - $10 |
Solderless connectors OR solder + iron | Makes the electrical connection | $5 - $15 |
Inline switch (optional) | On/off control without unplugging | $3 - $8 |
Step 1: Calculate Your Power Requirements
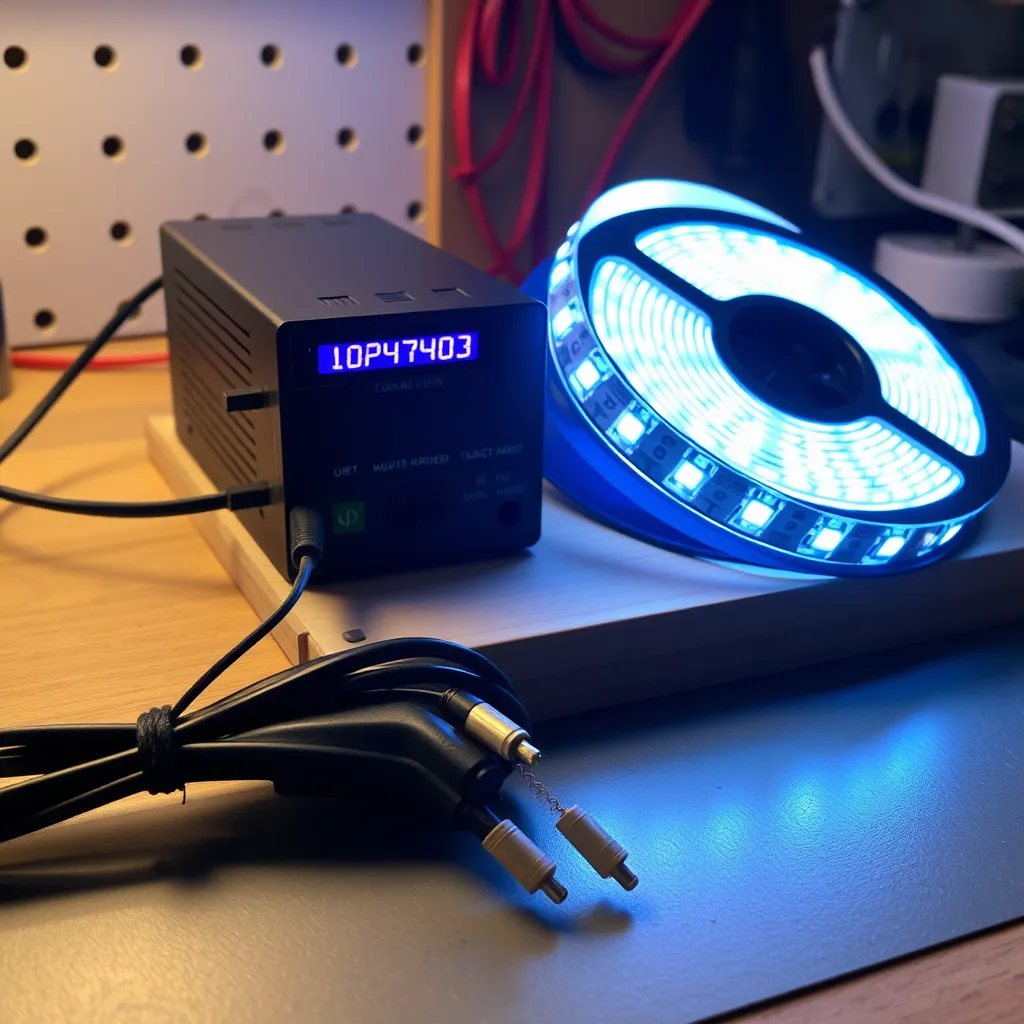
Every LED strip has a rated wattage per meter or per foot listed on its packaging or product page. Multiply this by the total length of strip you plan to install. A typical 5050 SMD strip draws about 14.4 watts per meter. A 5-meter run therefore needs 72 watts. Add a 20% safety margin, so you need a power supply rated at least 86 watts. Using an undersized power supply causes overheating, flickering, and premature failure (Flexfire LEDs).
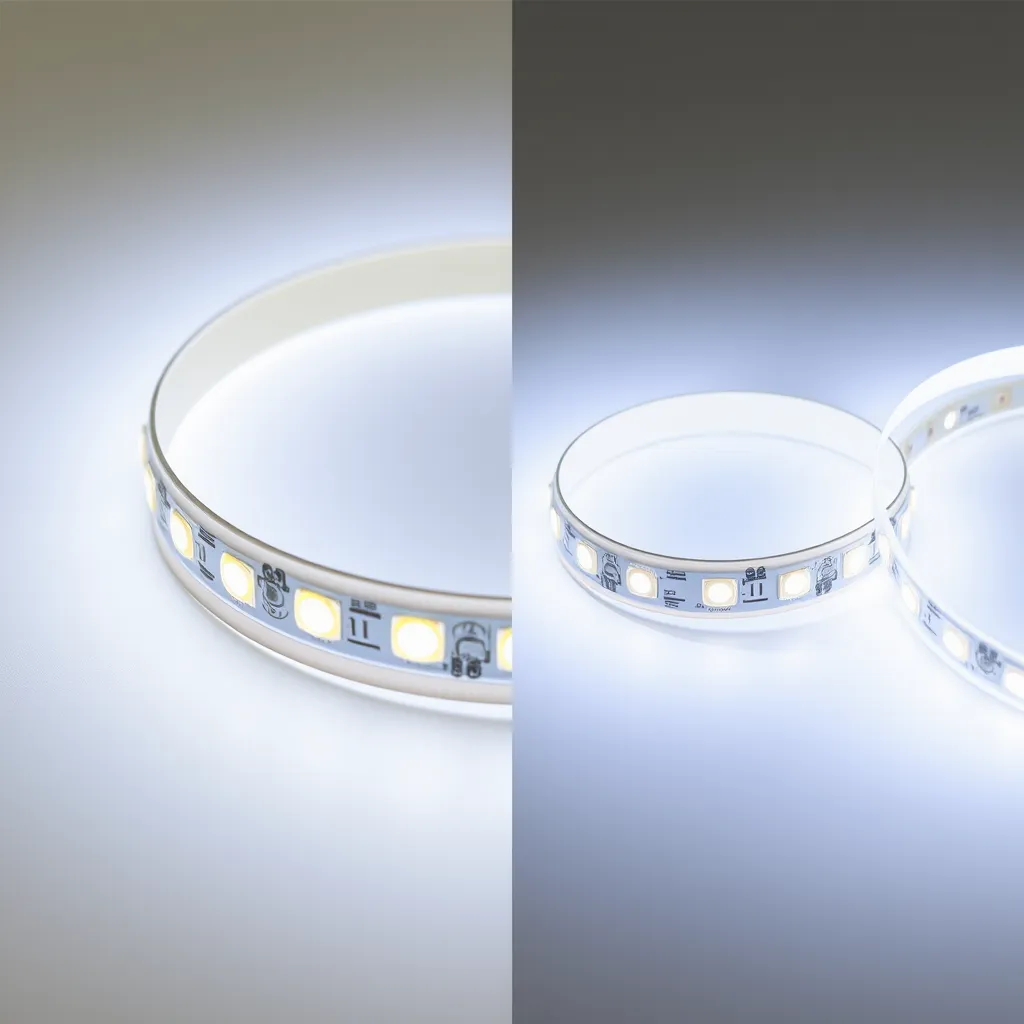
Check that the power supply voltage matches the strip. Most residential strips are 12V DC or 24V DC. Using the wrong voltage will either produce dim light (too low) or burn out the strip immediately (too high). The voltage is printed on the strip's PCB and on the power supply label.
Step 2: Connect the Power Supply to the Strip
Method A - Solderless connectors: Strip 5mm of insulation from your wires, press the strip end into the connector clip ensuring the copper pads align with the connector pins, and snap it closed. These connectors work well for quick installations but can loosen over time in warm environments. Use them when you want easy removal or repositioning later.
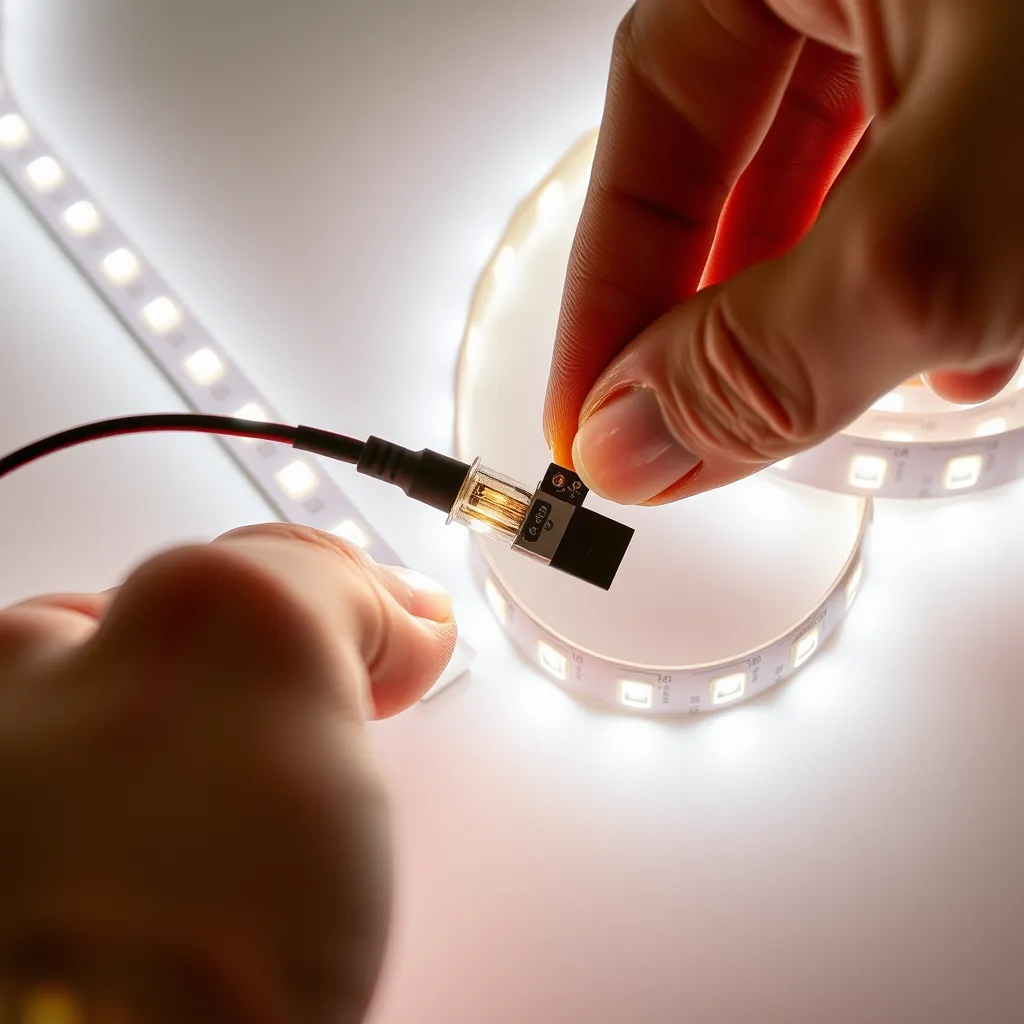
Method B - Soldering: Tin the copper pads on the strip with a small bead of solder. Tin the wire ends. Press the tinned wire to the tinned pad and touch the soldering iron briefly (2-3 seconds) until the solder flows together. This creates a permanent, reliable connection. Soldering is preferred for permanent installations, outdoor use, and anywhere vibration or heat might loosen a clip connector. Use 18 to 22 AWG stranded wire for flexibility.
Step 3: Wire for Longer Runs (Parallel Wiring)
LED strips experience voltage drop over long distances. Beyond 5 meters (16 feet) on a 12V strip, the LEDs at the far end appear noticeably dimmer than those near the power supply. The solution is parallel wiring: run separate power wires from the supply to the beginning of each strip segment rather than daisy-chaining them end-to-end. This ensures each segment receives full voltage directly from the source.
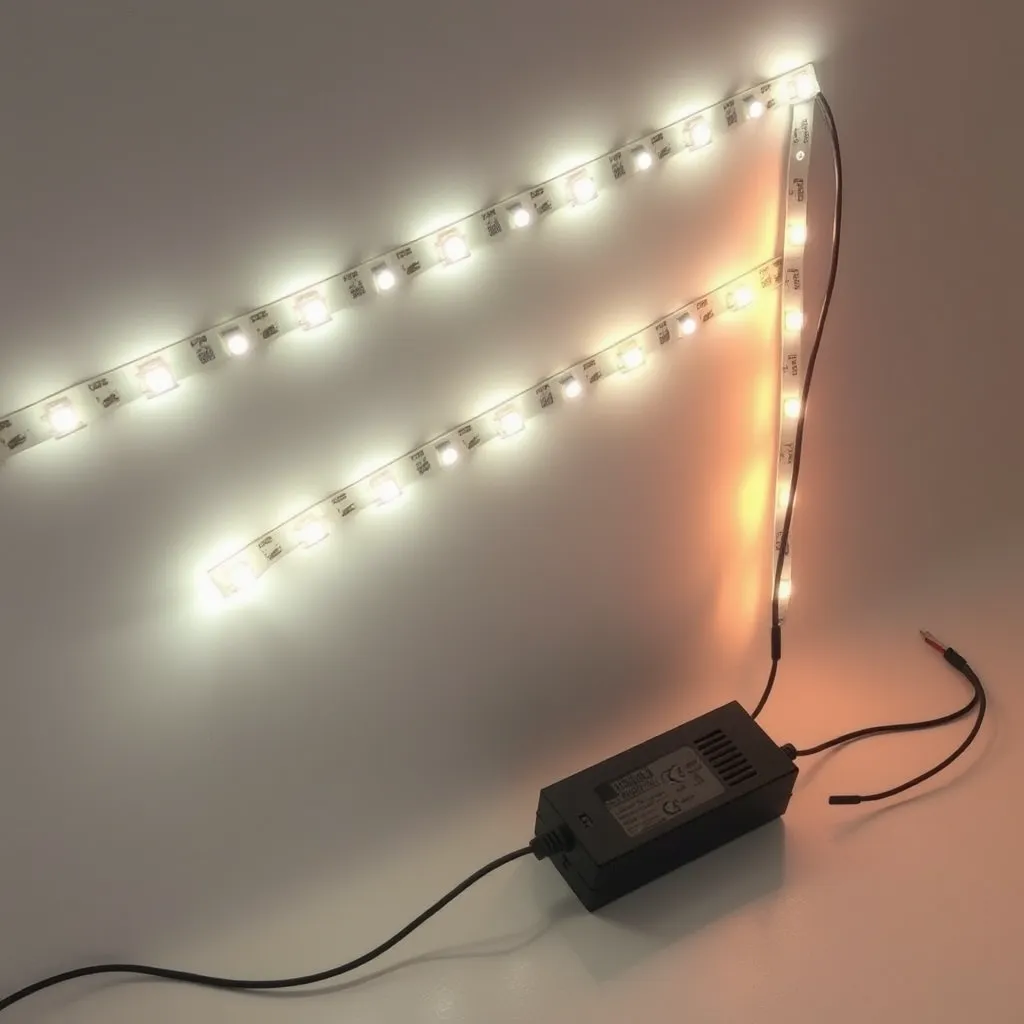
For a 10-meter installation, cut the strip into two 5-meter sections and wire each section independently back to the power supply. This eliminates voltage drop and ensures uniform brightness across the entire run. For runs exceeding 10 meters, consider using 24V strips, which handle longer distances before voltage drop becomes visible.
Step 4: Add a Switch or Dimmer (Optional)
An inline switch placed between the power supply and the strip gives you on/off control without unplugging the power supply. For dimming, install a PWM (Pulse Width Modulation) dimmer on the DC side, between the supply and the strip. Do not use a standard AC wall dimmer with LED strips; it will not work and may damage the power supply. For RGB strips, use an RGB controller in the same position to manage color and brightness.

Common Wiring Mistakes to Avoid
Reversed polarity: Connecting positive to negative will not damage most LED strips, but the lights will not turn on. Double-check the + and - markings on both the strip and the power supply before powering on. Undersized wire: For runs longer than 3 meters between the power supply and the strip, use 18 AWG wire instead of the thin 22 AWG that comes with most kits. Thicker wire reduces resistance and voltage loss. Series daisy-chaining: Never run more than the manufacturer's recommended maximum length in series. This overloads the copper traces on the strip PCB and causes uneven brightness and overheating.
Conclusion
Wiring LED strip lights is a simple project when you follow the correct steps and use the proper components. By matching the voltage, choosing a power supply with enough wattage, and connecting positive and negative terminals correctly, you can create a safe and reliable lighting setup. Whether you use solderless connectors for convenience or soldering for a permanent installation, both methods work effectively. Planning for power requirements and avoiding common wiring mistakes will ensure your LED strip lights run efficiently, evenly, and reliably for years
Frequently Asked Questions
Q1: Can I wire LED strip lights to a standard wall switch?
A: Yes, but the switch must be on the AC side, before the power supply. Wire the power supply's AC input through the wall switch so the switch cuts power to the entire supply. The strip itself always runs on low-voltage DC, so never connect it directly to 120V household wiring.
Q2: What gauge wire should I use for LED strip lights?
A: For runs under 3 meters (10 feet), 22 AWG is sufficient. For 3 to 6 meters, use 20 AWG. For runs exceeding 6 meters, use 18 AWG or thicker. Heavier gauge wire reduces voltage drop and ensures consistent brightness across longer distances.
Q3: Do LED strips need a special power supply?
A: LED strips require a DC power supply matching the strip's rated voltage (usually 12V or 24V). Standard USB chargers, laptop adapters, or AC outlets will not work directly. Use a power supply specifically designed for LED strips, rated at 20% above your total strip wattage.