
The transition from traditional incandescent bulbs to solid-state lighting has significantly reduced energy consumption, but it has also introduced a specific technical frustration: the strobe-like pulsing of a light that should be steady. Unlike a filament bulb, which relies on thermal inertia to stay lit even as the alternating current (AC) cycles, a light-emitting diode (LED) reacts almost instantaneously to changes in power.
When an LED flickers, it is rarely a sign of a "burnt out" bulb in the traditional sense. Instead, it is usually a symptom of a communication breakdown between the electrical supply and the driver-the small circuit board inside the base of the bulb that converts AC high-voltage into DC low-voltage. Understanding the physics of this conversion is the first step toward a permanent fix.
The Mechanics of LED Dimming Incompatibility
The most frequent cause of flicker occurs when modern bulbs are paired with legacy dimming systems. Older dimmers were designed for incandescent loads, which typically range from 40 to 100 watts per bulb. These "leading-edge" TRIAC dimmers work by physically cutting off a portion of each AC sine wave to reduce the total power reaching the filament.
Because an LED bulb might only draw 8 or 9 watts, it often fails to meet the "minimum load" requirement of the dimmer switch. When the load is too low, the TRIAC (Triode for Alternating Current) inside the switch cannot fire reliably. It begins to cycle on and off rapidly, causing the bulb to pulse.
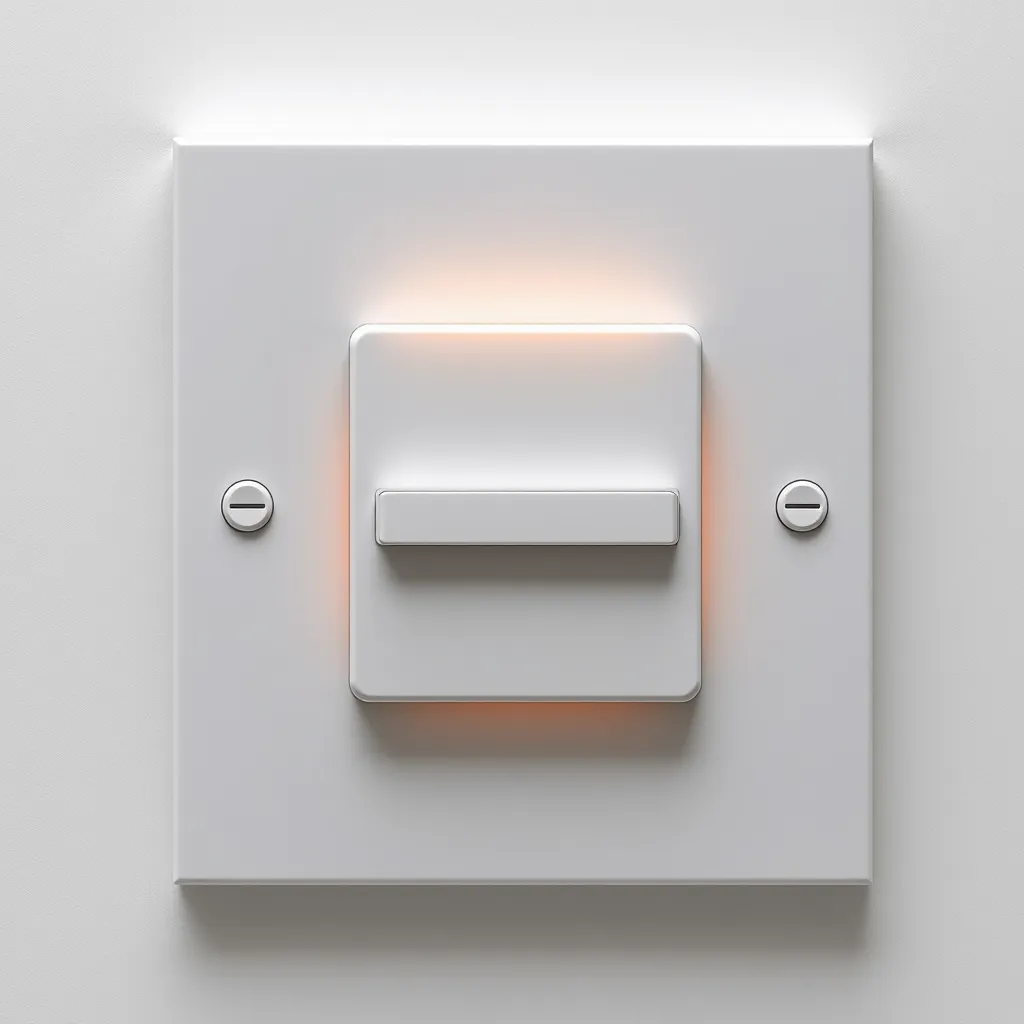
Upgrading to Trailing-Edge Dimmers
To resolve this, the switch must be replaced with an LED-compatible "trailing-edge" or ELV (Electronic Low Voltage) dimmer. These switches are designed to handle low-wattage loads and use a more sophisticated method of cutting the voltage wave that doesn't confuse the bulb's internal driver.
When shopping for a replacement, look for these specific technical standards:
CL Rating: Specifically designed for dimmable CFL and LED bulbs.
Low-End Trim Adjustment: A physical dial or digital setting that allows you to set the point where the bulb shuts off, preventing the "drop-out" flicker that happens at very low light levels.
Neutral Wire Requirement: Many high-quality smart dimmers require a neutral wire (usually white) to power their internal electronics, which helps stabilize the signal sent to the bulb.
Adjusting the Low-End Trim
If you already have an LED-rated dimmer and still experience flickering at low brightness, the "trim" likely needs adjustment. Most modern dimmers have a small lever or a button-press sequence that sets the minimum voltage. By raising this minimum level slightly, you ensure the driver always receives enough current to maintain a steady output.
Physical Connection Issues and Socket Maintenance
If a light flickers in a non-dimmed fixture, the problem is likely mechanical. Electricity requires a path of least resistance; any gap or oxidation in that path creates intermittent contact.
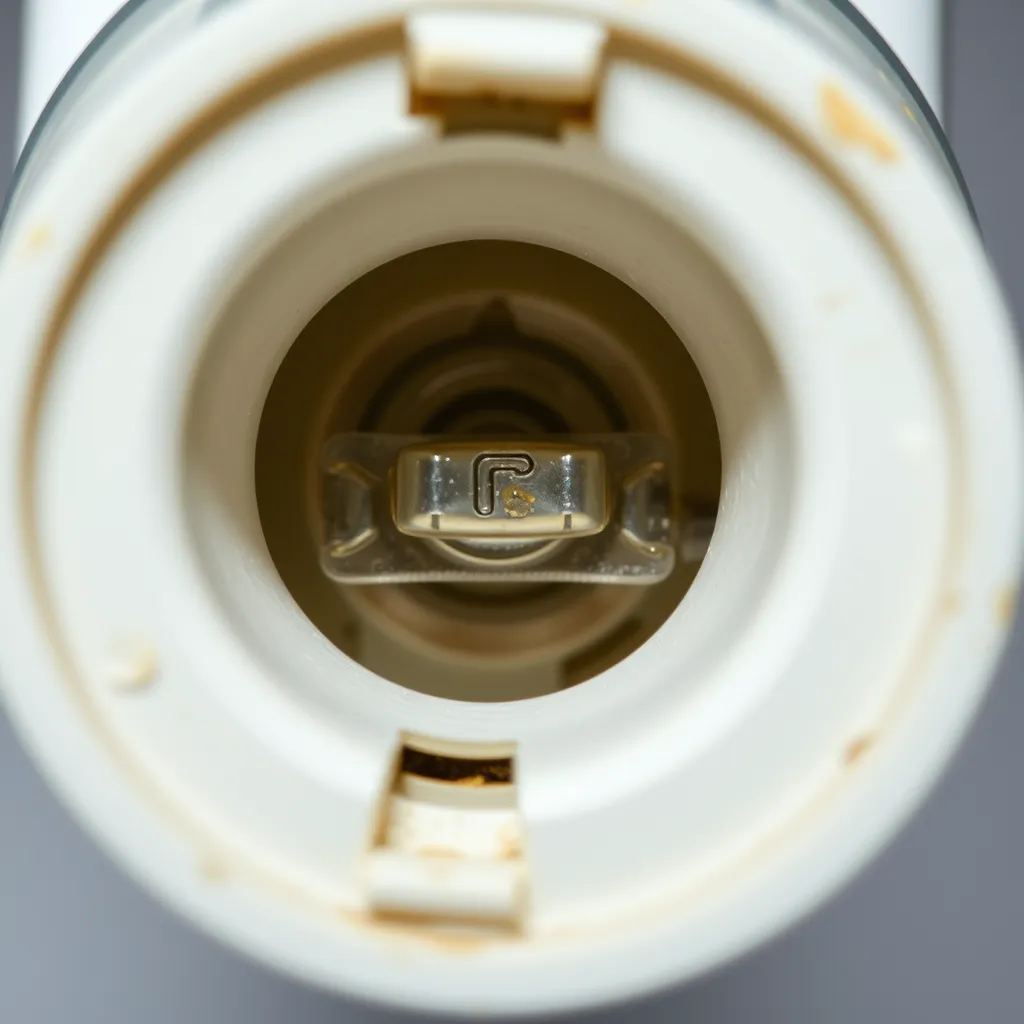
The Center Contact Tab
Inside every standard light socket is a small brass tab that makes contact with the bottom of the bulb. Over years of heat cycles and over-tightening, this tab can become flattened, losing its "springiness." When the connection is weak, even the slight vibration of a footstep upstairs or a passing truck can cause the bulb to flicker.
The Fix:
Turn off the power at the circuit breaker (do not just flip the wall switch).
Remove the bulb.
Use a small flathead screwdriver or a wooden popsicle stick to gently pull the brass tab upward by about 2-3 millimeters.
Reinsert the bulb, ensuring it is snug but not over-tightened.
Corrosion and Heat Damage
In older homes, the wiring inside the fixture itself may be the culprit. Inspect the socket for any signs of "pitting" or black carbon deposits. If the socket looks charred, the heat from old incandescent bulbs may have compromised the metal's conductivity. In these cases, the entire socket or fixture should be replaced to prevent a potential fire hazard.
Circuit Overload and Inrush Current
Sometimes the flicker has nothing to do with the bulb or the fixture, but rather the other devices sharing the circuit. This is known as "voltage sag."
When a high-draw appliance like a refrigerator compressor, a vacuum cleaner, or an air conditioner starts up, it requires a massive "inrush current"-often three to five times its running wattage. This momentary draw pulls voltage away from the rest of the circuit. Because LEDs are so sensitive to voltage input, they dim or flicker for a fraction of a second.
Appliance Type | Typical Startup Draw (Watts) | Impact on LED Circuits |
|---|---|---|
Window Air Conditioner | 2,500 - 4,000 | Significant flicker; potential for brief dimming |
Refrigerator | 1,200 - 1,500 | Brief, rhythmic pulse every time compressor kicks in |
Laser Printer | 800 - 1,000 | Rapid flickering during the warm-up/fusing cycle |
Vacuum Cleaner | 1,000 - 1,400 | Constant dimming while the motor is running |
If flickering occurs only when a specific appliance is running, the solution is to move the lighting to a different circuit or install a dedicated line for the high-draw appliance. For sensitive electronics and high-end LED setups, a power conditioner can help smooth out these fluctuations.
Driver Quality and Component Failure
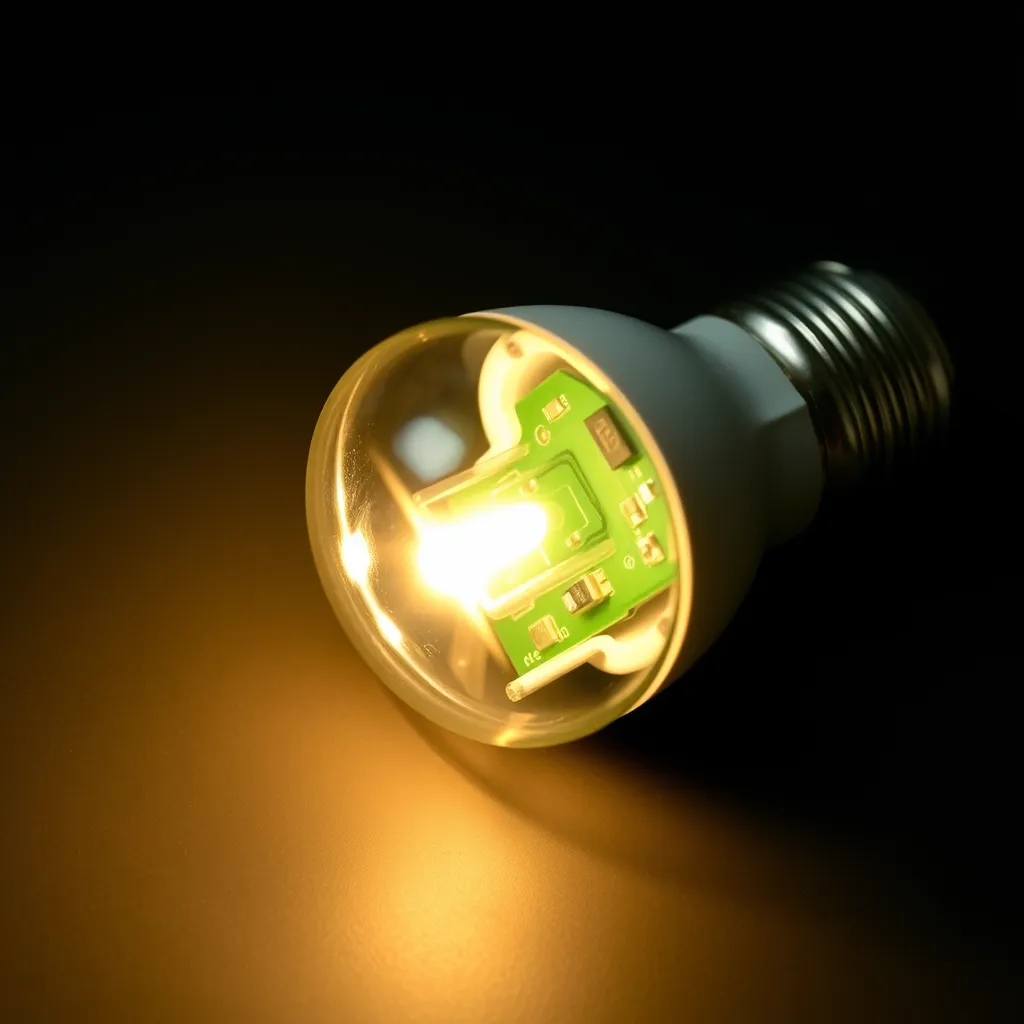
The driver is the heart of the LED. It is a complex assembly containing capacitors, inductors, and integrated circuits. In cheap, "no-name" bulbs, manufacturers often save costs by using undersized capacitors.
The Role of the Capacitor
A capacitor's job is to store energy and release it smoothly, acting like a reservoir that fills the gaps in the AC power cycle. If the capacitor is of poor quality or is failing due to heat, it can no longer "smooth" the current. This results in "ripple current," which manifests as a 60Hz or 120Hz flicker. While this flicker may be too fast for some to see consciously, it often causes headaches or a "strobe effect" on moving objects.
Thermal Management
LEDs hate heat. If a bulb is installed in a fully enclosed fixture (like a "boob light" or a tight recessed can) but is not rated for enclosed use, the driver will overheat. Most high-quality drivers have a thermal protection circuit that will dim or flicker the light as a warning before the component fails entirely. Always verify that a bulb is "Enclosed Fixture Rated" before installing it in a ceiling globe.
Loose Neutral Wires and Serious Electrical Risks
If you notice lights flickering across multiple rooms or throughout the entire house, the issue is likely at the electrical panel or the service entrance.
A "loose neutral" is a serious condition where the return path for the electricity is compromised. This can cause voltage to swing wildly-surging in some outlets and dropping in others. This is not just a lighting nuisance; it can destroy sensitive electronics and poses a significant fire risk.
Warning Signs of a Loose Neutral:
Lights get brighter when an appliance turns on.
Flickering occurs in multiple unrelated rooms simultaneously.
The tingling sensation when touching metal appliances.
If you suspect a neutral wire issue, contact an electrician immediately. This is not a DIY fix.
Diagnostic Guide for Rapid Troubleshooting
Use this table to narrow down the cause based on the behavior of the light.
Observation | Primary Suspect | Recommended Action |
|---|---|---|
Rapid strobe effect when dimmed | Incompatible TRIAC dimmer | Install an LED-rated trailing-edge dimmer. |
Random flickering in one lamp only | Loose bulb or oxidized socket | Tighten bulb; clean and adjust the socket tab. |
Flicker when the microwave or AC starts | Voltage sag/Circuit overload | Move lighting to a less burdened circuit. |
Rhythmic pulsing after 30 minutes of use | Overheating driver | Check if bulb is rated for enclosed fixtures. |
Bulb glows faintly when the switch is OFF | Induced voltage or "Ghosting" | Install a bypass capacitor or use a higher-quality bulb. |
Summary of Practical Solutions
To eliminate flicker, start with the easiest variable: the bulb itself. Swap the flickering bulb with a known good one from a different room. If the flicker follows the bulb, the driver is defective. If the flicker stays at the fixture, the issue is the wiring, the socket, or the switch.
For dimming issues, ensure the total wattage of the bulbs on the circuit exceeds the dimmer's minimum load, or upgrade to a digital dimmer with a neutral wire connection. In cases of "ghosting" or faint flickering when the switch is off, the cause is usually a small amount of current leaking through a lighted wall switch or smart switch; replacing the switch or adding a load resistor to the circuit will resolve this.
Conclusion:
Ultimately, resolving a flickering LED light often boils down to ensuring harmony between the bulb's advanced technology and your home's electrical infrastructure. While the initial switch to LED promised simplicity and energy savings, it also introduced new nuances in electrical compatibility. By systematically diagnosing the issue-from dimmer types to physical connections-you empower yourself to maintain a consistently well-lit environment without resorting to costly professional interventions for what are often simple fixes.
As LED technology continues to evolve, we can expect even greater integration and resilience. However, for now, a mindful approach to component selection and regular maintenance remains key. Always opt for quality LED-compatible dimmers and bulbs, and don't underestimate the impact of a solid, clean electrical connection. These small considerations not only eliminate irritating flickers but also extend the lifespan of your lighting system, contributing to a more efficient and comfortable home.
Frequently Asked Questions
Q1: Why does my LED bulb flicker even when the switch is turned off?
A: This is usually caused by "stray capacitance" or a lighted wall switch. Some switches allow a tiny amount of current to leak through even when "off" to power an internal LED or a timer. This small current charges the capacitor in the LED bulb's driver until it has enough energy to flash the light briefly. Replacing the switch with a standard mechanical one or using a bulb with a more robust bleeder resistor will stop this.
Q2: Is it safe to leave a flickering light on?
A: If the flicker is caused by an incompatible dimmer or a cheap bulb, it is generally safe but annoying. However, if the flickering is accompanied by a buzzing sound, a burning smell, or if the switch plate feels hot, it indicates an electrical arc or a loose connection. This is a fire hazard. Turn off the power at the breaker and investigate the wiring connections immediately.
Q3: Can I use non-dimmable LEDs on a dimmer switch?
A: No. Using a non-dimmable LED on a dimmer circuit will almost always result in aggressive flickering, buzzing, and premature failure of the bulb. The driver in a non-dimmable bulb is designed to expect a full, clean sine wave. When a dimmer "chops" that wave, the driver tries to compensate, causing internal components to vibrate and eventually burn out.
Q4: Does the brand of the bulb really matter?
A: Yes. Premium brands like Philips, Cree, and GE invest more in the "front-end" of the driver circuit. They use larger, high-temperature capacitors and better EMI (Electromagnetic Interference) filtering. These components are more resilient to the "dirty" power often found in residential electrical systems, resulting in a much more stable light output compared to budget-tier alternatives.