Fix LED strip lights by identifying the failure point and addressing the most likely cause. Dead sections are usually caused by loose connectors or broken solder joints. Overall dimness points to an undersized power supply or voltage drop on long runs. Flickering indicates a failing power supply or bad connection. Wrong colors on RGB strips mean wires are crossed at a connector. Most LED strip problems are connection issues, not failed LEDs - the LED chips themselves rarely burn out under normal use.
Start with the simplest checks (power supply on? polarity correct?) before moving to more involved diagnostics. This troubleshooting order solves the problem at the first step for about 80% of cases.
Problem: Entire Strip Won't Light
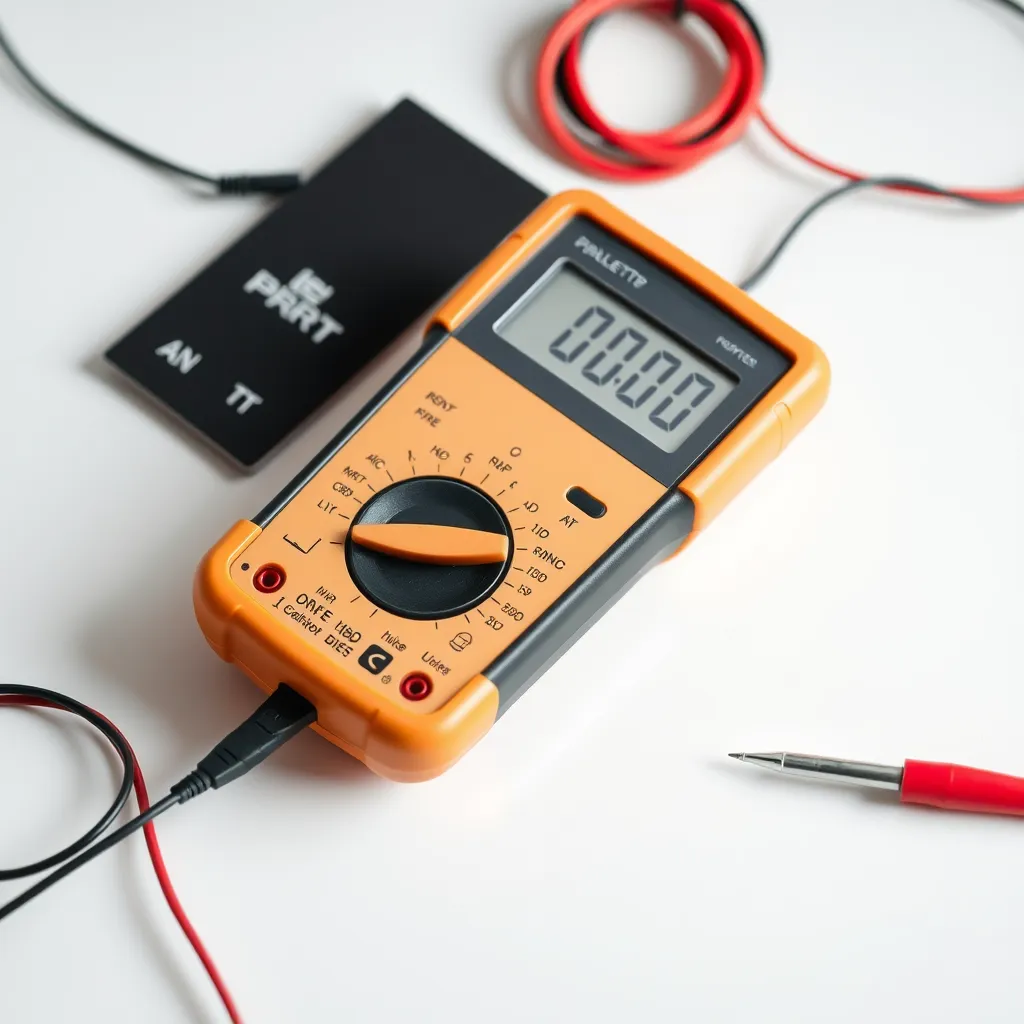
If nothing lights at all, the issue is in the power chain. Check that the power supply is plugged in and its indicator LED (if present) is on. Use a multimeter on DC voltage mode to test the output terminals - you should read 12V or 24V depending on your supply. If the supply outputs correct voltage but the strip is dark, check polarity at the strip connection. LED strips are polarity-sensitive: positive must connect to positive, negative to negative. Swap the wires and try again.
If polarity is correct and the supply outputs voltage but the strip remains dark, disconnect the strip and test it on a different known-good power supply. If it lights on the other supply, your original supply may have an internal fault under load (it shows voltage without a load but cannot deliver current). Replace the supply. If the strip does not light on any supply, there is likely a break in the first segment - inspect the copper traces near the power connection point for damage.
Problem: Only Part of the Strip Lights
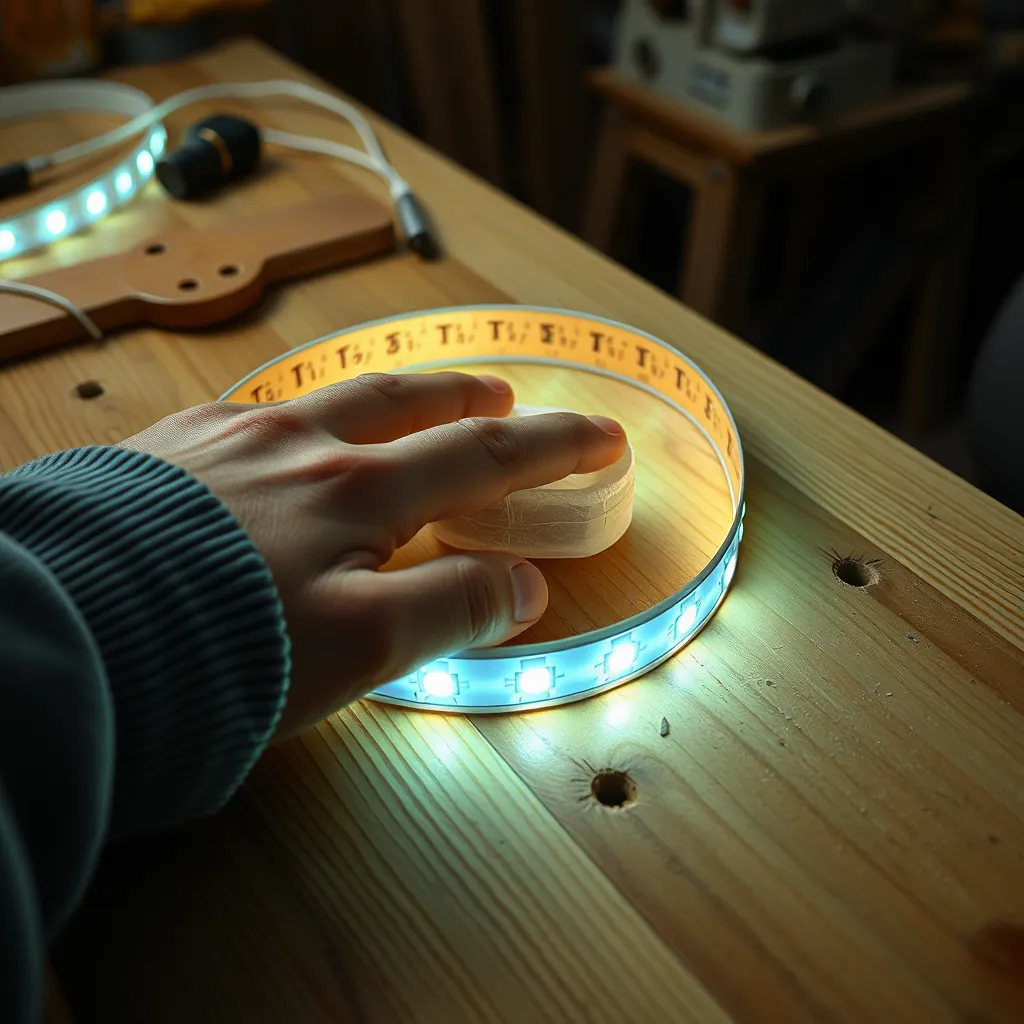
A dead section in the middle of a strip is almost always a connection problem at the boundary between the lit and unlit portions. Find the exact point where light stops. If it is at a solderless connector, open the clip, clean the copper pads with isopropyl alcohol on a cotton swab, and reseat the strip firmly. Dirty or oxidized pads are the number one cause of connector failures.
If the dead section is at a solder joint, inspect for a cold joint - it appears dull and grainy instead of smooth and shiny. Reheat the joint with a soldering iron and add a tiny amount of fresh solder. If the dead section is in the middle of an uncut strip, a copper trace on the PCB may be cracked from sharp bending. Cut the strip at the marked cut lines on either side of the dead section and bridge the gap with a short wire jumper or connector.
Problem: LEDs Are Dim at the Far End
Gradual dimming from one end to the other is voltage drop, the most common issue with long LED strip runs. The thin copper traces on the strip PCB have resistance that increases with distance. By the time voltage reaches the far end of a 5+ meter 12V strip, it may have dropped from 12V to 10V or less, producing visibly dimmer light. The fix is parallel wiring: run a separate set of power wires from the supply directly to the dim end, feeding it full voltage independently.
If the entire strip is dim (not just the far end), the power supply is likely undersized. Calculate your total strip wattage (watts per meter × total meters) and verify the supply is rated at least 20% higher. An 80W strip on a 60W supply will run but at reduced brightness as the supply cannot deliver full current. Replace with an appropriately sized supply.
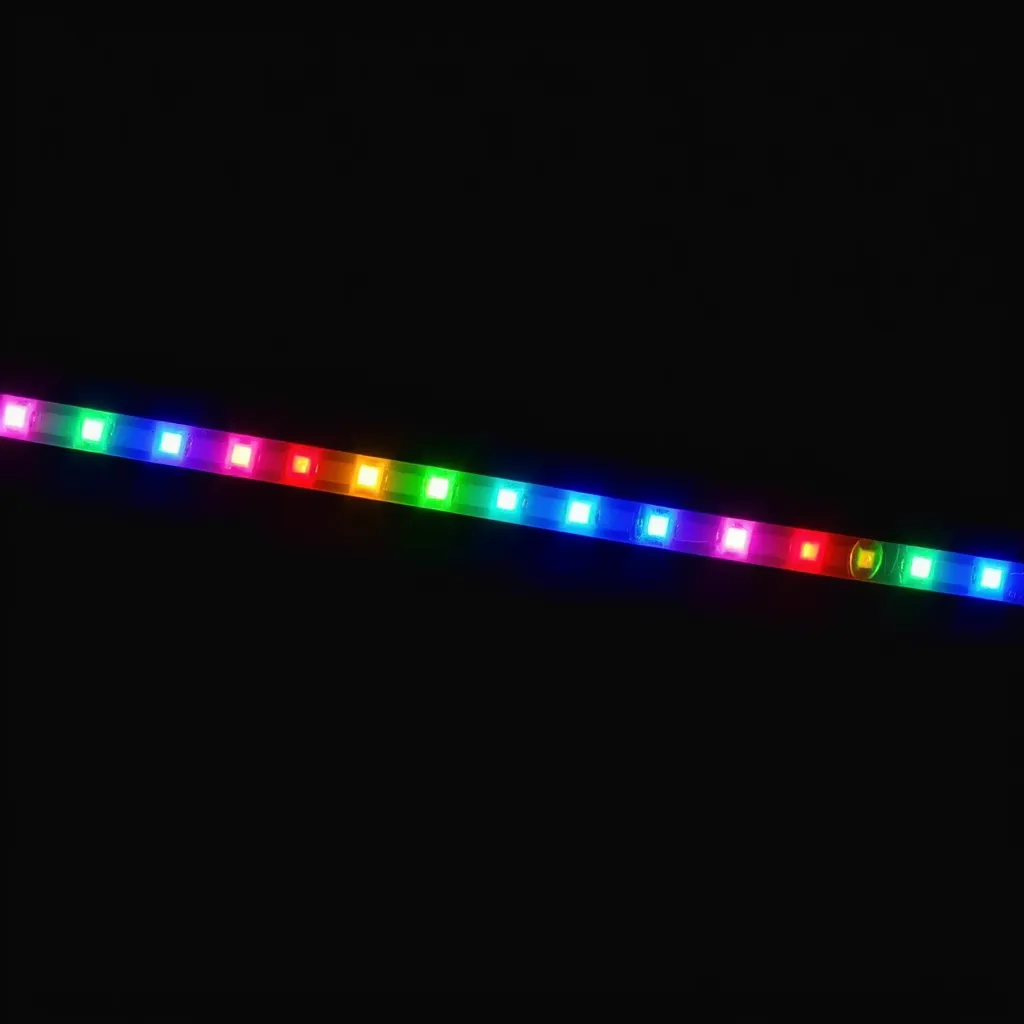
Problem: RGB Strip Shows Wrong Colors
If your RGB strip shows blue when you select red, or green when you select blue, the color wires are crossed at a connection point. RGB strips have four wires: common positive (+), red (R), green (G), and blue (B). If any two color wires are swapped at a connector or solder joint, the controller sends signals to the wrong channel. Disconnect the strip at the point where colors go wrong and verify each wire connects to the matching terminal on both sides.
If colors are correct but faded or washed out, the common positive wire may have a poor connection, reducing current to all channels equally. Check and reseat the + wire connection. If one color channel is completely dead while others work, that specific wire is broken or disconnected - inspect and repair that single conductor.
Problem: Strip Flickers or Strobes
Flickering on an LED strip is typically a power supply issue. A failing capacitor inside the supply causes rhythmic pulsing at a predictable rate. If the flicker is regular (like a slow heartbeat), the supply is likely the culprit. Try a different power supply to confirm. If the flicker is random and intermittent, a loose connection is more likely. Flex the strip gently along its length and at each connection point to find the spot where flexing triggers the flicker.
Flickering can also be caused by an overloaded power supply. If the strip's total wattage exceeds the supply's rated output, the supply may oscillate between delivering full power and shutting down for protection, creating a visible strobe effect. The fix is upgrading to a higher-wattage supply.
Problem: Strip Fell Off the Surface
Adhesive failure is mechanical, not electrical. Clean the surface with isopropyl alcohol and let it dry completely. Apply new 3M VHB double-sided tape to the back of the strip and remount. For surfaces where adhesive will not hold (textured, painted, warm), use mounting clips every 12 inches or install the strip inside an aluminum channel that screws into the surface. Aluminum channels also act as heat sinks, extending the strip's lifespan.
Conclusion:
Most LED strip failures stem from mechanical stress or poor environmental conditions rather than the LEDs themselves. By using high-quality solderless connectors and avoiding sharp 90-degree folds that can crack copper traces, you can prevent the majority of dead section issues before they start. Always prioritize a power supply with 20% headroom to ensure longevity and consistent brightness across the entire installation.
For long-term reliability, periodically inspect the adhesive backing, especially in areas prone to heat or humidity. If a strip begins to sag, reinforcing it with physical mounting clips is a permanent solution that prevents the weight of the strip from pulling on delicate power connections. Taking these small preventative steps ensures your lighting setup remains vibrant and maintenance-free for years.
Frequently Asked Questions
Q1: Can I replace a single dead LED on a strip?
A: Technically yes, but it requires surface-mount soldering skills and a replacement SMD LED of the same type (usually 2835 or 5050 package). For most people, it is easier to cut out the dead segment at the nearest cut marks and bridge the gap with a wire jumper. You lose 2-3 LEDs, but the repair takes minutes instead of requiring micro-soldering equipment.
Q2: Why does my LED strip turn a different color when dimmed?
A: Cheap LED strips and controllers can shift color at low brightness levels because the three color channels may not dim proportionally. This is a limitation of the controller's PWM resolution. Higher-quality controllers with 12-bit or 16-bit PWM resolution maintain accurate colors across the full brightness range. If your current controller produces color shift at low brightness, upgrading the controller is the fix.
Q3: How long do LED strip lights last?
A: Quality LED strips last 25,000-50,000 hours, which translates to 8-17 years at 8 hours of daily use. The LEDs themselves gradually dim over this period (lumen depreciation) rather than failing suddenly. Heat is the biggest factor in strip lifespan - strips mounted in aluminum channels with good airflow last significantly longer than strips sandwiched in enclosed spaces with no ventilation.