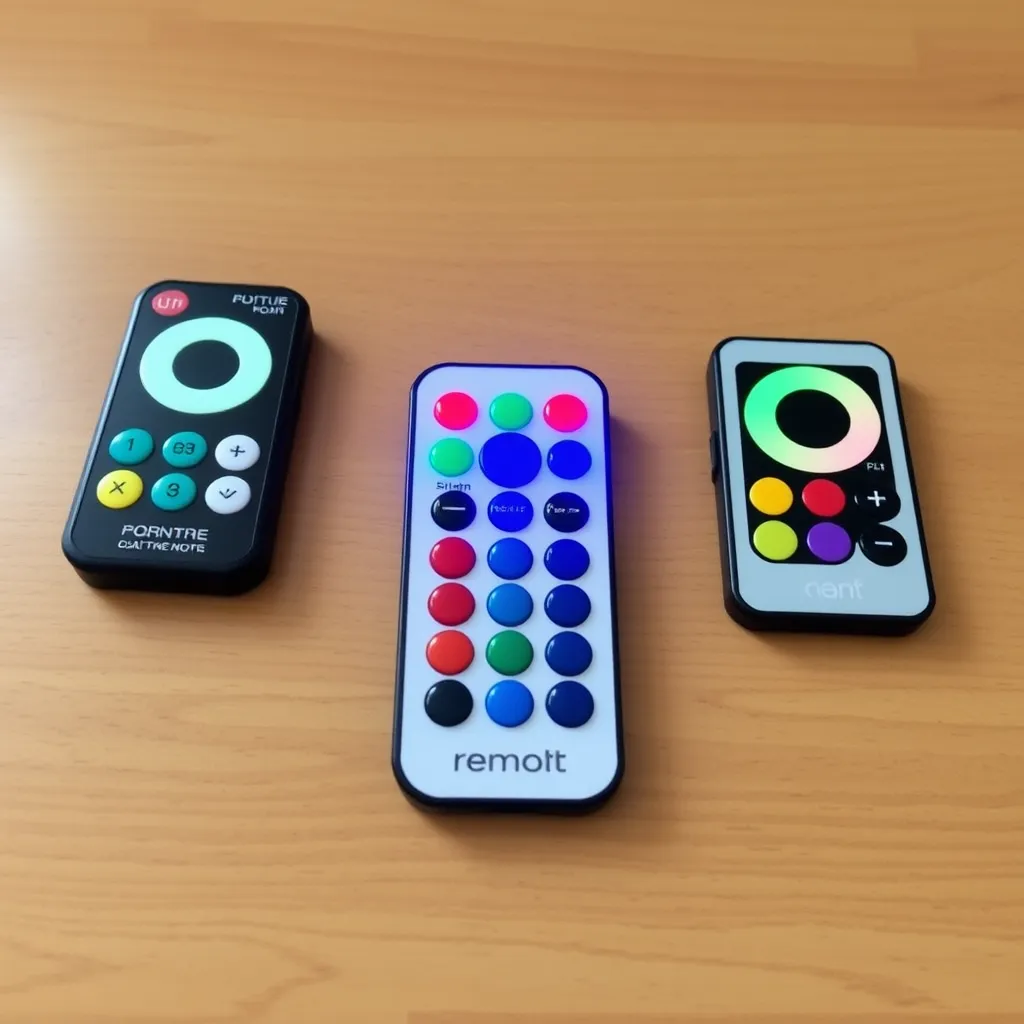
Most LED strip lights rely on small, lightweight infrared (IR) or radio frequency (RF) remotes. These devices are designed for cost-effectiveness and portability, which often means their construction is primarily thin plastic. When the lights stop responding, the first step is usually replacing the power source. However, because these remotes lack the obvious battery doors found on television remotes, many users struggle with how to open LED light remote casings without snapping the delicate plastic tabs.
Understanding the internal locking mechanism is the key to a successful battery swap. Most of these controllers utilize one of three designs: a sliding tray, a snap-fit seam, or a screw-secured panel. Forcing the wrong part of the housing can lead to permanent damage, rendering the controller useless. This guide covers the specific physical mechanics of each design, the technical specifications of the batteries required, and how to troubleshoot the circuitry if a new battery doesn't solve the problem.
Identifying the Three Primary Remote Designs
Before applying pressure to the casing, identify which mechanical system your remote uses. Manufacturers choose these designs based on the remote's thickness and intended durability. The following table breaks down the most common configurations found in the industry today.
Mechanical Design | Common Application | Opening Method | Standard Battery |
|---|---|---|---|
Sliding Tray | Generic RGB/RGBW strips (24/44 key) | Lateral tension on a locking tab | CR2025 or CR2032 |
Snap-Fit Housing | Miniature RF controllers / Slim remotes | Prying along the side perimeter seam | CR2032 or CR2016 |
Screw-Fastened | High-end or waterproof controllers | Removal of Phillips-head screws | AAA or CR2032 |
The Sliding Tray Mechanism
The sliding tray is the industry standard for the thin, "credit card" style remotes that accompany most 5050 and 2835 LED strips. The battery sits in a plastic sled that is locked into the bottom edge of the remote. To release it, you must engage a small safety latch. This latch is designed to prevent children from easily accessing the coin cell battery, which is a significant choking and chemical hazard.
Snap-Fit Seams
If the bottom edge of your remote is smooth with no visible tray, it likely uses a snap-fit design. These remotes consist of two plastic halves-the front faceplate and the back shell-held together by internal molded clips. These require a different approach, focusing on the seam that runs around the entire side of the device.
Screw-Secured Panels
While rarer in basic LED kits, more robust RF remotes or those designed for outdoor use often feature a small screw. This is common in regions with strict button battery safety laws. These cannot be pried open and require a precision screwdriver, typically a Phillips #0 or #00.
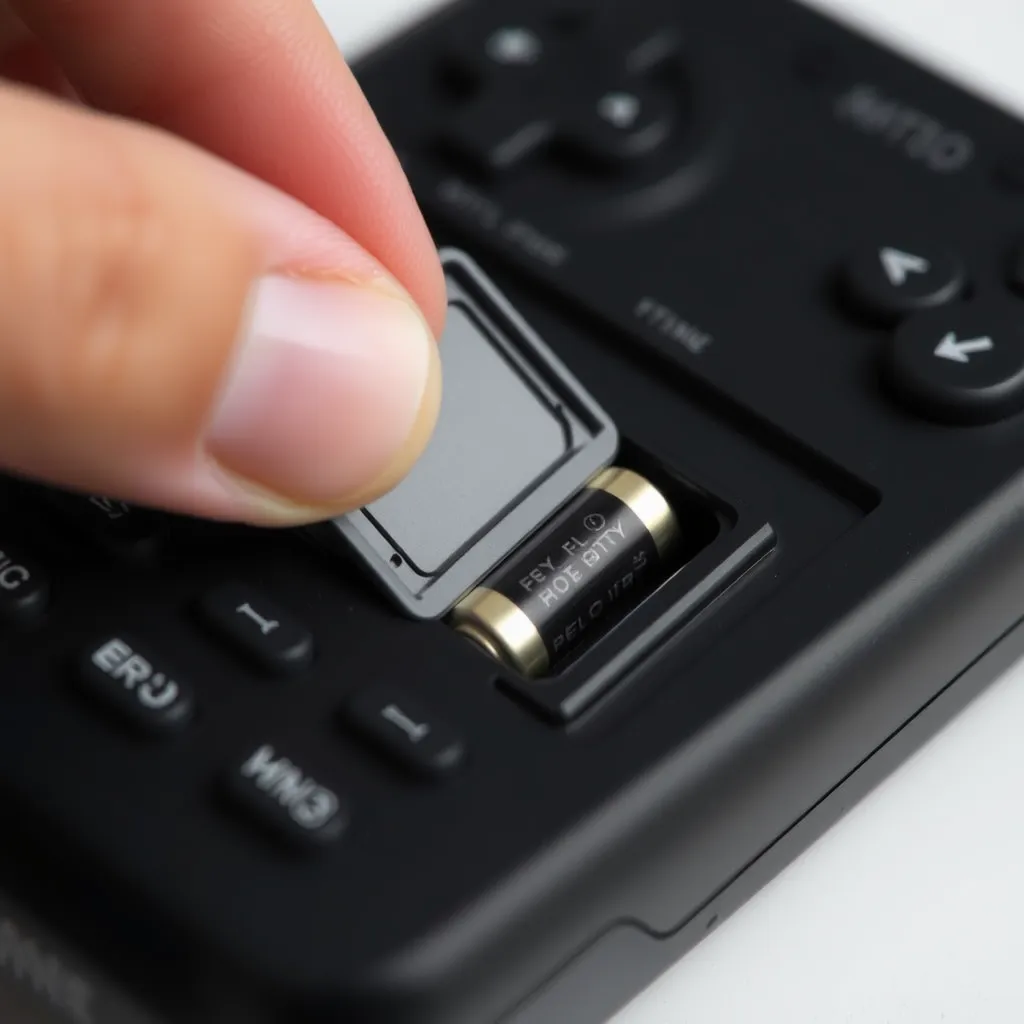
How to Open the Sliding Tray Design
The sliding tray is the most common answer to how to open LED light remote devices. Success depends on a simultaneous "push and pull" motion. If you only pull, the locking tab will hold the tray in place; if you only push the tab, the tray has no momentum to exit the housing.
Locate the Latch: Look at the bottom edge of the remote. You will see a small indentation or a ribbed tab next to a wider slot.
Apply Lateral Pressure: Use your thumbnail or a small flathead screwdriver to push the small tab toward the center of the remote. You are compressing a plastic spring mechanism.
Slide the Tray Out: While holding the tab in the "unlock" position, use your other hand to pull the tray away from the remote body. There is usually a small notch provided for your fingernail to grip.
Remove the Battery: Once the tray is out, the battery will be sitting loosely or held by small plastic clips. Flip the tray over to let the battery fall out.
If the tray feels stuck, do not use excessive force. These trays are made of polystyrene or ABS plastic, which becomes brittle over time. A stuck tray is often caused by a slightly bloated battery or a small piece of debris. Gently wiggle the tray side-to-side while applying the unlocking pressure to clear the obstruction.
Opening Snap-Fit and Seam-Based Remotes
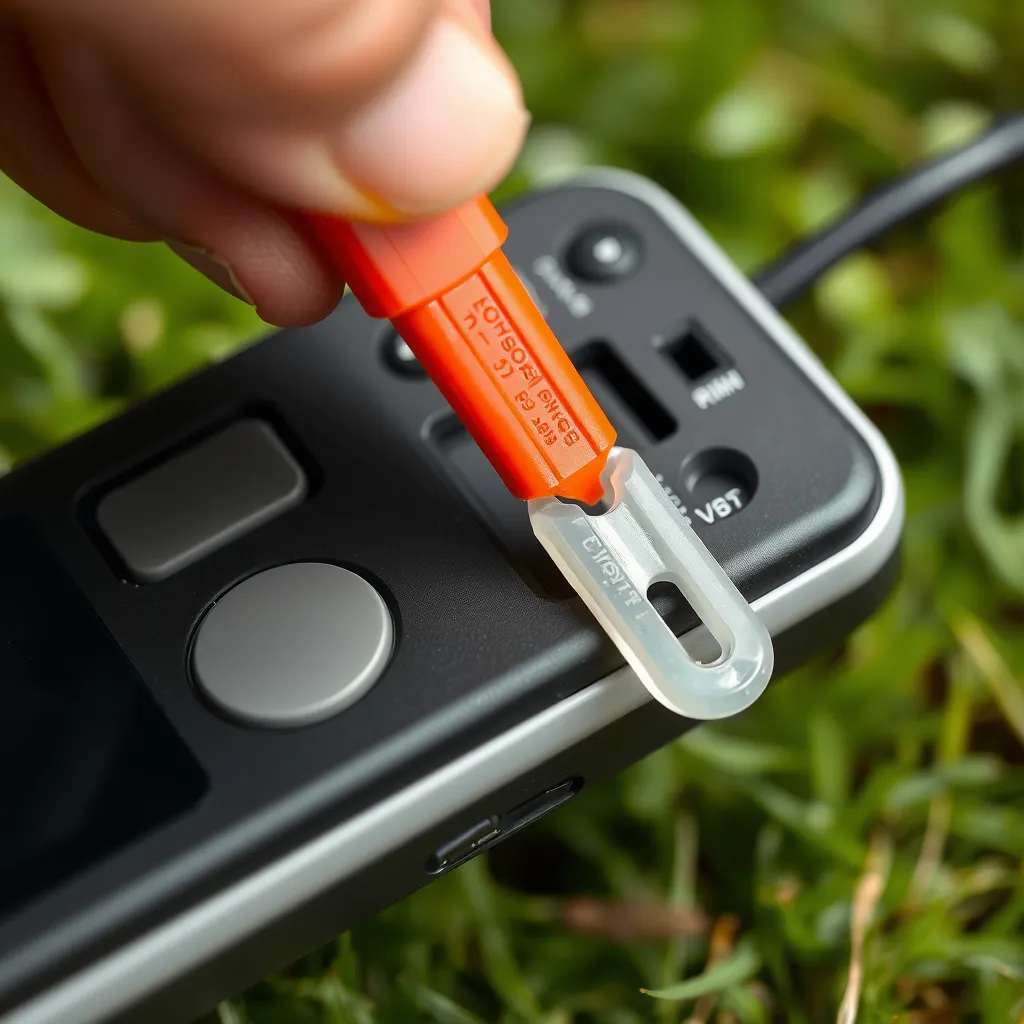
For remotes without a visible tray, the entire back panel must be removed. This design is common in "slim" RF remotes that control single-color dimmers or sophisticated CCT (Correlated Color Temperature) strips.
The primary tool for this should be a plastic "spudger" or a guitar pick. Using a metal screwdriver often deforms the soft plastic edges, leaving unsightly gouges or potentially cracking the internal circuit board. Locate the small notch, usually found at the bottom or one of the corners. Insert your prying tool and slowly work it along the seam. You will hear a series of "clicks"-these are the plastic tabs releasing. Once three sides are free, the back panel will lift off easily.
Inside, you will find the PCB (Printed Circuit Board) and a metal battery retainer. Most snap-fit remotes use a CR2032 battery. To remove it, slide it out from under the metal contact. Avoid touching the circuit board with bare fingers if possible, as skin oils can cause corrosion over long periods.
Battery Specifications and Technical Differences
Once you have opened the remote, you must ensure the replacement power source matches the original specifications. Most LED remotes use Lithium Manganese Dioxide (LiMn2O) coin cells. While they all provide 3 Volts, their physical dimensions and capacities differ.
Battery Model | Diameter | Thickness | Typical Capacity |
|---|---|---|---|
CR2032 | 20mm | 3.2mm | 220-240 mAh |
CR2025 | 20mm | 2.5mm | 160-170 mAh |
CR2016 | 20mm | 1.6mm | ~90 mAh |
Can you swap a CR2025 for a CR2032? Physically, a CR2032 is 0.7mm thicker. In many sliding trays, a CR2032 will be too thick, causing the tray to jam or the plastic to bulge. Conversely, a CR2025 in a slot designed for a CR2032 may be too loose, leading to intermittent power loss because the metal contacts cannot maintain constant pressure. Always use the specific model number engraved on the original battery.
Troubleshooting a Non-Responsive Remote
If you have successfully navigated how to open LED light remote casings and installed a fresh battery but the lights still won't turn on, the issue may lie elsewhere. Perform these technical checks before discarding the controller.
1. The Smartphone Camera Test (IR Remotes Only)
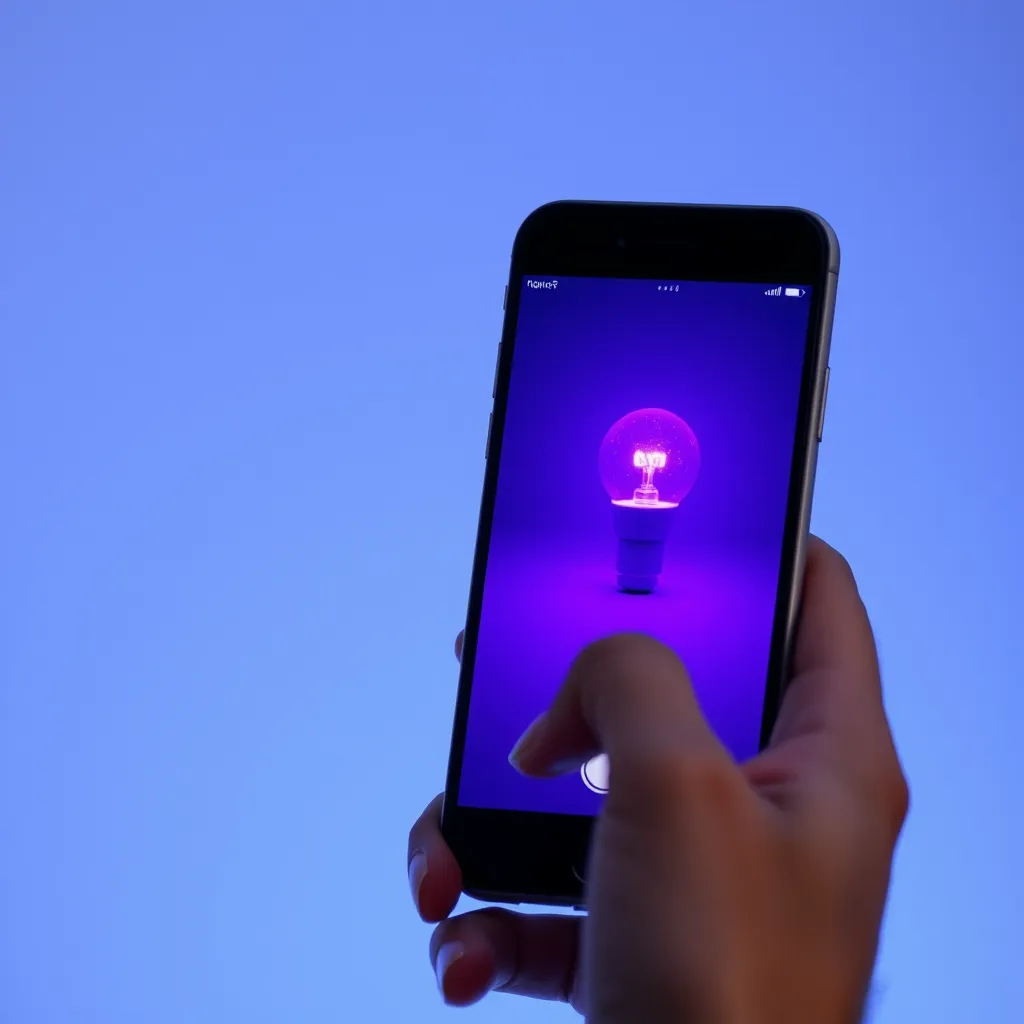
Infrared light is invisible to the human eye but visible to most digital camera sensors. Open your phone's camera app and point the remote's front bulb (the IR LED) directly at the lens. Press any button. If you see a flickering blue or purple light on your phone screen, the remote is transmitting a signal. If you see no light, the remote is either dead or the battery is installed backwards.
2. Check Polarity and Contact Tension
The most frequent error is installing the battery upside down. In nearly every LED remote, the positive (+) side (the flat side with the text) should face down in a sliding tray or up when under a metal clip. Additionally, check the metal "tongue" contact. If it has been flattened over time, it won't touch the battery. Gently bend it upward with a toothpick to ensure a tight connection.
3. Clean the Contacts
If an old battery has leaked, you will see white powder or green oxidation on the metal contacts. This creates electrical resistance. Use a cotton swab dipped in a tiny amount of isopropyl alcohol (90% or higher) or white vinegar to neutralize the alkaline leakage. Scrape stubborn oxidation off with a pencil eraser until the metal is shiny again.
4. RF Pairing Issues
If your remote is an RF version (no bulb on the front), it doesn't need line-of-sight to work. However, these can "unpair" from the controller box. To re-pair, usually, you must disconnect the power to the LED strip, plug it back in, and immediately hold the "On" or "Speed" button for 5 seconds. The lights will usually flash to confirm a successful link.
Maintenance and Longevity Tips
To avoid having to open your remote frequently, follow these best practices for LED hardware maintenance:
Avoid Heat: Leaving a remote on top of a warm power supply or in direct sunlight will degrade the lithium battery much faster. Lithium cells perform best at room temperature (around 68°F or 20°C).
Remove Batteries for Storage: If you are putting your LED strips away for the season (like holiday lights), remove the battery from the remote. This prevents the possibility of a slow "parasitic drain" or battery leakage that could destroy the remote's internal circuitry.
Quality Matters: Avoid "no-name" coin cells often sold in bulk. These frequently have thinner casings and are more prone to leaking. Brands like Panasonic, Sony, or Energizer typically offer more consistent voltage curves.
Conclusion:
Opening an LED light remote doesn't have to end in cracked plastic or broken tabs. The key is identifying your design first - sliding tray, snap-fit seam, or screw-secured panel - then applying the right technique with the right tool. For sliding trays, remember the simultaneous push-and-pull motion; for snap-fit shells, use a plastic pry tool or guitar pick along the seam rather than a metal screwdriver. Once open, match your replacement battery exactly to the original specification, since even a 0.7mm difference can cause jamming or intermittent contact. If fresh batteries don't help, run through the camera test, polarity check, contact cleaning, and RF re-pairing before assuming your controller is dead.
Frequently Asked Questions:
Q1: Why is my LED remote battery tray stuck?
A: This usually happens because the internal locking tab hasn't been fully compressed or the battery has slightly expanded. Try using a small flathead screwdriver to push the locking tab firmly to the side while simultaneously prying the tray edge with a second tool. Avoid pulling by the plastic loop, as it is the weakest point and will likely snap.
Q2: How do I know if my remote is IR or RF?
A: Look at the front of the remote. If there is a clear or tinted small plastic bulb (like a tiny lightbulb), it is an Infrared (IR) remote and requires a direct line of sight to the sensor. If the front is solid plastic with no bulb, it is a Radio Frequency (RF) remote and can work through walls or furniture.
Q3: What if I lost my LED remote entirely?
A: You don't necessarily need the exact same remote. Most LED strips use standard IR protocols. You can purchase a "Universal LED Remote" or a new IR receiver/remote combo. Alternatively, if your controller has a QR code on it, you can likely control the lights via a smartphone app (like Magic Home or Happy Lighting) through Bluetooth or Wi-Fi.
Q4: Can I use a CR2032 if my remote asks for a CR2025?
A: Only if it fits without force. A CR2032 is 0.7mm thicker. If you force a CR2032 into a tray designed for a CR2025, you risk snapping the guide rails or the locking latch. If the remote has a snap-off back with a flexible metal clip, a CR2032 will usually work fine as a substitute.