Illuminating your space with LED technology is straightforward, but the method for turning them on can vary depending on the type of LED product you're using. Whether you've just installed a vibrant LED strip under your cabinets, replaced an old bulb with an energy-efficient LED bulb, or set up a sophisticated smart lighting system, understanding the correct activation process is key to enjoying your new lighting. Generally, turning on LEDs involves providing them with power and a signal to activate. For basic LED strip lights, this means connecting the power adapter and using a remote or inline controller. Standard LED bulbs function just like their incandescent predecessors, relying on a simple wall switch. Smart LEDs, however, unlock a world of control through apps, voice commands, and automated schedules.
Activating LED Strip Lights: From Basic to Smart
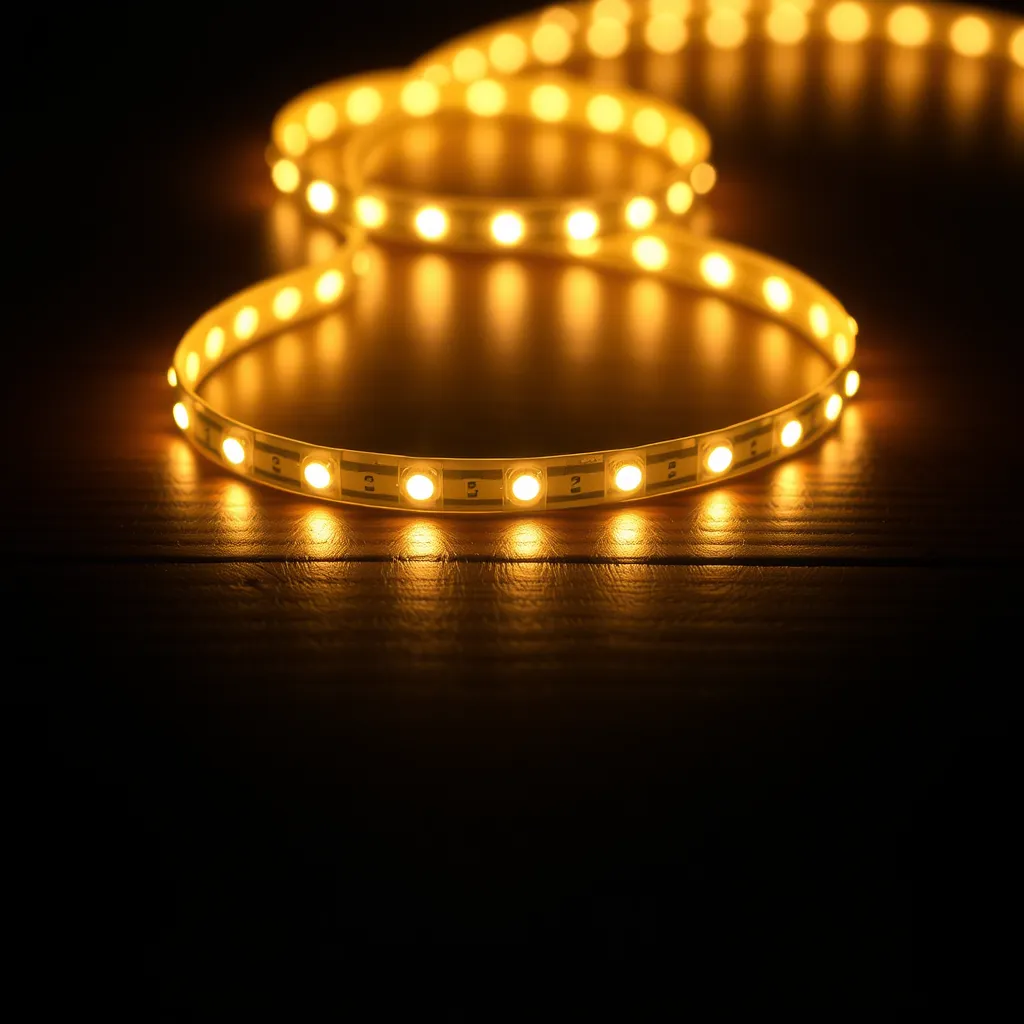
LED strip lights offer immense versatility, but getting them to light up requires a few steps. These flexible strips are essentially a series of small LEDs mounted on a circuit board, and they need specific power and control to function.
Connecting the Power Supply
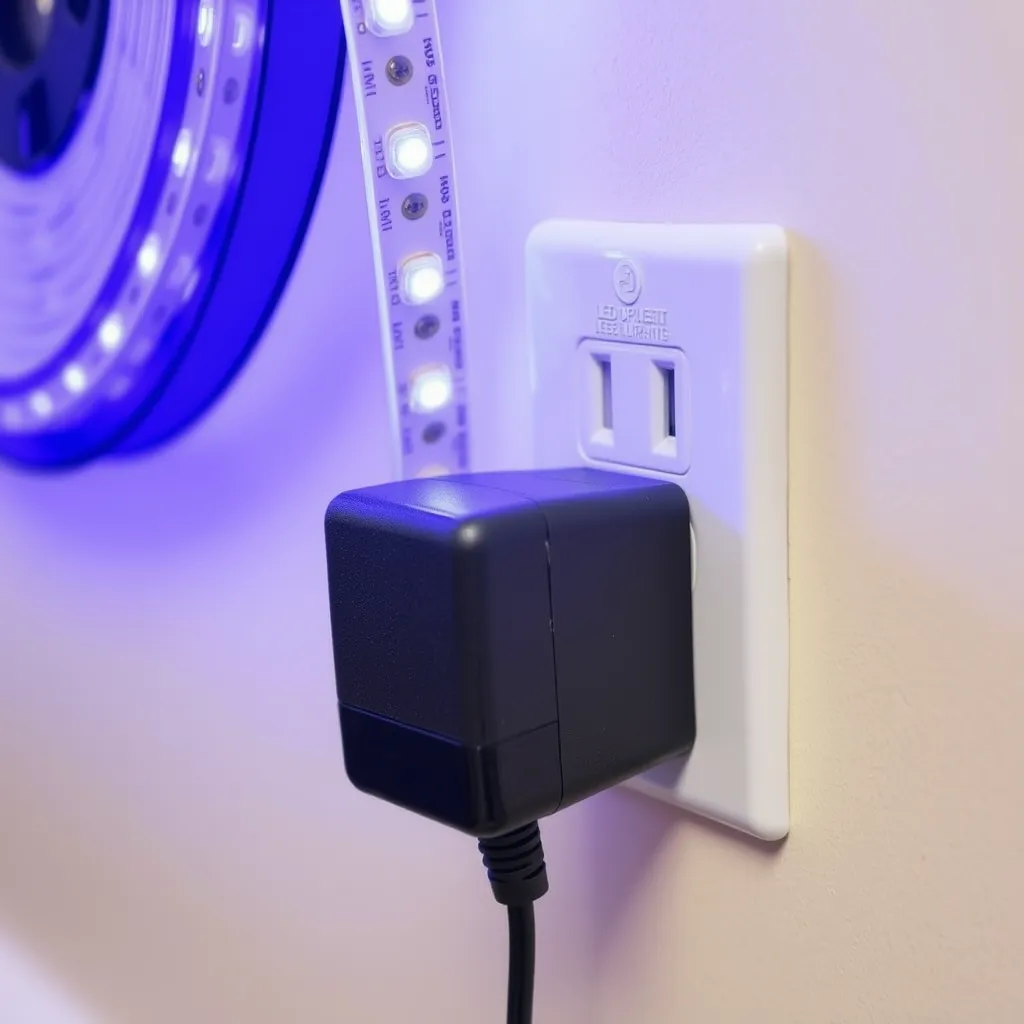
The first step is to connect the power adapter. This adapter is crucial because it converts the standard household alternating current (AC) from your wall outlet (typically 120V or 240V) into the low-voltage direct current (DC) that LED strips require (usually 12V or 24V). Without this conversion, you would damage the LEDs. Plug the adapter into a working outlet. At this stage, the strip won't illuminate yet; it's merely receiving the necessary electrical current.
Understanding the Controller
Between the power adapter and the LED strip itself, you'll find a controller. This component is the "brain" of the operation, receiving signals and relaying them to the strip to control brightness, color, and effects. Some controllers have a physical button directly on the unit. Pressing this button can often turn the strip on and off or cycle through pre-set modes. If your controller has such a button, try pressing it. If the strip lights up, you've found a manual way to control it.
Using the Remote Control
Most LED strip kits come with a remote control, typically an infrared (IR) or radio frequency (RF) type. For IR remotes, you need to point it directly at the controller's IR receiver (usually a small black dome or window on the controller) and press the power button, often marked with a red circle or the word "ON." These generally have a range of about 15-30 feet. RF remotes, and Bluetooth remotes found in more advanced kits, don't require line-of-sight and can operate from further away. If the remote isn't working, the most common culprit is a dead battery. Most remotes use a CR2032 coin cell battery. Replacing it should resolve the issue.
Smart Control via Apps
For Wi-Fi or Bluetooth-enabled smart LED strips (brands like Govee, Philips Hue, Nanoleaf, etc.), control is primarily managed through a dedicated mobile application. After downloading the app from your device's app store, you'll need to pair your LED strip with your phone. Follow the in-app instructions, which usually involve connecting to a temporary Wi-Fi network broadcast by the strip or using Bluetooth. Once paired, you can open the app, select your light from the device list, and tap the power icon to turn it on or off. Smart strips also offer advanced features like scheduling, color customization, and integration with voice assistants.
Illuminating with LED Bulbs: Simplicity Redefined
Replacing traditional incandescent or CFL bulbs with LED bulbs is one of the easiest upgrades you can make. The beauty of standard LED bulbs lies in their plug-and-play nature.
Standard Operation
LED bulbs are designed to be a direct replacement for older bulb technologies. Simply screw the LED bulb into the existing socket (ensuring the base type matches, e.g., E26 for standard US sockets, E12 for candelabras, GU10 for spotlights). Once installed, the standard wall switch you've always used will now control the LED bulb. The internal driver within the bulb handles all necessary voltage and current regulation. No rewiring or special fixtures are required for most applications.
Dimmer Switch Compatibility
If your LED bulb is connected to a dimmer switch, the operation is slightly different. Turn the dimmer up from its lowest setting. It's important to note that not all dimmer switches are compatible with LED technology. Older dimmers designed for incandescent bulbs may cause LED bulbs to flicker, hum, or not turn on at all, especially at lower brightness levels. To test compatibility, first turn the dimmer to its maximum brightness. If the bulb works fine at full brightness, but flickers or fails when dimmed, you likely need to replace your dimmer switch with one specifically rated for LED compatibility. Look for dimmers labeled "LED compatible" or "ELV" (Electronic Low Voltage) or "MLV" (Magnetic Low Voltage) depending on the bulb type and dimmer technology.
Mastering Smart LED Lighting Controls
Smart LED lights, including bulbs, strips, and panels, offer the most advanced control options, extending far beyond a simple on/off switch.
Primary Control Methods
The core of smart lighting control lies in its connectivity. Here's a breakdown of how you'll typically interact with them:
Mobile Application: Smart lights can be controlled through the manufacturer’s app, where you can select a specific light or group and adjust power, color, and brightness. This requires a smartphone or tablet with the app installed, and the lights must be connected to Wi-Fi and properly paired.
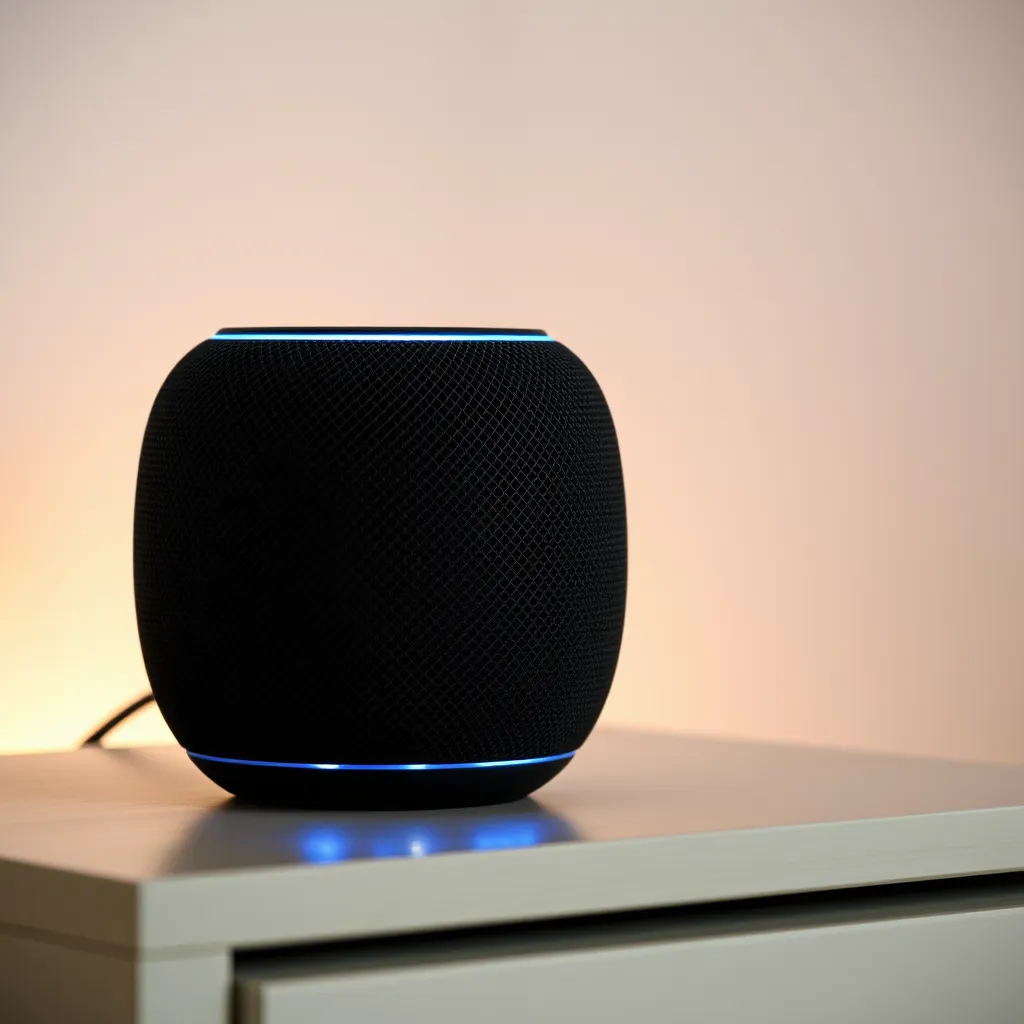
Voice Assistants: You can use voice commands like turning lights on or changing colors through devices such as Google Nest or Amazon Echo. This setup requires a compatible voice assistant device linked to your smart lighting system, with proper integration in the ecosystem.
Physical Wall Switch: Standard wall switches can still operate smart bulbs, but they should usually be left in the “ON” position so the bulb remains powered and connected. Turning the switch off cuts power and disables smart features until it is turned back on.
Schedules & Automations: Through the app, you can set timers or automate lighting based on events like sunset or when you leave home. This requires a stable Wi-Fi connection and an active cloud service from the manufacturer.
Sensors: Smart lights can also work with motion, door, or light sensors to trigger automatic lighting when activity is detected. This setup requires compatible sensors connected to your smart lighting system or hub.
The Wall Switch Conundrum
A common point of confusion with smart bulbs and switches is how they interact. For smart bulbs to remain controllable via your app or voice assistant, they must continuously receive power. This means the physical wall switch controlling the fixture must be left in the "ON" position. When you "turn off" a smart bulb using an app or voice command, you're not actually cutting power to the bulb; you're sending a signal to the bulb's internal electronics to enter a low-power standby state. If you flip the wall switch off, the bulb loses power entirely, becoming unresponsive to any smart commands until the switch is flipped back on. This is why many smart home enthusiasts opt for "smart switches" that replace traditional wall switches, allowing them to control both smart and traditional lights while maintaining smart functionality.
Troubleshooting Common LED Activation Issues
Even with the best technology, sometimes your LEDs might not turn on as expected. Here's how to diagnose the problem:
LED Strip Light Hiccups
Check Power Connection: Ensure the power adapter is securely plugged into both the wall outlet and the controller's DC input port. Test the outlet with another device to confirm it's providing power.
Inspect the Controller: If your controller has a physical button, try pressing it. Also, check that the LED strip's connector is firmly seated in the controller's output port. Sometimes these can work loose.
Remote Battery: As mentioned, a dead battery in the remote is a frequent cause of non-response. Replace it with a fresh CR2032 coin cell.
Adapter Functionality: Some power adapters have an indicator light. If this light isn't on, the adapter itself might be faulty.
Strip Connection: For multi-section installations, ensure all segments are correctly connected to each other and to the controller.
LED Bulb Behavior Issues
Wall Switch: The most basic check: is the wall switch in the ON position?
Circuit Breaker: If multiple lights or outlets in an area aren't working, check your home's main electrical panel for a tripped circuit breaker. Reset any tripped breakers.
Bulb Seating: Remove the LED bulb and screw it back in, ensuring it's snug. A loose connection can prevent it from powering on.
Fixture/Socket: Try the LED bulb in a different, known-working lamp or fixture. If it works elsewhere, the issue is with the original fixture or socket. If it doesn't work in any socket, the bulb itself may be defective (though this is rare for reputable brands).
Smart LED Connectivity Problems
Wall Switch Status: Double-check that the physical wall switch controlling the smart bulb or fixture is in the ON position.
Wi-Fi Network: Verify that your home Wi-Fi network is operational. Smart lights rely on a stable internet connection to respond to remote commands.
App Status: Open the smart lighting app. Does the affected light show as "online" or "offline"? If offline, try power cycling the light by turning the wall switch off for about 10-15 seconds, then back on.
Re-pairing: If power cycling doesn't work, you may need to remove the light from your app and go through the pairing process again. Consult the manufacturer's documentation for specific instructions.
Firmware Updates: Ensure your smart lights and their associated app/hub have the latest firmware or software updates installed, as these often contain bug fixes.
Conclusion:
Transitioning to LED lighting is more than just a functional upgrade; it is an invitation to customize your environment with precision. While the initial setup for smart systems or complex strips may require a few extra steps compared to a traditional bulb, the long-term benefits of energy savings and atmospheric control are well worth the effort.
To ensure your lighting remains reliable, keep your physical controllers in accessible locations and ensure your smart home apps are regularly updated. By understanding the simple mechanics of power and signal, you can troubleshoot most issues in seconds, keeping your home bright, efficient, and perfectly tailored to your needs.
Frequently Asked Questions
Q1: Why do my LED lights turn on by themselves?
A: This behavior in smart LEDs is typically due to pre-set schedules or automations configured within the mobile app. It could also be triggered by integrated sensors (like motion or light sensors) or even a faulty smart switch that's intermittently signaling the light to turn on. For non-smart LEDs, this is almost always indicative of a failing wall switch with faulty internal contacts. If your smart lights are acting erratically, review all scheduled events and automations in their respective apps. If the problem persists, consider temporarily disabling schedules or checking the physical switch for any signs of damage.
Q2: Can I turn on LED strip lights without the remote?
A: Yes, in most cases. Many LED strip controllers feature a small, physical button. Pressing this button can usually turn the strip on/off or cycle through basic modes. If there's no button, unplugging the power adapter and plugging it back in will often cause the strip to turn on to its last-used setting. For smart LED strips, you can always use the manufacturer's mobile app. In a pinch, you could bypass the controller entirely by directly connecting the strip's power wires to the power adapter's output, which would typically result in the strip turning on at full brightness in its default color, but this is not recommended for regular use as it bypasses all control features.
Q3: Do LED lights turn on instantly or do they need to warm up?
A: LED lights are known for their instant-on capability. Unlike older technologies like fluorescent or CFL bulbs, which can take several seconds or even minutes to reach full brightness and may flicker initially, LEDs illuminate to their full brightness within microseconds of receiving power. This rapid response time makes them ideal for applications where immediate illumination is critical, such such as task lighting, security lighting, and automotive use.