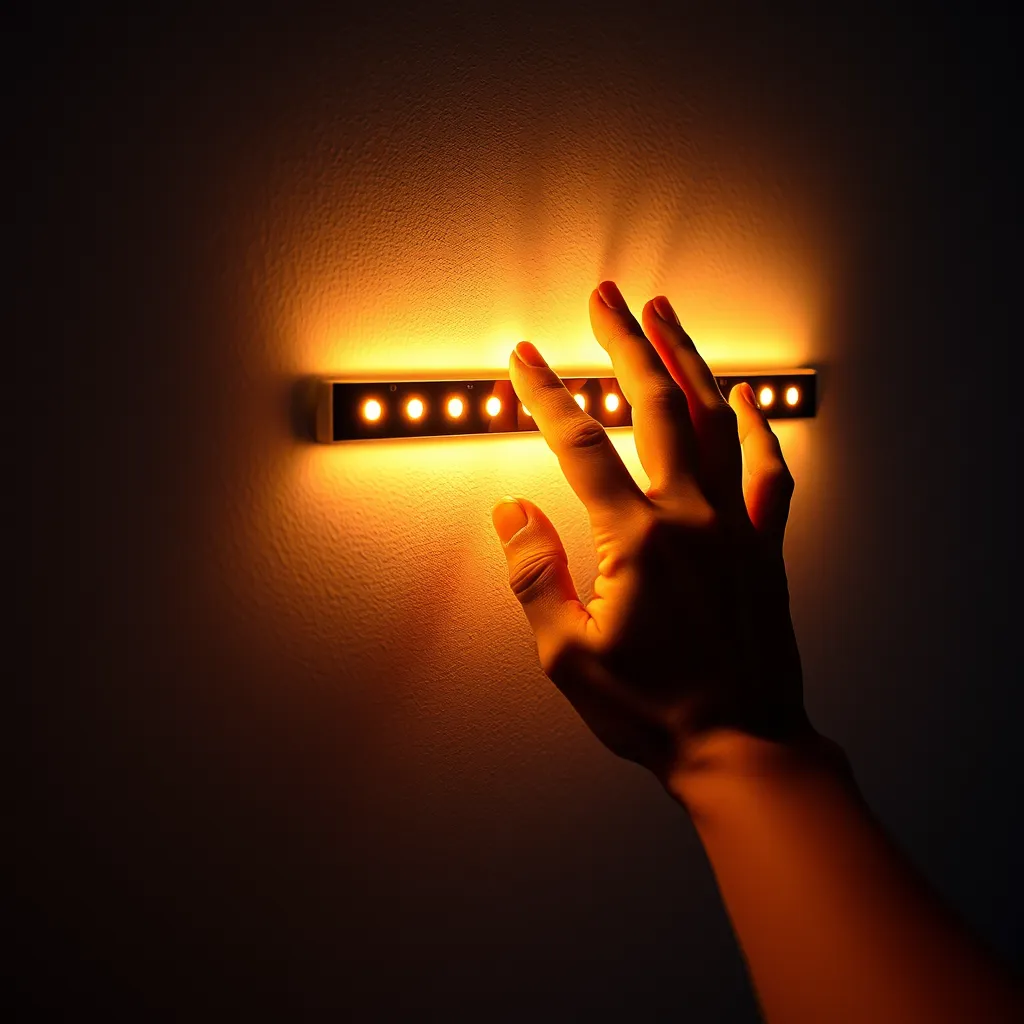
Put up LED lights in your room by cleaning the mounting surface with isopropyl alcohol, peeling the adhesive backing a few inches at a time, and pressing the strip firmly along the ceiling edge, wall border, or behind furniture. Connect the strip to its power supply and plug in. The entire process takes 15-20 minutes. For the most popular look - a soft glow along the ceiling perimeter - mount the strip on the wall about 2 inches below the ceiling line, facing upward, so the light bounces off the ceiling and creates an indirect ambient glow.
This guide covers the most popular room LED setups: ceiling perimeter, behind-desk, behind-TV, and under-bed accent lighting. Each uses the same basic technique with slight placement variations.
What You Need
Item | Purpose | Cost |
|---|---|---|
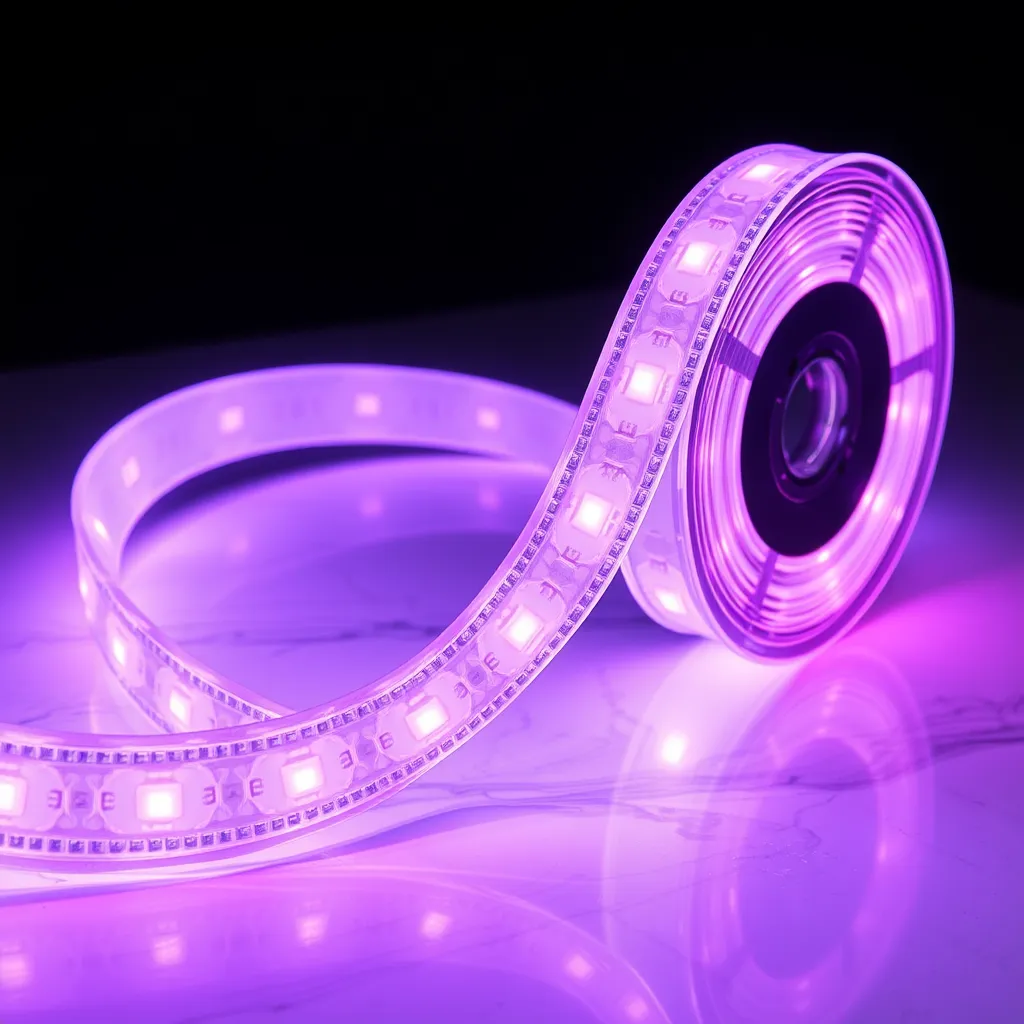
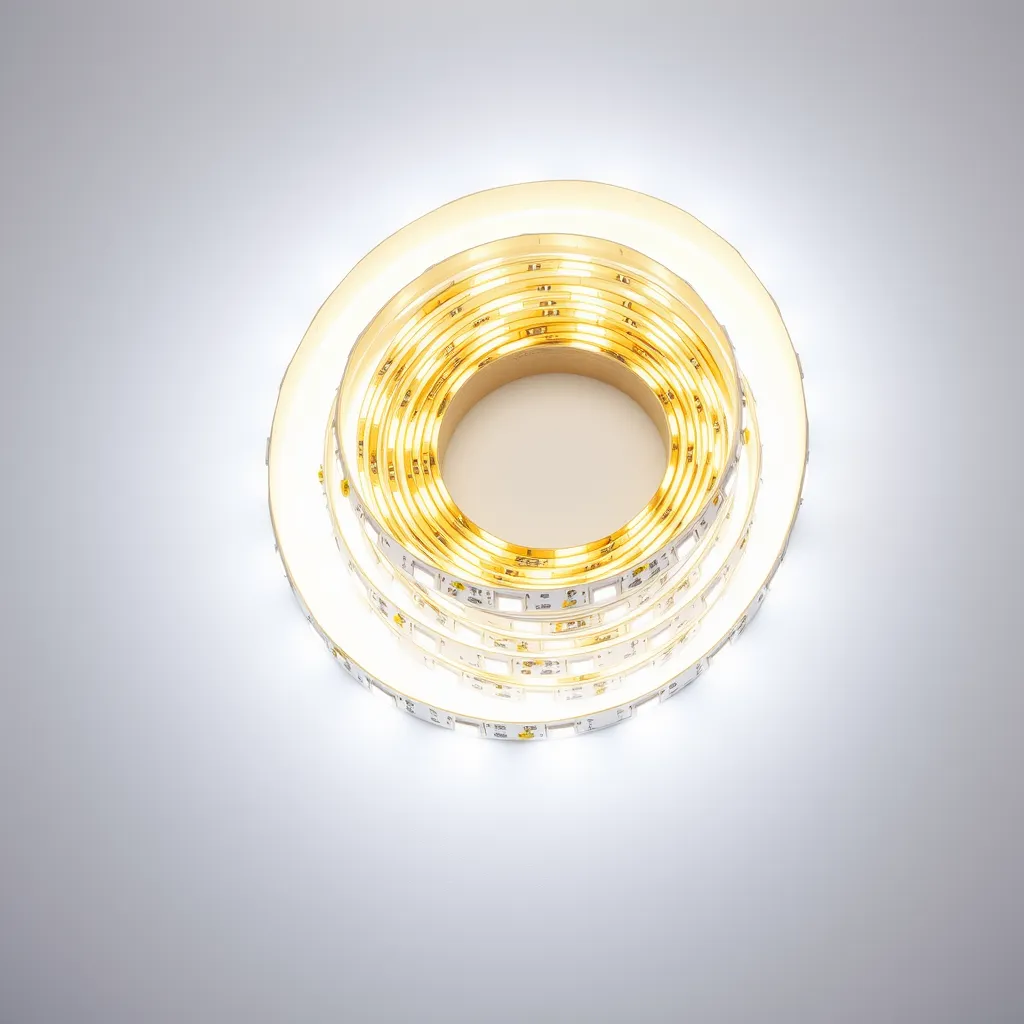
LED strip light (16-32 ft) | The light source | $10-$30 |
Isopropyl alcohol + cloth | Clean the mounting surface | $3 |
Measuring tape | Measure the room perimeter | $3 |
Scissors | Cut the strip at marked lines | 5-10$ |
Mounting clips (optional) | Extra hold for textured walls or ceilings | $5 for 50 clips |
Step 1: Plan the Layout
Measure the area where you want the strip. A standard bedroom is 40-50 feet around the ceiling perimeter. A 16-foot (5-meter) strip covers one or two walls; a 32-foot (10-meter) strip covers most of a full room perimeter. Decide where the power supply will plug in and plan the strip so the connection end is nearest to that outlet. LED strips have a power input at one end, so the strip must start near the outlet and run away from it.
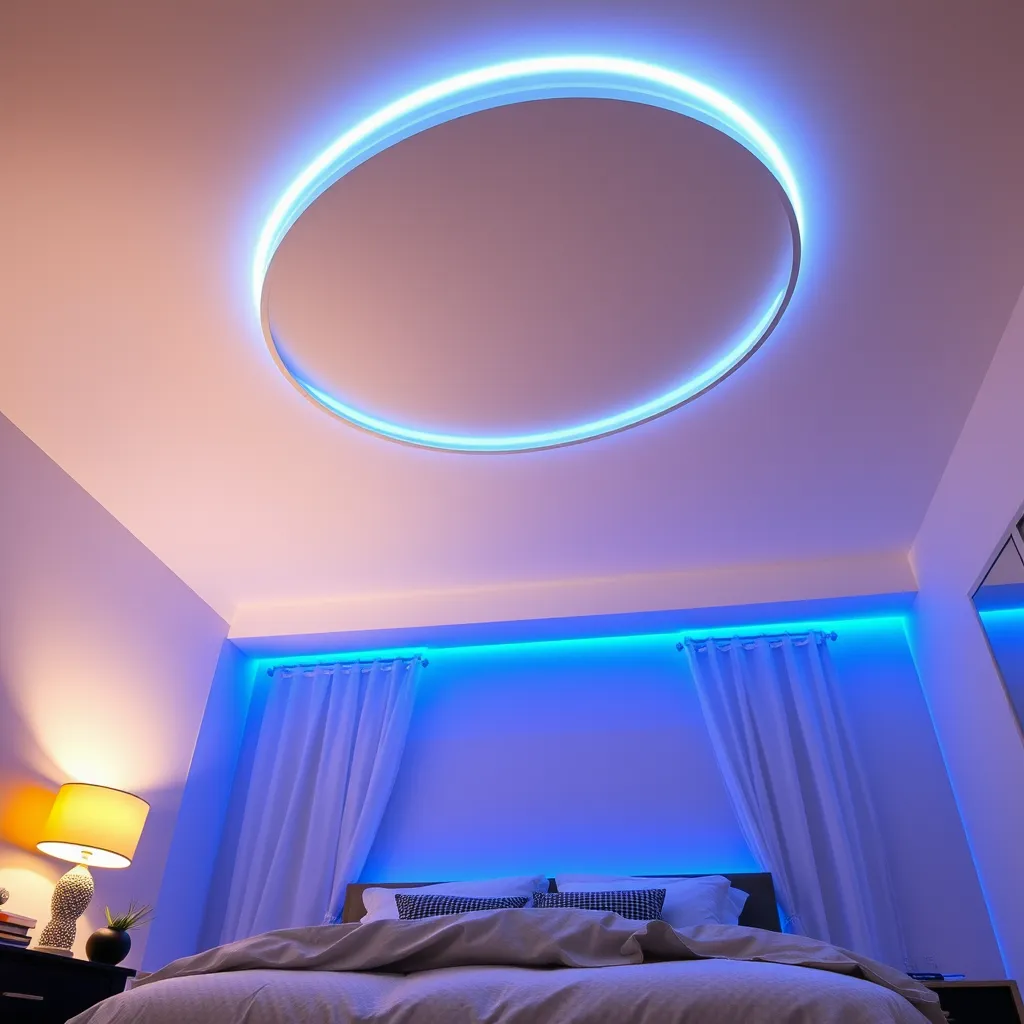
For ceiling perimeter mounting, the most popular placement is on the wall, 1-3 inches below the ceiling line, with the LEDs facing upward. The ceiling acts as a diffuser, reflecting the light back down as a soft, even glow without visible LED dots. This indirect lighting creates the aesthetic room glow popular on social media without the harsh direct look of exposed LEDs.
Step 2: Clean and Mount
Wipe the entire mounting surface with isopropyl alcohol on a clean cloth. This removes dust, oils, and residue that weaken adhesive bonds. Let it dry for 60 seconds. Starting at the corner nearest the outlet, peel about 6 inches of adhesive backing and press the strip firmly against the wall. Work along the wall, peeling and pressing in small sections. At corners, gently bend the strip 90 degrees - do not crease it sharply, as this can damage the internal circuit traces.
Press firmly along the entire length, holding each section for 5-10 seconds to activate the adhesive bond. If the strip will be overhead or on a textured surface, add a mounting clip every 12 inches for long-term security. For renters who want zero wall damage, 3M Command strips attached to the back of the LED strip provide a removable mounting option.
Step 3: Connect and Enjoy
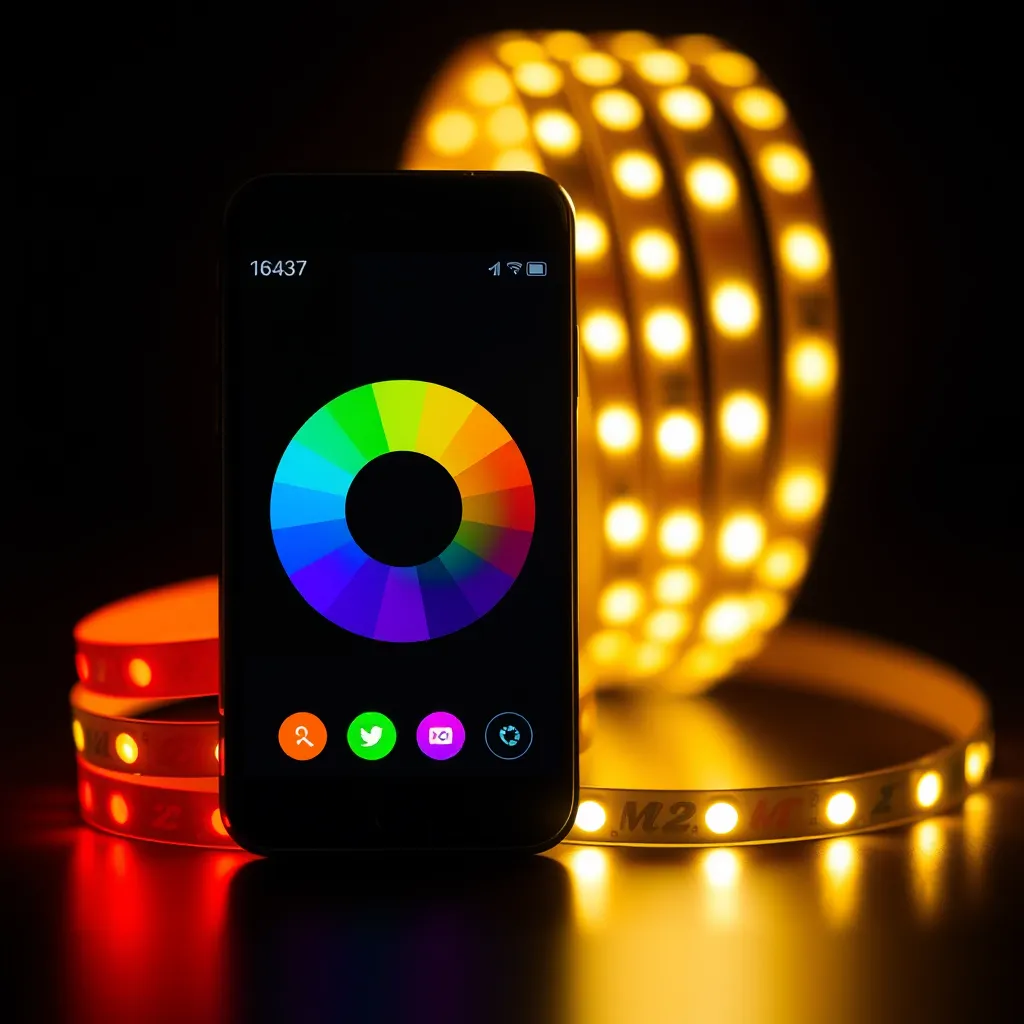
Connect the strip to the power supply, plug it into the outlet, and turn it on. Use the remote or app to select your preferred color, brightness, and effects. For the smoothest look, tuck the power supply behind furniture or inside a nearby closet. Route the connecting wire along the baseboard or wall edge using small cable clips to keep it tidy.
Popular LED Room Setups
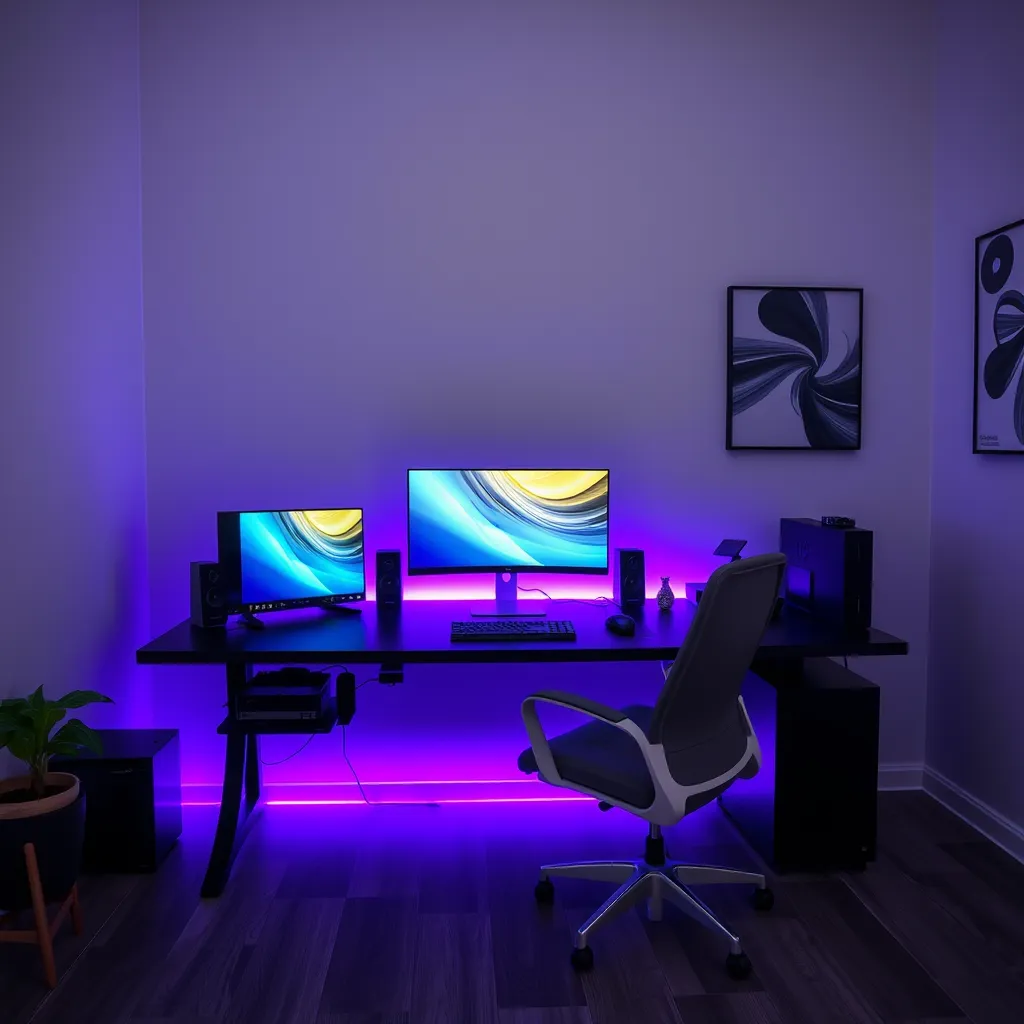
Ceiling perimeter: Mount the strip 2 inches below the ceiling on the wall, LEDs facing up. Creates an even ambient glow across the ceiling. This is the most popular room LED setup for bedrooms and gaming rooms. Behind desk: Stick the strip along the back edge of your desk. The light reflects off the wall behind the monitor, reducing eye strain during screen use and creating a colorful backdrop for video calls. Behind TV: Mount the strip around the back perimeter of the TV. The bias lighting reduces perceived contrast between the bright screen and dark wall, making movies and gaming more comfortable on the eyes.
Under bed: Mount the strip along the underside of the bed frame. A motion sensor controller turns the light on when you step out of bed at night, providing navigation light without blinding overhead fixtures. Use warm white or red for the least disruption to sleep.
Conclusion:
Installing LED strips is one of the fastest and most affordable ways to completely transform the mood of your living space. By taking the extra time to clean your walls and plan your power source placement, you ensure a professional-looking result that stays securely in place for years. Whether you choose a subtle warm glow for relaxation or vibrant colors for gaming, the key is to prioritize indirect lighting to avoid the harsh glare of exposed diodes.
To keep your setup looking its best, remember to occasionally dust the top of the strips, as buildup can dim the output and affect heat dissipation. If you ever decide to change your layout, use a hairdryer to gently warm the adhesive before peeling to protect your paint. With these simple steps, your room will have a custom, high-end lighting design that perfectly reflects your personal style.
Frequently Asked Questions
Will LED strips damage my walls?
The adhesive can leave residue or pull paint when removed, especially from fresh or cheaply painted walls. To minimize damage, remove strips slowly at a low angle while applying gentle heat from a hair dryer to soften the adhesive. For rental properties, mount the strip using 3M Command strips instead of the built-in adhesive - Command strips are designed for damage-free removal. Alternatively, mount the strip inside a removable aluminum channel.
How long do room LED strips last?
Quality LED strips last 25,000-50,000 hours, which translates to 5-17 years at typical room use (4-8 hours per day). The adhesive may fail before the LEDs do - expect 1-3 years from adhesive alone. Mounting clips or channels provide permanent physical support that outlasts any adhesive. The power supply typically lasts 3-5 years and can be replaced independently if it fails before the strip.
Can I use LED strip lights without a remote?
Yes. LED strips turn on automatically when the power supply is plugged in, defaulting to white or the last-used color. For on/off control without a remote, use an inline switch ($3-$5) between the power supply and the strip, or plug the power supply into a smart plug ($10) controlled by your phone or voice assistant. Smart plugs also add scheduling functionality - automatically turn the LEDs on at sunset and off at bedtime.