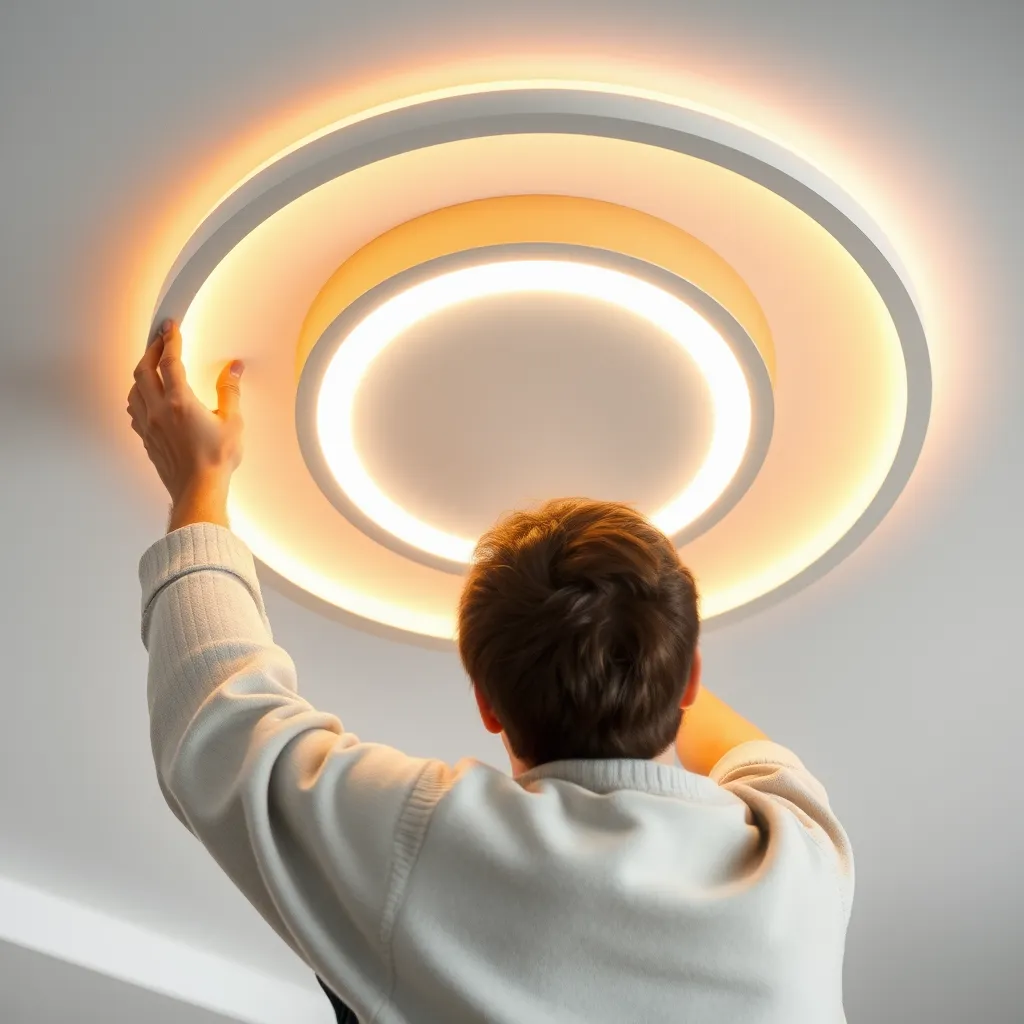
Replace an LED ceiling light by turning off the circuit breaker, removing the old fixture from the junction box, disconnecting the wires, connecting the new LED fixture's wires (black to black, white to white, ground to ground), and mounting it to the bracket. The entire process takes 15-30 minutes and requires only a screwdriver, wire nuts, and a non-contact voltage tester. No electrician is needed for a standard like-for-like replacement as long as you are connecting to an existing junction box with standard wiring.
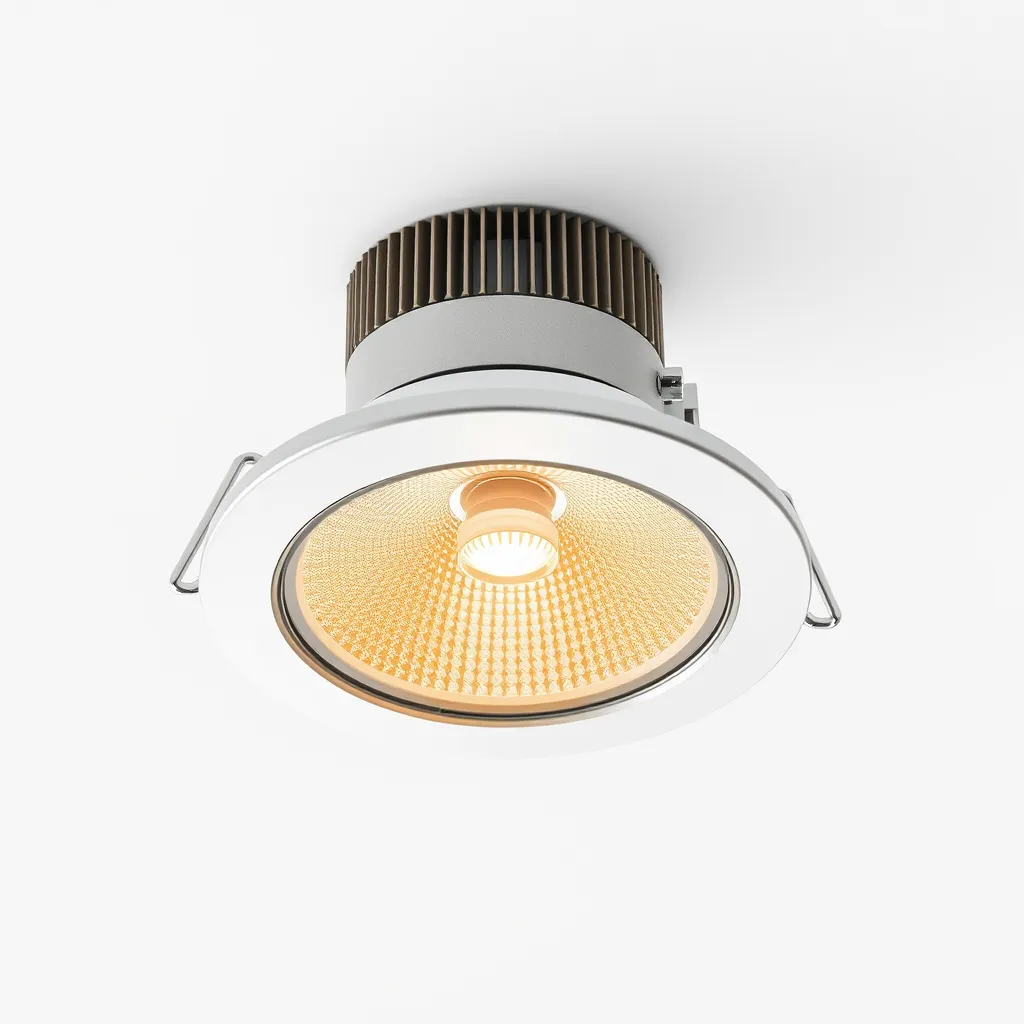
This guide applies to both integrated LED fixtures (where the LED module is built in) and fixtures that use replaceable LED bulbs. The wiring process is identical - the only difference is that integrated fixtures are replaced as a complete unit when the LEDs eventually fail.
Tools and Materials
Item | Purpose |
|---|---|
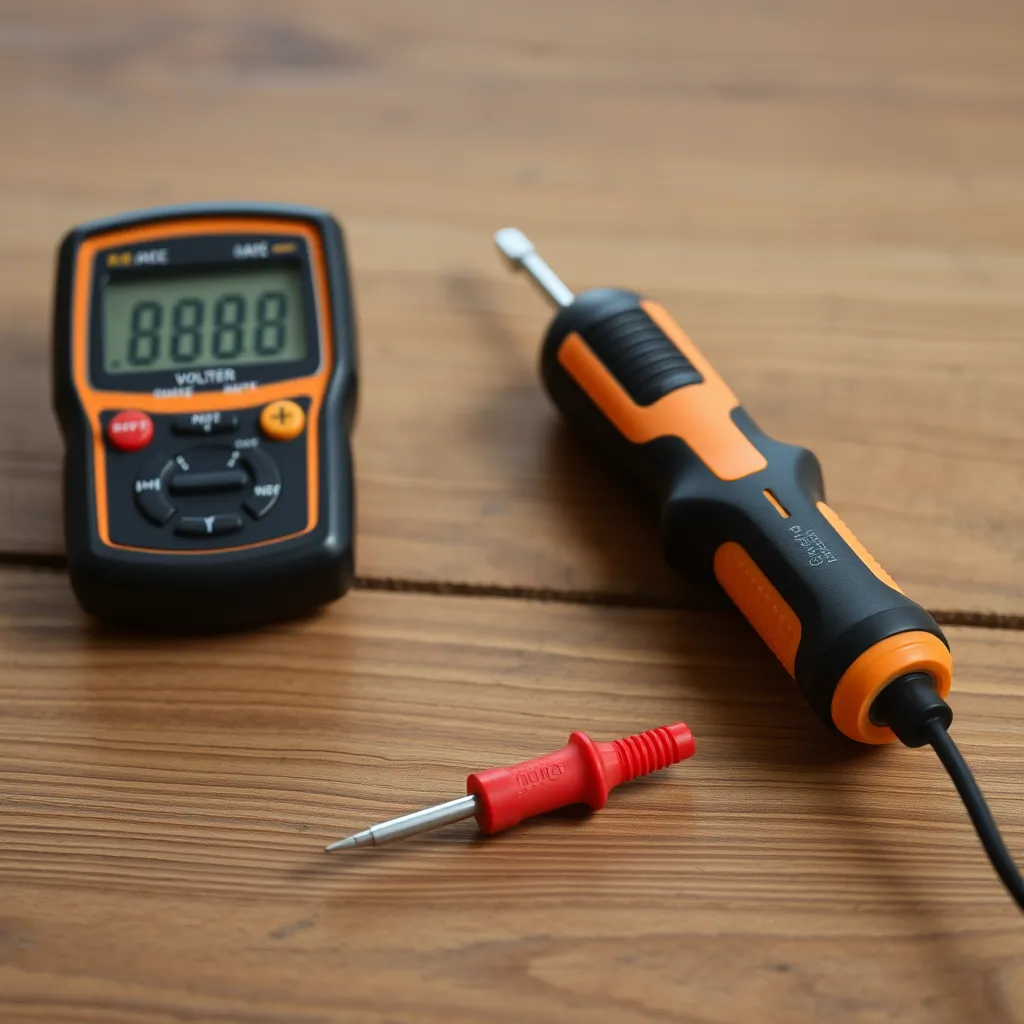
Non-contact voltage tester | Confirms power is off before touching wires |
Phillips and flathead screwdriver | Removes mounting screws and wire nut covers |
Wire nuts (usually included with new fixture) | Secures wire connections |
Electrical tape | Extra insulation over wire nut connections |
Step ladder | Safe access to the ceiling fixture |
Step 1: Turn Off Power
Go to your home's electrical panel and flip the breaker that controls the ceiling light circuit. Do not rely on the wall switch alone - someone could accidentally flip it while you are working. After turning off the breaker, go back to the light and use a non-contact voltage tester near the fixture to confirm no electricity is present. The tester should show no signal. Test the tester on a known-live outlet first to verify it is working correctly.
Step 2: Remove the Old Fixture
Remove the diffuser cover or glass shade from the old fixture. Most covers twist off counterclockwise, unclip with spring tabs, or are held by small thumbscrews. With the cover removed, you will see the mounting screws that attach the fixture base to the ceiling junction box. Remove these screws while supporting the fixture with your other hand to prevent it from falling. Lower the fixture to expose the wire connections behind it.
You will typically see three wire connections: black (hot) to black, white (neutral) to white, and a green or bare copper ground wire. Each connection is secured with a wire nut. Take a photo with your phone before disconnecting anything - this serves as a reference for wiring the new fixture. Unscrew the wire nuts by turning them counterclockwise and separate the wires. Remove the old mounting bracket if the new fixture includes a different one.
Step 3: Install the New Mounting Bracket
Most LED ceiling lights include a mounting bracket (crossbar or strap) that attaches to the junction box with two screws. Position the bracket over the junction box, aligning the screw holes, and tighten the screws until the bracket is secure and flush against the ceiling. If the new bracket does not align with the existing junction box screw holes, use an adjustable universal mounting bracket. Make sure the bracket is level - an unlevel bracket causes the fixture to hang crooked.
Step 4: Connect the Wires
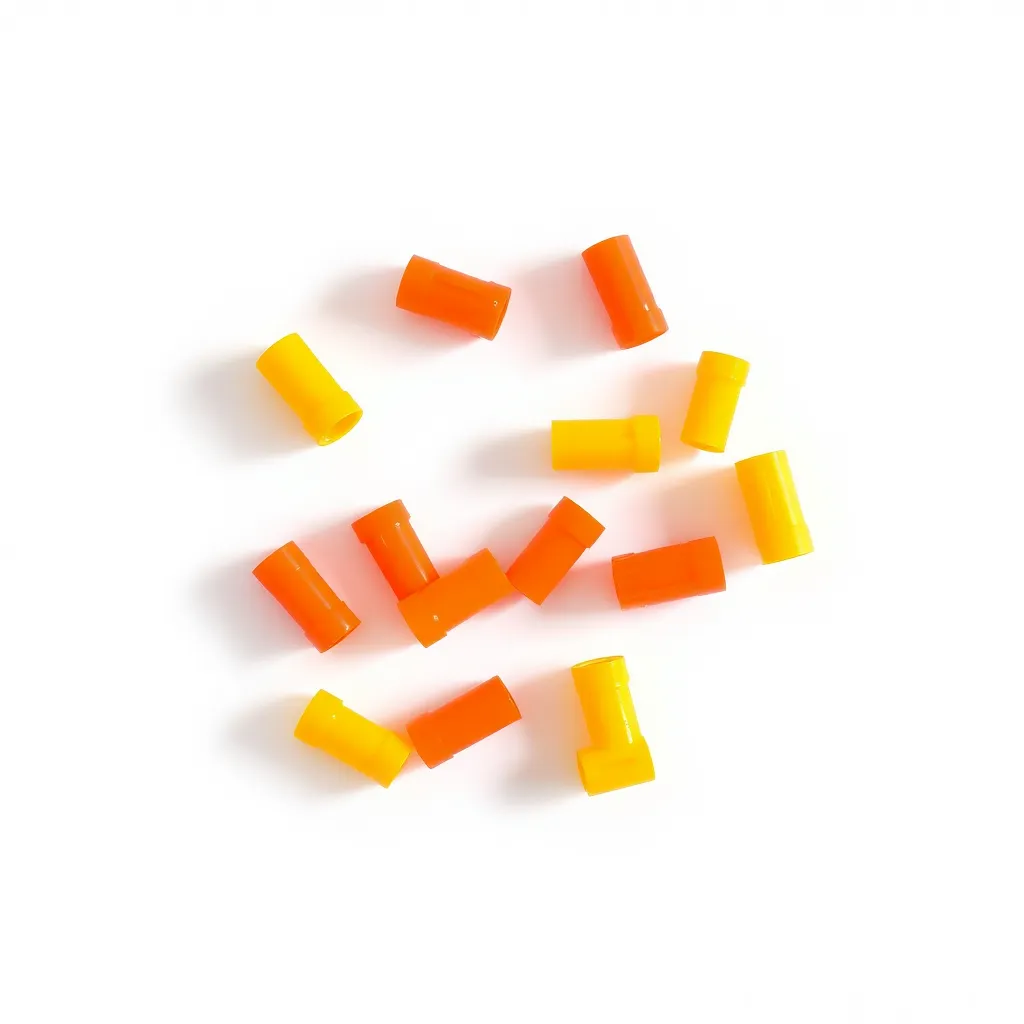
Match the new fixture's wires to the house wires by color. Strip about 3/4 inch of insulation from each wire if not already stripped. Hold the black fixture wire alongside the black house wire, twist them together clockwise, and secure with a wire nut. Repeat for the white wires. Connect the ground wire (green or bare copper) to the junction box ground screw or ground wire. Wrap each wire nut connection with a single layer of electrical tape for extra security.
Tuck all connected wires neatly into the junction box. No bare copper should be visible outside the wire nuts. If the junction box is crowded, arrange the wires so they fold flat rather than bunching up. A properly packed junction box allows the fixture base to sit flush against the ceiling.
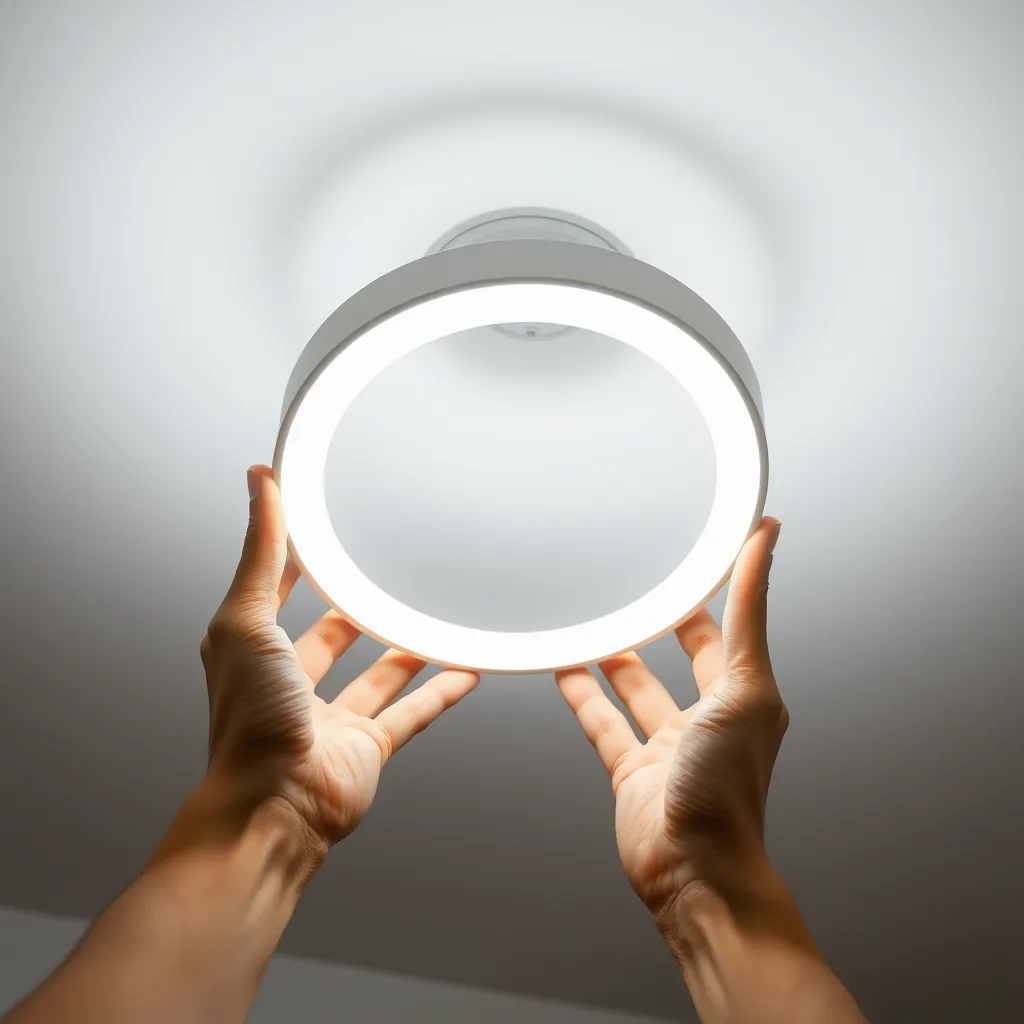
Step 5: Mount and Test
Attach the fixture to the mounting bracket using the provided screws, bolts, or twist-lock mechanism. Install the diffuser cover. Return to the breaker panel and restore power. Flip the wall switch to test the new fixture. The light should turn on immediately at full brightness. If it does not light, turn off the breaker again and double-check all wire connections. The most common cause of a non-working new fixture is a loose wire nut or a ground wire that was not connected.
Frequently Asked Questions
Q1: Can I replace a fluorescent ceiling light with LED?
A: Yes. Remove the fluorescent fixture completely and install the LED fixture in its place using the same junction box. If the junction box location does not align with the new LED fixture's mounting holes, use a universal mounting bracket to bridge the difference. LED flat panels and troffers are available in standard 2x2 and 2x4 foot sizes that match fluorescent fixture dimensions for easy drop-ceiling replacement.
Q2: What if the ceiling has no junction box?
All hardwired light fixtures require a junction box by electrical code. If there is no box, you need to install one, which typically requires cutting into the ceiling and running wiring from the nearest circuit. This is a job for a licensed electrician unless you have experience with residential electrical work. Alternatively, use a plug-in LED ceiling light that mounts with screws and plugs into a wall outlet, bypassing the need for hardwiring entirely.
Q3: How do I choose the right size LED ceiling light?
Match the fixture diameter to the room size. For hallways and closets, a 10-12-inch flush mount is sufficient. Bedrooms and home offices need 12-16 inches. Living rooms and kitchens need 16-24 inches or multiple smaller fixtures. For lumen output, the general guideline is 20 lumens per square foot for ambient lighting in living spaces and 50 lumens per square foot for task-oriented rooms like kitchens and bathrooms.